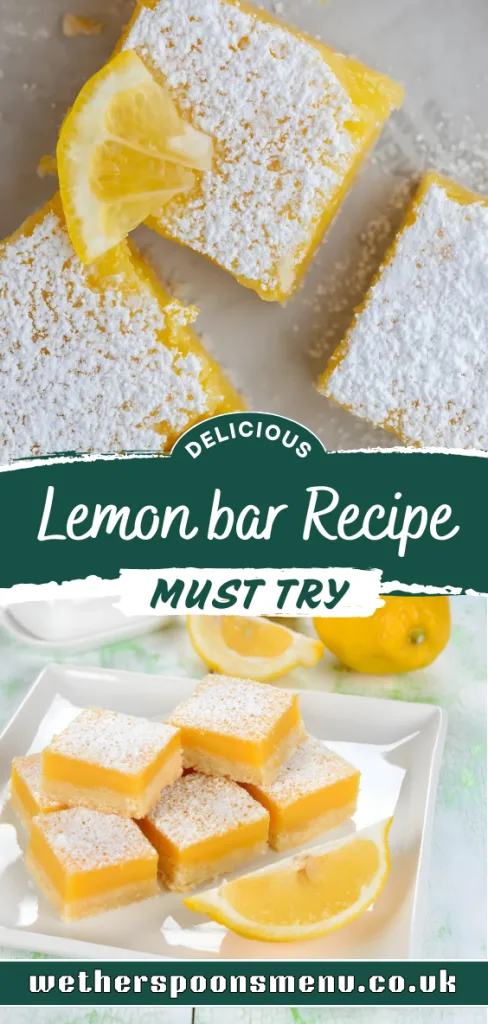
Bright & Tangy Lemon Bars You’ll Want to Bake Again
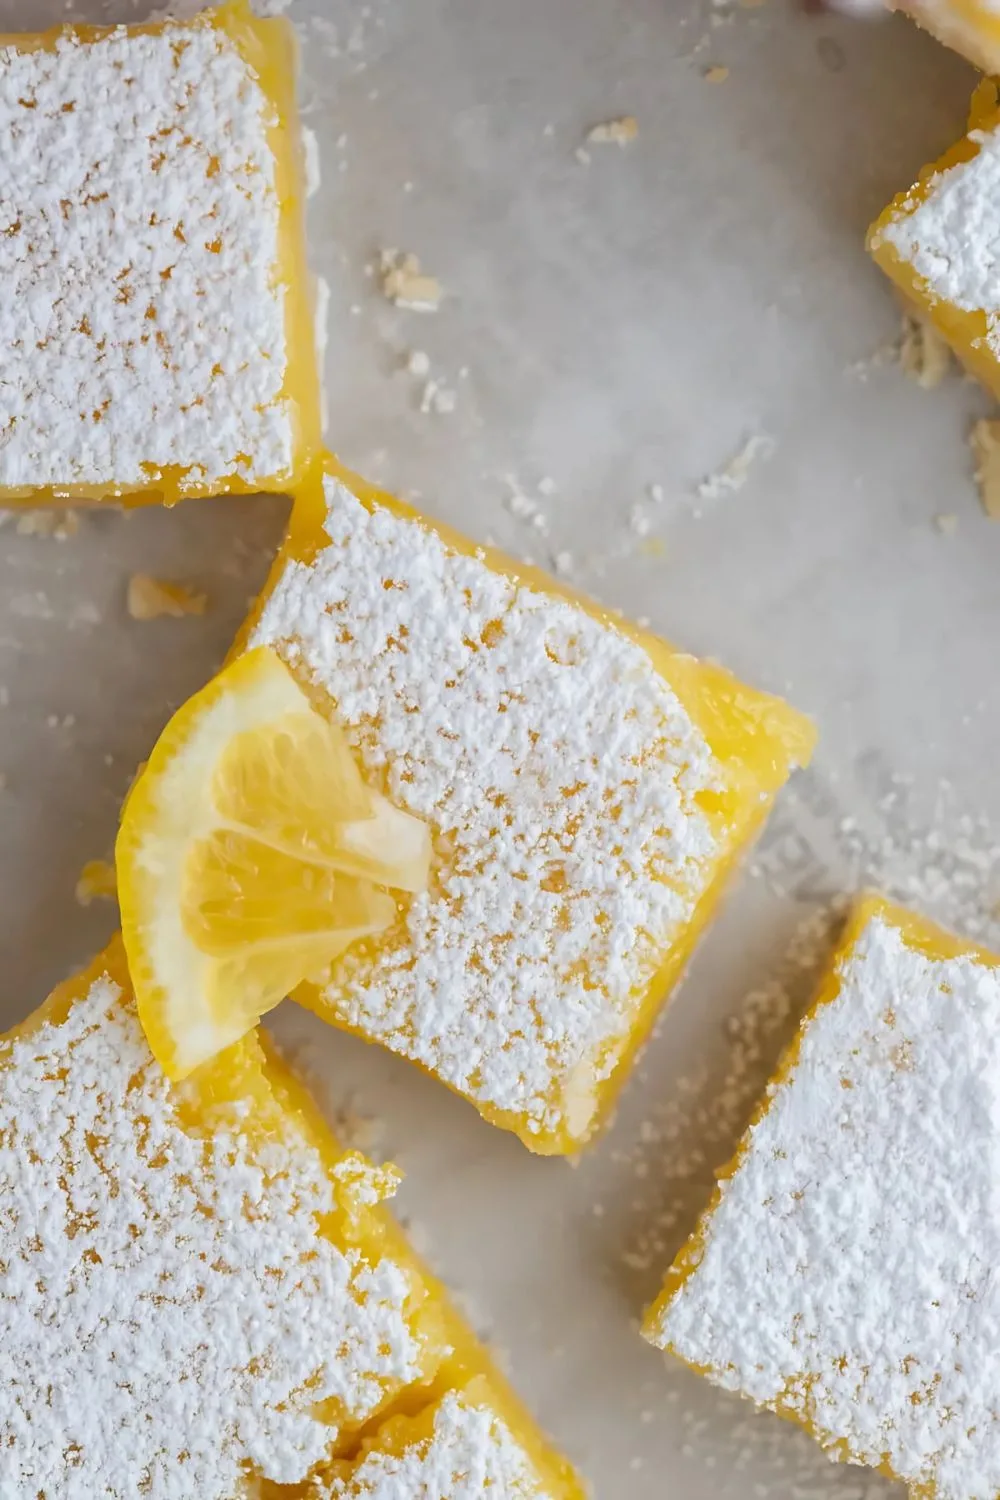
When I first tried making lemon bars, I wasn’t sure if they’d turn out as good as the ones I’d had at bakeries. To my surprise, they were even better! The crust came out buttery and crisp, and the lemon filling had that bright tang I love.
Cutting them into squares and dusting with powdered sugar felt so satisfying. Honestly, I can’t stop making them now. They’re as addictive as my favorite Cheddar and Herb Soda Bread.
Additional Tips for Making This Recipe Better
Every time I make these lemon bars, I learn a new little trick that improves the flavor or texture. Here are my personal tips that can help you too:
- Use room-temperature butter for the crust. It creams better and gives a smoother dough.
- Always zest the lemon before juicing it. It’s easier and keeps the zest flavorful.
- Don’t skimp on fresh lemons—bottled juice won’t give the same brightness.
- Chill the bars before cutting for neater slices.
- If you like a sweeter top, dust powdered sugar right before serving so it doesn’t dissolve.
Variations to Try
If you love experimenting in the kitchen, there are many ways to make these lemon bars your own. Here are some fun variations:
- Dairy-Free Option: Swap the butter in the crust with a plant-based butter substitute.
- Sugar-Free Version: Use a sugar substitute like monk fruit sweetener for both the crust and filling.
- Extra Flavor Boost: Add a teaspoon of vanilla extract or coconut flakes to the crust for a twist.
- Berry Lemon Bars: Mix a few raspberries or blueberries into the filling before baking.
These bars also work beautifully when you’re looking for new dinner recipes ideas for dessert pairings. They’re versatile and always a crowd-pleaser.
Equipment You Need
To make this recipe smooth and hassle-free, here’s what you’ll need:
- Mixing bowls – for preparing the crust and filling separately.
- Hand mixer or whisk – to cream the butter and sugar, and to blend the filling smoothly.
- 8×8-inch baking pan – the ideal size for thick, even bars.
- Parchment paper – makes lifting the bars out easy and prevents sticking.
- Sifter – ensures the flour blends smoothly into the filling.
- Sharp knife – for clean, neat cuts when serving.
How to Serve Lemon Bars?
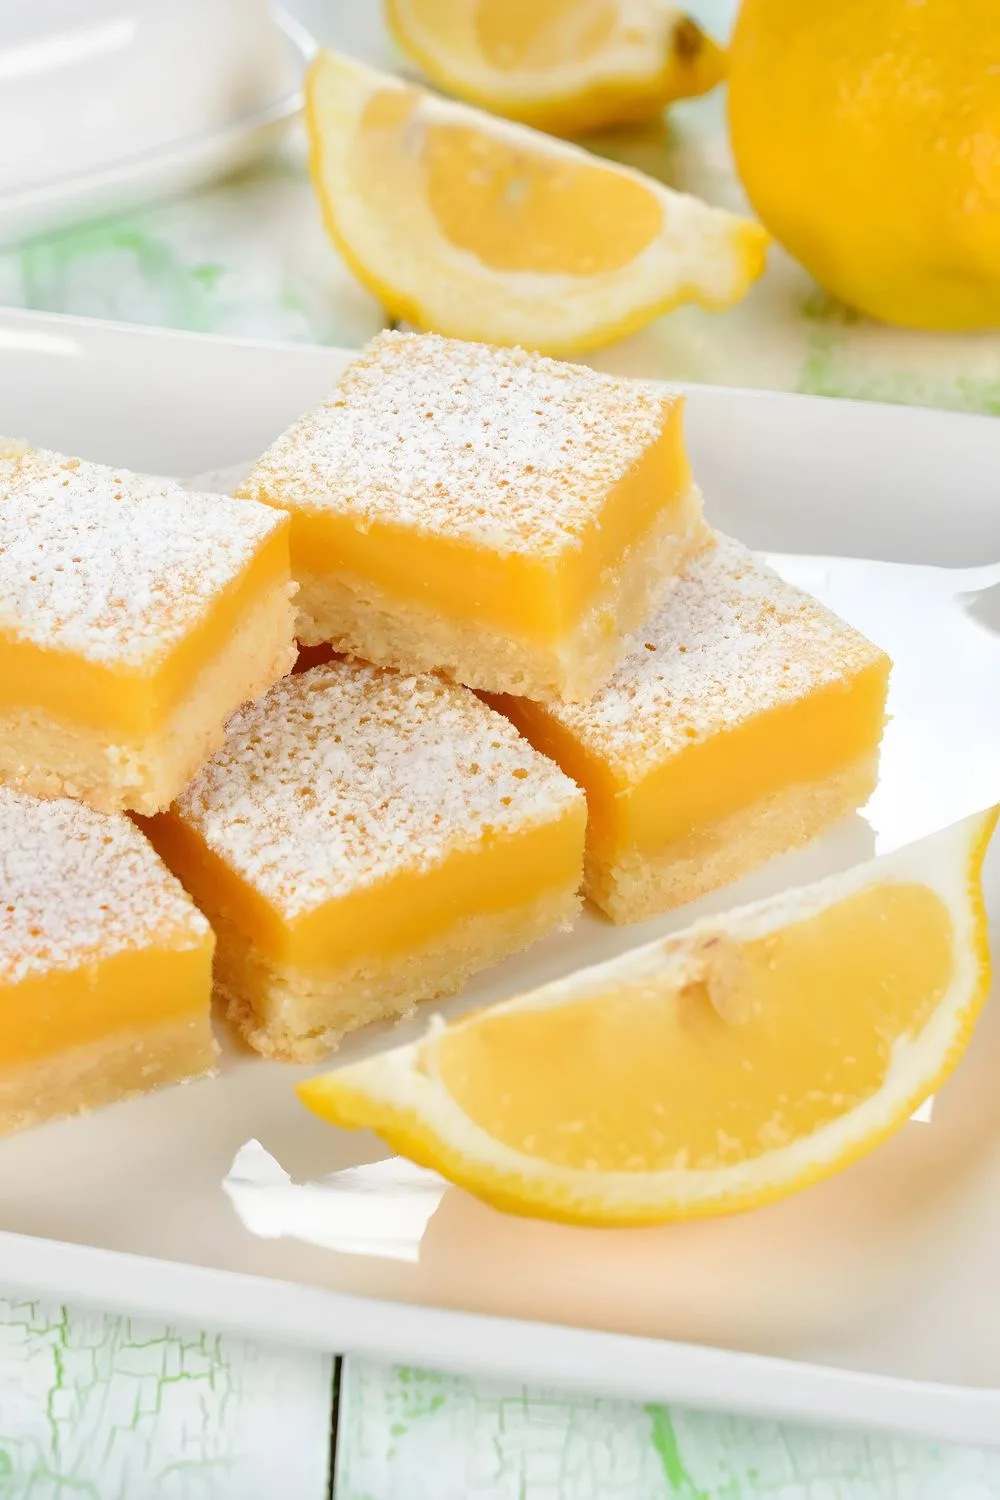
These lemon bars are best enjoyed chilled, but you can also add some simple touches to make them look irresistible on the table.
- Dust with powdered sugar right before serving for a bakery-style finish.
- Pair them with fresh berries or mint leaves for a pop of color.
- Serve on a decorative plate or cake stand for a more elegant look.
- Cut them into bite-sized squares for party platters.
- For variety, place them alongside treats like Blackberry Lemonade for a stunning dessert table.

Calories Count
Here’s the approximate nutrition breakdown per bar (based on 16 servings):
- Calories: 180
- Total Fat: 7g
- Saturated Fat: 4g
- Cholesterol: 40mg
- Sodium: 60mg
- Carbohydrates: 27g
- Sugar: 18g
- Protein: 2g
How to Store the Lemon Bars
Keeping your lemon bars fresh is just as important as making them. Here’s how you can store them properly:
At Room Temperature
If your kitchen isn’t too warm, you can keep them at room temperature for up to 2 days. Make sure to cover them with foil or plastic wrap.
In the Refrigerator
For longer freshness, store the bars in an airtight container in the fridge. They stay good for up to 1 week and taste even better chilled.
Freezing
Yes, you can freeze lemon bars! Wrap them individually in plastic wrap and place them in a freezer-safe container. They keep well for up to 3 months. Just thaw them overnight in the fridge before serving.
Reheating
Lemon bars are best served chilled, but if you prefer them slightly warm, let them sit at room temperature for a while instead of reheating. Heating can make the filling too soft.
Why You’ll Love This Recipe?
There are so many reasons these lemon bars are a favorite. Here are just a few:
- Quick and Easy: From start to finish, you only need 45 minutes. Perfect when you want dessert fast.
- Bright Citrus Flavor: The fresh lemon juice and zest give them that tangy kick that keeps you coming back for more.
- Versatile Dessert: Great for casual family treats or elegant party tables.
- Simple Ingredients: Nothing fancy needed—just basic pantry items.
- Customizable: Easily adjust to sugar-free, dairy-free, or flavor-enhanced versions.
More Things You Should Know Before Baking
Here are a few extra pointers that I found super helpful when making lemon bars:
- Always bake the crust first; it helps the filling set without making the base soggy.
- Make sure the filling is smooth before pouring it over the crust—no lumps allowed.
- Cooling completely before cutting makes a huge difference. The filling firms up and gives you those clean, picture-perfect slices.
- A little powdered sugar goes a long way. Don’t overdo it, or the lemon flavor can get lost.
Lemon Bars
Ingredients
Method
- Start by adding peanut butter and milk to your blender. Blend until the mixture looks smooth and creamy. This step ensures the peanut butter is fully dissolved, avoiding clumps in your coffee. If you prefer a frothier texture, let it blend a little longer.
- Next, pour the cold brew coffee into the blender along with maple syrup and vanilla extract. Blend again until the drink becomes silky and frothy. At this stage, you can taste it and adjust sweetness by adding more syrup if needed.
- Fill a tall glass with ice cubes and slowly pour the blended coffee mixture over them. The ice chills your drink instantly, making it extra refreshing. If you want a fancy touch, drizzle peanut butter or chocolate syrup on top before serving.
- Give your drink a gentle stir to balance flavors before sipping. You’ll notice the nutty peanut butter blending perfectly with the bold coffee taste. Sip slowly and enjoy this creamy coffee treat as a refreshing drink any time of the day.