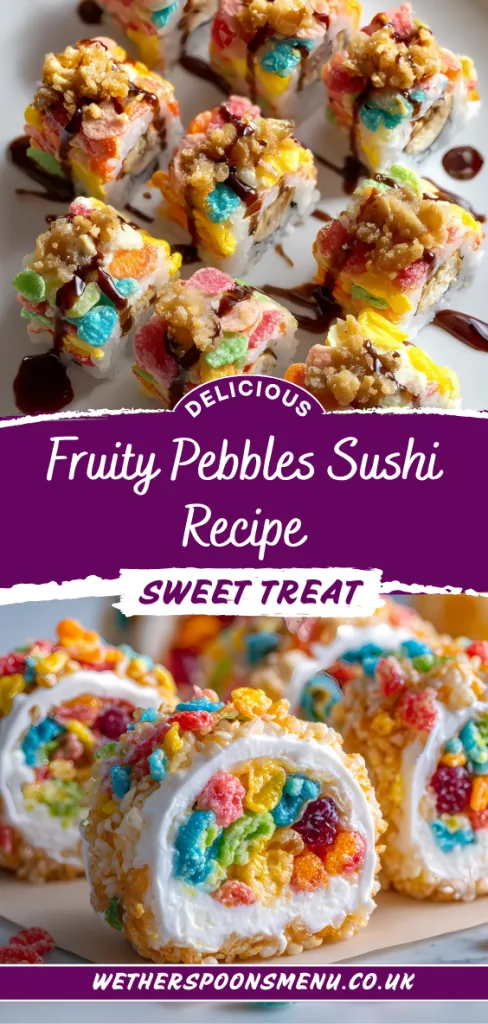
Sweet Rainbow Magic: The Ultimate Fruity Pebbles Sushi Recipe
I never thought I’d be the type of person to turn breakfast cereal into sushi, but here I am, completely obsessed with this Fruity Pebbles Sushi Recipe! After making batch after batch for my family gatherings.
I can honestly say this colorful creation brings more joy than any traditional dessert I’ve ever served. The combination of crunchy rainbow cereal, gooey marshmallows, and sweet fruit roll-ups creates something magical that makes everyone smile.
While I was experimenting with different no-bake treats Ricotta Pistachio Honey Bites Recipe I discovered that this playful dish takes just minutes to prepare. Trust me when I say that once you try rolling these vibrant little “sushi” pieces, you’ll understand why this recipe has become my go-to crowd-pleaser for any occasion.
Ingredients for Fruity Pebbles Sushi Recipe
Creating the perfect Fruity Pebbles Sushi requires just a handful of simple ingredients that work together to create this delightful treat:
- 4 cups Fruity Pebbles cereal – The star ingredient that provides the rainbow colors and fruity crunch
- 10 oz marshmallows – Acts as the binding agent, creating a sticky base that holds everything together
- 3 tablespoons unsalted butter – Helps melt the marshmallows smoothly and adds richness to the mixture
- 4 sheets fruit roll-ups – Choose your favorite flavors; these serve as the “nori” wrapper for authentic sushi appearance
- 2 ripe bananas, peeled – Provides the creamy center that mimics traditional sushi fish
- 1-2 tablespoons chocolate syrup (optional) – Perfect for drizzling on top as a finishing touch
Note: This recipe serves approximately 4 people with 6-8 pieces per person, making it ideal for small gatherings or family treats.
Variations to Try
Transform your Fruity Pebbles Sushi into something uniquely yours with these creative alternatives:
- Dairy-free version – Substitute regular marshmallows with vegan marshmallows and use plant-based butter for those with dietary restrictions
- Sugar-free option – Use sugar-free marshmallows and skip the chocolate syrup drizzle to reduce overall sweetness
- Tropical twist – Replace bananas with fresh mango slices or pineapple chunks for an exotic flavor profile
- Berry burst – Use fresh strawberries or raspberries instead of bananas for a tangy surprise inside
- Chocolate lovers – Add mini chocolate chips to the cereal mixture before rolling for extra indulgence
- Protein boost – Spread a thin layer of nut butter on the fruit roll-up before adding the cereal mixture
- Adult version – Include a splash of vanilla extract in the marshmallow mixture for sophisticated flavor
- Mix and match – Create variety by using different cereal combinations or trying this technique with other dinner recipes for sweet endings to family meals
Cooking Time
Planning your kitchen time makes this recipe even more enjoyable:
- Prep Time: 15 minutes
- Cooking Time: 10 minutes
- Total Time: 35 minutes (including 10 minutes cooling time)
Equipment You Need:
- Large heavy-bottomed pot – Essential for melting marshmallows evenly without burning
- Wooden spoon or silicone spatula – Perfect for stirring the sticky marshmallow mixture
- Clean work surface – Provides space for rolling out fruit roll-ups and assembling sushi
- Sharp knife – Crucial for slicing clean, even sushi pieces
- Measuring cups and spoons – Ensures proper ingredient ratios for best results
How to Make Fruity Pebbles Sushi Recipe
Step 1: Prepare the Marshmallow Base
Start by placing your large pot over medium heat and adding the butter. Allow it to melt completely, creating a smooth base for your marshmallows.
Once melted, add all marshmallows and stir continuously until they transform into a smooth, creamy mixture. This process takes about 5-7 minutes and requires constant attention to prevent burning.
Step 2: Mix in the Cereal
Remove the pot from heat immediately once marshmallows are melted. Pour in all 4 cups of Fruity Pebbles cereal at once and stir vigorously until every colorful piece is completely coated.
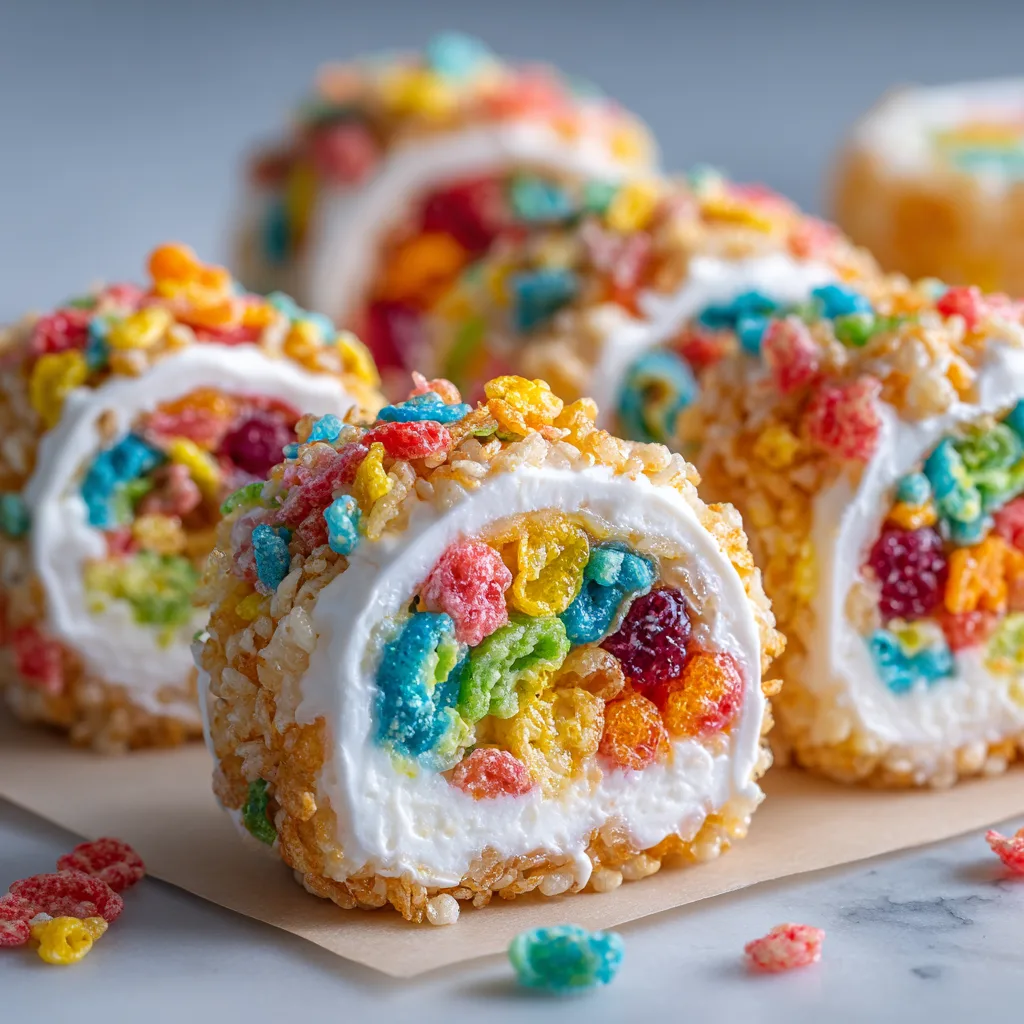
The mixture should look like a rainbow explosion with each piece glistening with marshmallow coating. Work quickly during this step as the mixture begins to firm up as it cools.
Step 3: Cool and Shape the Mixture
Allow the cereal mixture to cool for about 5-10 minutes until it’s comfortable to handle but still pliable. Meanwhile, lay out your fruit roll-ups on a clean surface, smoothing out any wrinkles. Once cooled, take portions of the mixture and shape them into rectangles that match the width of your fruit roll-ups.
Step 4: Add the Banana Center
Place one banana at the edge of each cereal rectangle, positioning it so it will be centered when rolled. The banana acts as your “fish” filling, providing a creamy contrast to the crunchy exterior. Make sure the banana is positioned straight to ensure even slices later.
Step 5: Roll and Seal
Carefully roll each cereal rectangle around the banana, using the fruit roll-up to wrap and seal the entire creation. Apply gentle pressure while rolling to ensure everything stays together. The fruit roll-up should stick naturally, but you can press the seams gently to secure them.
Step 6: Slice into Sushi Pieces
Using a sharp knife, slice each roll into bite-sized pieces, approximately 1-inch thick. Clean your knife between cuts to prevent sticking and ensure clean edges. Each roll should yield about 6-8 perfect sushi pieces depending on the size of your bananas.
Step 7: Add Final Touches
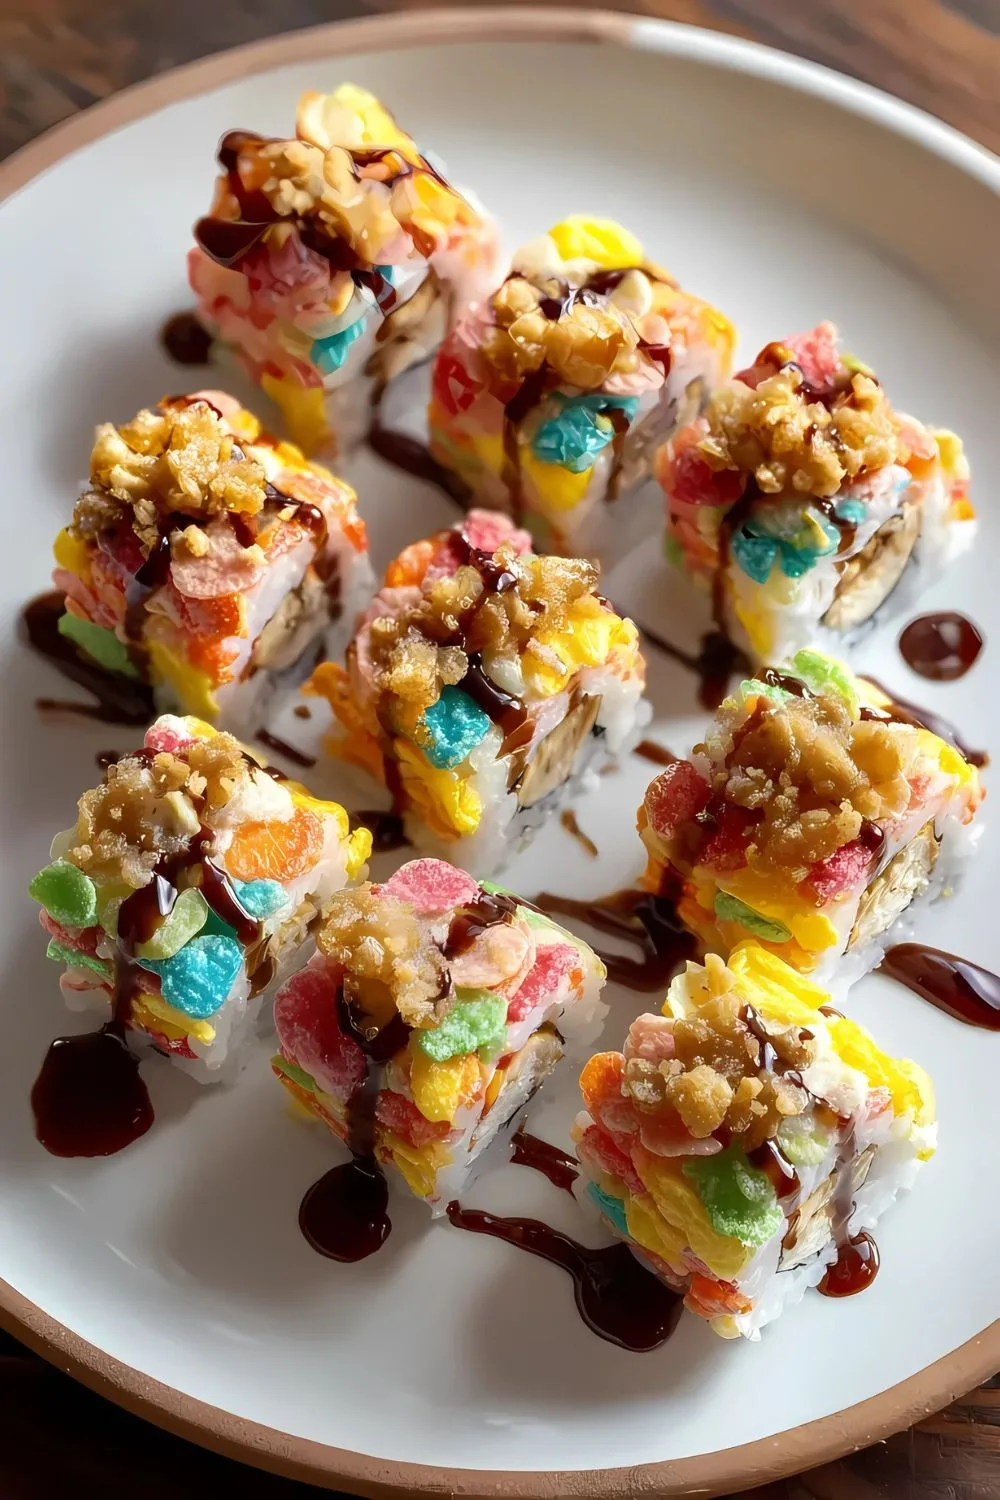
If desired, drizzle chocolate syrup over the finished pieces in decorative patterns. This optional step adds visual appeal and an extra layer of sweetness. Arrange your colorful sushi pieces on a serving platter and prepare to watch faces light up with delight.
Additional Tips for Making this Recipe Better
After making this recipe countless times, I’ve discovered several tricks that make the difference between good and amazing results:
- I always have wet hands when handling the mixture – This prevents the sticky marshmallow from clinging to my fingers and makes shaping much easier
- I work in small batches – Rather than trying to shape all the mixture at once, I find it easier to work with one roll at a time while keeping the rest covered
- I chill my knife between cuts – Running the blade under cold water and drying it between slices creates cleaner, more professional-looking pieces
- I let the mixture cool just enough – Too hot and it won’t hold shape; too cool and it becomes difficult to mold, so timing is everything
- I prep all ingredients beforehand – Having everything measured and ready prevents rushing during the critical mixing and shaping phases
How to Serve Fruity Pebbles Sushi Recipe
Transform your kitchen creation into a stunning presentation with these serving suggestions:
- Arrange on a white platter – The contrast makes the rainbow colors pop beautifully, creating an Instagram-worthy display
- Provide chopsticks – Add authenticity and fun by offering chopsticks alongside regular forks for the full sushi experience
- Create a themed spread – Pair with other creative treats or even serve alongside savory options like Honey Mustard Chicken Drumsticks Recipe for a playful meal contrast
- Add fresh garnishes – Scatter fresh berries, mint leaves, or edible flowers around the platter for extra visual appeal
- Serve with dipping sauces – Offer small bowls of melted chocolate, caramel, or even fruit purees for variety
- Use bamboo serving boards – Enhance the sushi theme with traditional Japanese-style presentation boards
Nutritional Information
Understanding the nutritional content helps you enjoy this treat as part of a balanced diet:
Each serving of Fruity Pebbles Sushi contains approximately these nutritional values:
- Calories: 300 per serving
- Protein: 3 grams from marshmallows and minimal amounts in cereal
- Carbohydrates: 65 grams primarily from cereal, marshmallows, and fruit components
- Fat: 4 grams mainly from butter and small amounts in cereal
How to Store Fruity Pebbles Sushi
Proper storage keeps your colorful creation fresh and delicious for future enjoyment.
- Room Temperature Storage: Keep in an airtight container for up to 24 hours in a cool, dry place. This method maintains the best texture and prevents the fruit roll-ups from becoming too sticky.
- Refrigerator Storage: Store in the refrigerator for up to 3 days in a sealed container with parchment paper between layers. Allow pieces to come to room temperature for 10 minutes before serving for optimal texture.
- Freezing Guidelines: While possible, freezing isn’t recommended as it changes the texture of both marshmallows and fruit roll-ups. If you must freeze, wrap individually and use within one month, thawing completely before serving.
Why You’ll Love This Recipe
This Fruity Pebbles Sushi Recipe offers so many reasons to become your new favorite treat:
- Incredibly easy to make – With just 6 ingredients and 35 minutes total time, even beginners can create stunning results that look professionally made
- Kid-friendly fun – Children love helping with the rolling process, and the colorful appearance makes it an instant hit at birthday parties or family gatherings
- No-bake convenience – Perfect for hot summer days when you want something sweet without heating up the kitchen or dealing with complicated baking techniques
- Customizable for everyone – Endless variations mean you can adapt it for dietary restrictions, flavor preferences, or seasonal ingredients without losing the core appeal
- Perfect conversation starter – Guests are always amazed by the creative presentation and delighted by the playful twist on traditional sushi concepts
Common Mistakes to Avoid for Better Results
Learn from my experience to create perfect Fruity Pebbles Sushi every time:
- Don’t overheat the marshmallows – High heat causes them to become tough and stringy instead of smooth and creamy, making the mixture difficult to work with
- Avoid working too slowly – The marshmallow mixture firms up quickly, so have everything prepared and work efficiently to prevent cracking or splitting during rolling
- Don’t skip the cooling period – Rolling while too hot causes the fruit roll-ups to melt and become messy, while too cool makes the mixture too firm to shape properly
- Never use frozen bananas – They become mushy when thawed and create soggy centers that fall apart when sliced, ruining the clean sushi appearance
- Don’t slice with a dull knife – Clean, sharp cuts are essential for professional-looking pieces; a dull blade will tear the fruit roll-up wrapper and create messy edges
Fruity Pebbles Sushi Recipe
Ingredients
Method
- Start by placing your large pot over medium heat and adding the butter. Allow it to melt completely, creating a smooth base for your marshmallows.
- Once melted, add all marshmallows and stir continuously until they transform into a smooth, creamy mixture. This process takes about 5-7 minutes and requires constant attention to prevent burning.
- Remove the pot from heat immediately once marshmallows are melted. Pour in all 4 cups of Fruity Pebbles cereal at once and stir vigorously until every colorful piece is completely coated.
- The mixture should look like a rainbow explosion with each piece glistening with marshmallow coating. Work quickly during this step as the mixture begins to firm up as it cools.
- Allow the cereal mixture to cool for about 5-10 minutes until it’s comfortable to handle but still pliable. Meanwhile, lay out your fruit roll-ups on a clean surface, smoothing out any wrinkles. Once cooled, take portions of the mixture and shape them into rectangles that match the width of your fruit roll-ups.
- Place one banana at the edge of each cereal rectangle, positioning it so it will be centered when rolled. The banana acts as your “fish” filling, providing a creamy contrast to the crunchy exterior. Make sure the banana is positioned straight to ensure even slices later.
- Carefully roll each cereal rectangle around the banana, using the fruit roll-up to wrap and seal the entire creation. Apply gentle pressure while rolling to ensure everything stays together. The fruit roll-up should stick naturally, but you can press the seams gently to secure them.
- Using a sharp knife, slice each roll into bite-sized pieces, approximately 1-inch thick. Clean your knife between cuts to prevent sticking and ensure clean edges. Each roll should yield about 6-8 perfect sushi pieces depending on the size of your bananas.
- If desired, drizzle chocolate syrup over the finished pieces in decorative patterns. This optional step adds visual appeal and an extra layer of sweetness. Arrange your colorful sushi pieces on a serving platter and prepare to watch faces light up with delight.