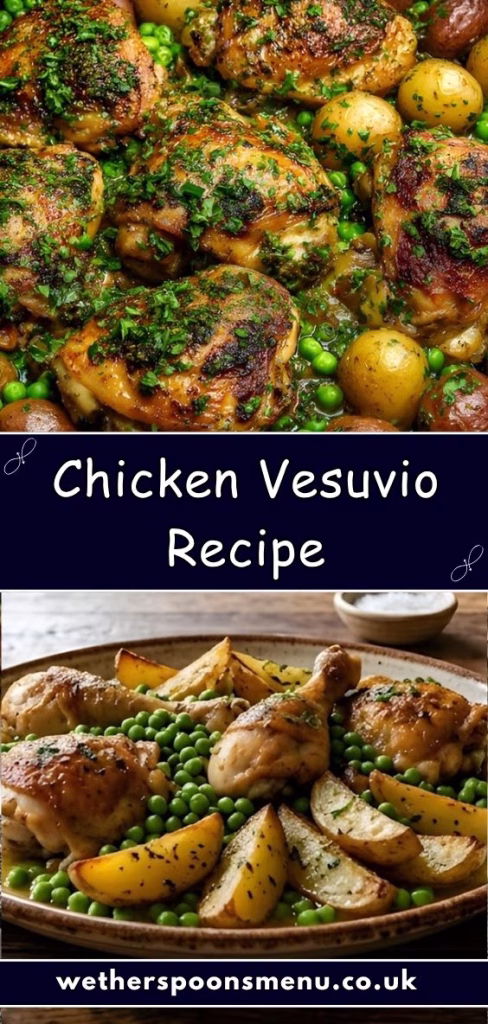
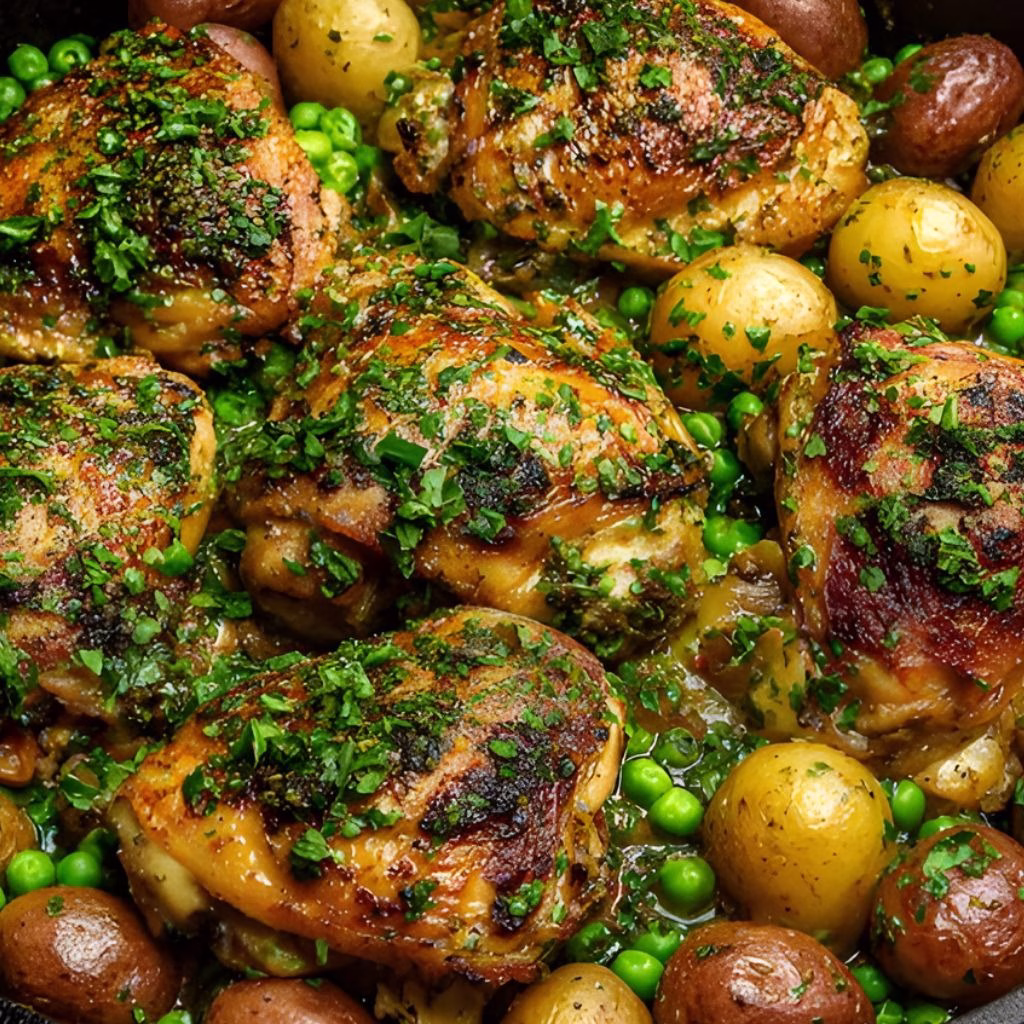
I recently made this Chicken Vesuvio Recipe, and honestly, it felt like I brought a little piece of a Chicago Italian restaurant right into my kitchen. The aroma of garlic, herbs, and white wine filled the air in the most comforting way.
I loved how the chicken turned out crispy on the outside while staying juicy inside. The potatoes soaked up all those rich flavors, making every bite satisfying. If you enjoy bold, savory dishes, this one is absolutely worth trying. You might also like high-protein-tuna-pasta-salad-recipe/ for another high-protein meal idea.
Ingredients
Here’s everything you’ll need to make this flavorful dish at home.
- 4 bone-in, skin-on chicken thighs or drumsticks – these cuts stay juicy and develop crispy skin better than boneless pieces.
- 3 medium Yukon gold potatoes, cut into wedges – they hold their shape and absorb flavor beautifully.
- 6 cloves garlic, minced – fresh garlic gives a stronger, more authentic taste than pre-minced.
- 1/2 cup dry white wine – adds depth and balances the richness of the chicken.
- 1 cup chicken stock – enhances the savory base and keeps the dish moist.
- 1/3 cup olive oil – helps crisp the chicken and potatoes evenly.
- 1 teaspoon dried oregano – classic herb that pairs perfectly with garlic and chicken.
- 1/2 teaspoon crushed red pepper flakes – adds a subtle heat (adjust to taste).
- Salt and black pepper to taste – essential for seasoning each layer.
- 1 cup frozen peas – added at the end for a pop of color and sweetness.
- 2 tablespoons fresh parsley, chopped – brightens the dish before serving.
- Juice of half a lemon – gives a fresh, zesty finish.
Note: This recipe serves about 4 people comfortably, depending on portion size.
Variations
You can easily tweak this recipe to match your taste or dietary needs.
- Use boneless chicken thighs if you prefer quicker cooking, though flavor may be slightly lighter.
- Swap white wine with extra chicken stock for an alcohol-free version.
- Add mushrooms or bell peppers for extra texture and flavor.
- Use sweet potatoes instead of Yukon gold for a slightly sweeter twist.
- Reduce oil and use skinless chicken for a lighter version.
Cooking Time
Here’s how long you’ll need to prepare and cook this dish.
- Prep Time: 15 minutes
- Cooking Time: 45 minutes
- Total Time: 1 hour
Equipment You Need
Make sure you have these tools ready before starting.
- Large oven-safe skillet – for searing and baking in one pan
- Cutting board – to prep chicken and vegetables
- Sharp knife – for clean and precise cuts
- Tongs – to flip chicken easily without tearing the skin
- Measuring cups and spoons – for accurate ingredient portions
How to Make Chicken Vesuvio Recipe?
Prepare the Ingredients
Start by washing and cutting the potatoes into wedges. Pat the chicken dry with paper towels to help it crisp better. Season both chicken and potatoes generously with salt and pepper.
Sear the Chicken
Heat olive oil in a large oven-safe skillet over medium-high heat. Place the chicken skin-side down and let it cook until golden brown and crispy. Flip and cook the other side briefly before removing.
Cook the Potatoes
In the same skillet, add the potato wedges and let them brown in the flavorful oil. Turn them occasionally so they get a nice golden crust. This step builds the base flavor of the dish.
Add Garlic and Seasoning
Once the potatoes are lightly browned, add minced garlic, oregano, and red pepper flakes. Stir gently so the garlic doesn’t burn. The aroma at this stage is incredibly rich and inviting.
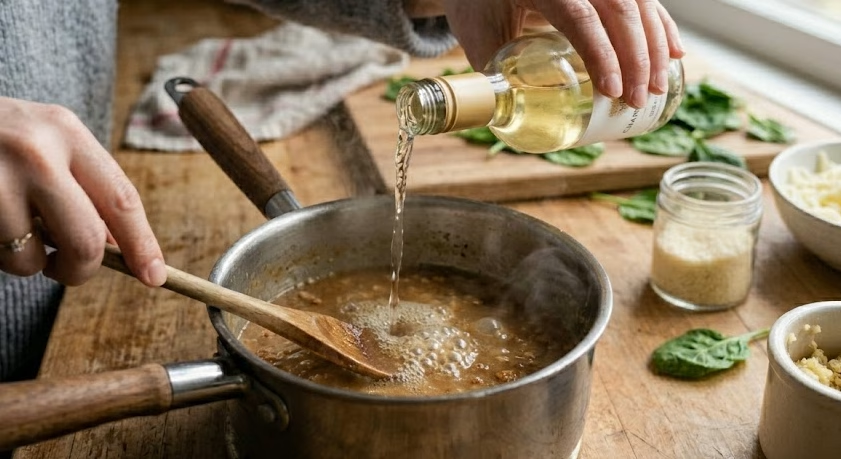
Deglaze with Wine
Pour in the white wine and let it simmer for a couple of minutes. Scrape up any browned bits from the bottom of the pan. This step adds depth and enhances the overall flavor.
Add Stock and Combine
Pour in the chicken stock and return the chicken to the skillet. Arrange everything so the chicken sits on top of the potatoes. This allows even cooking and flavor absorption.
Bake Until Tender
Transfer the skillet to a preheated oven and bake until the chicken is fully cooked and tender. The potatoes should be soft inside and slightly crisp outside. Everything will soak up the delicious sauce.
Finish with Peas and Lemon
Add the peas during the last few minutes of cooking. Once done, remove from the oven and drizzle with fresh lemon juice. Sprinkle chopped parsley on top before serving.
Additional Tips for Making this Recipe Better
Here are a few things I learned that made a big difference.
- I always pat the chicken dry before cooking—it helps achieve that crispy skin.
- Don’t overcrowd the pan; I noticed better browning when everything had space.
- I prefer using fresh garlic instead of jarred—it really boosts the flavor.
- Let the dish rest for a few minutes before serving so the flavors settle.
- I sometimes add extra lemon juice at the end for a brighter taste.
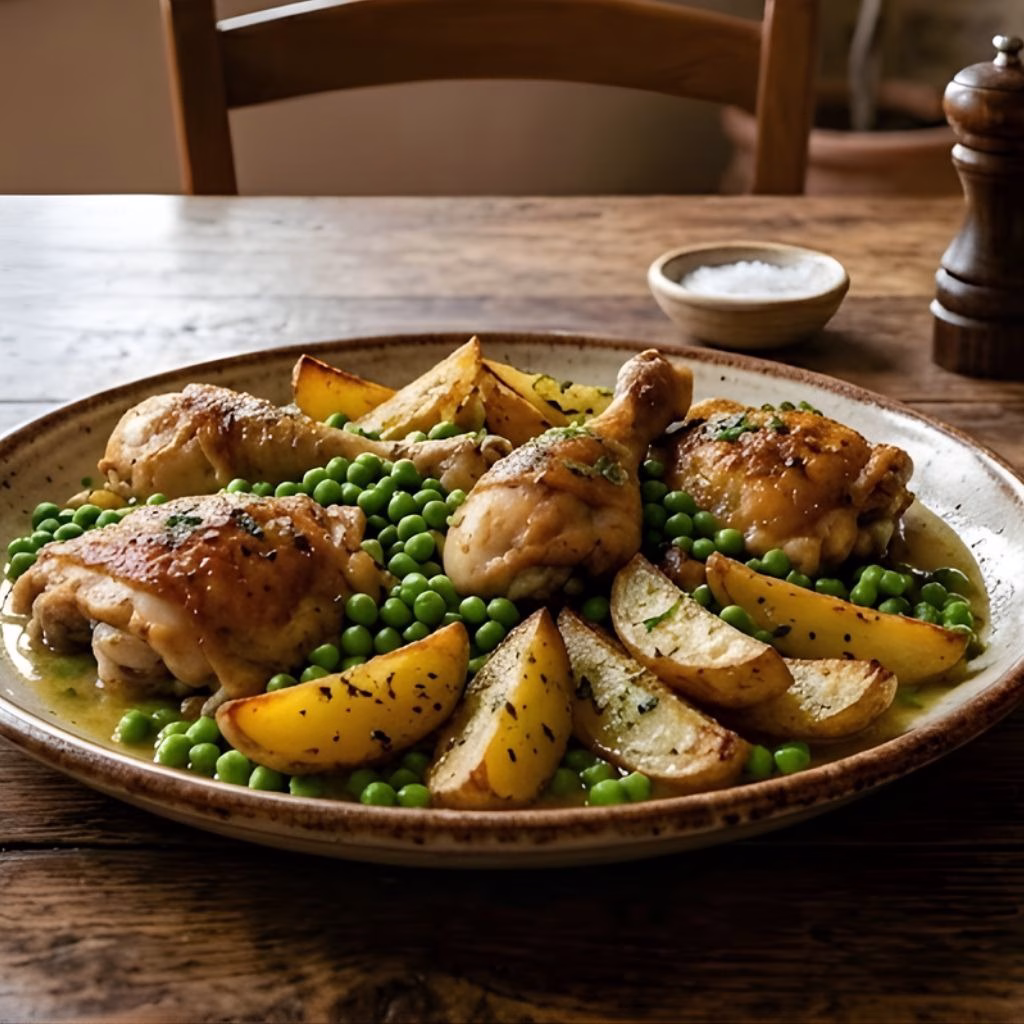
How to Serve Chicken Vesuvio Recipe?
This dish is best served hot straight from the skillet. I like to plate it with the chicken on top and potatoes underneath for a rustic look. Garnish with extra parsley and lemon wedges for a fresh touch. It pairs beautifully with crusty bread to soak up the sauce or a simple green salad on the side. For a lighter refreshing option, you can also enjoy creamy-cucumber-shrimp-salad-recipe/ alongside it.
Nutritional Information
Here’s a quick look at the approximate nutritional values per serving.
- Calories: ~450 kcal
- Protein: ~30g
- Carbohydrates: ~25g
- Fat: ~25g
Make Ahead and Storage
Storing
Allow the dish to cool completely before transferring it to an airtight container. It stays fresh in the refrigerator for up to 3 days. Keep the sauce with the chicken to maintain moisture.
Freezing
You can freeze Chicken Vesuvio for up to 2 months. Store it in freezer-safe containers or bags. For best results, freeze without the peas and add them fresh when reheating.
Reheating
Reheat in the oven at a low temperature to keep the chicken crispy. You can also use a stovetop skillet with a splash of stock. Avoid microwaving if possible, as it can make the chicken soggy.
Why You’ll Love This Recipe?
Here’s why this recipe quickly became one of my favorites.
- It’s packed with bold flavors from garlic, herbs, and wine, making every bite delicious.
- The one-pan method makes cooking and cleanup super easy and convenient.
- It’s versatile—you can adjust ingredients based on what you have at home.
- The crispy chicken and tender potatoes create a perfect texture combination.
- It feels like a restaurant-quality dish but is simple enough to make at home.
Chicken Vesuvio Recipe
Ingredients
Method
- Start by washing and cutting the potatoes into wedges. Pat the chicken dry with paper towels to help it crisp better. Season both chicken and potatoes generously with salt and pepper.
- Heat olive oil in a large oven-safe skillet over medium-high heat. Place the chicken skin-side down and let it cook until golden brown and crispy. Flip and cook the other side briefly before removing.
- In the same skillet, add the potato wedges and let them brown in the flavorful oil. Turn them occasionally so they get a nice golden crust. This step builds the base flavor of the dish.
- Once the potatoes are lightly browned, add minced garlic, oregano, and red pepper flakes. Stir gently so the garlic doesn’t burn. The aroma at this stage is incredibly rich and inviting.
- Pour in the white wine and let it simmer for a couple of minutes. Scrape up any browned bits from the bottom of the pan. This step adds depth and enhances the overall flavor.
- Pour in the chicken stock and return the chicken to the skillet. Arrange everything so the chicken sits on top of the potatoes. This allows even cooking and flavor absorption.
- Transfer the skillet to a preheated oven and bake until the chicken is fully cooked and tender. The potatoes should be soft inside and slightly crisp outside. Everything will soak up the delicious sauce.
- Add the peas during the last few minutes of cooking. Once done, remove from the oven and drizzle with fresh lemon juice. Sprinkle chopped parsley on top before serving.
Notes
- I always pat the chicken dry before cooking—it helps achieve that crispy skin.
- Don’t overcrowd the pan; I noticed better browning when everything had space.
- I prefer using fresh garlic instead of jarred—it really boosts the flavor.
- Let the dish rest for a few minutes before serving so the flavors settle.
- I sometimes add extra lemon juice at the end for a brighter taste.