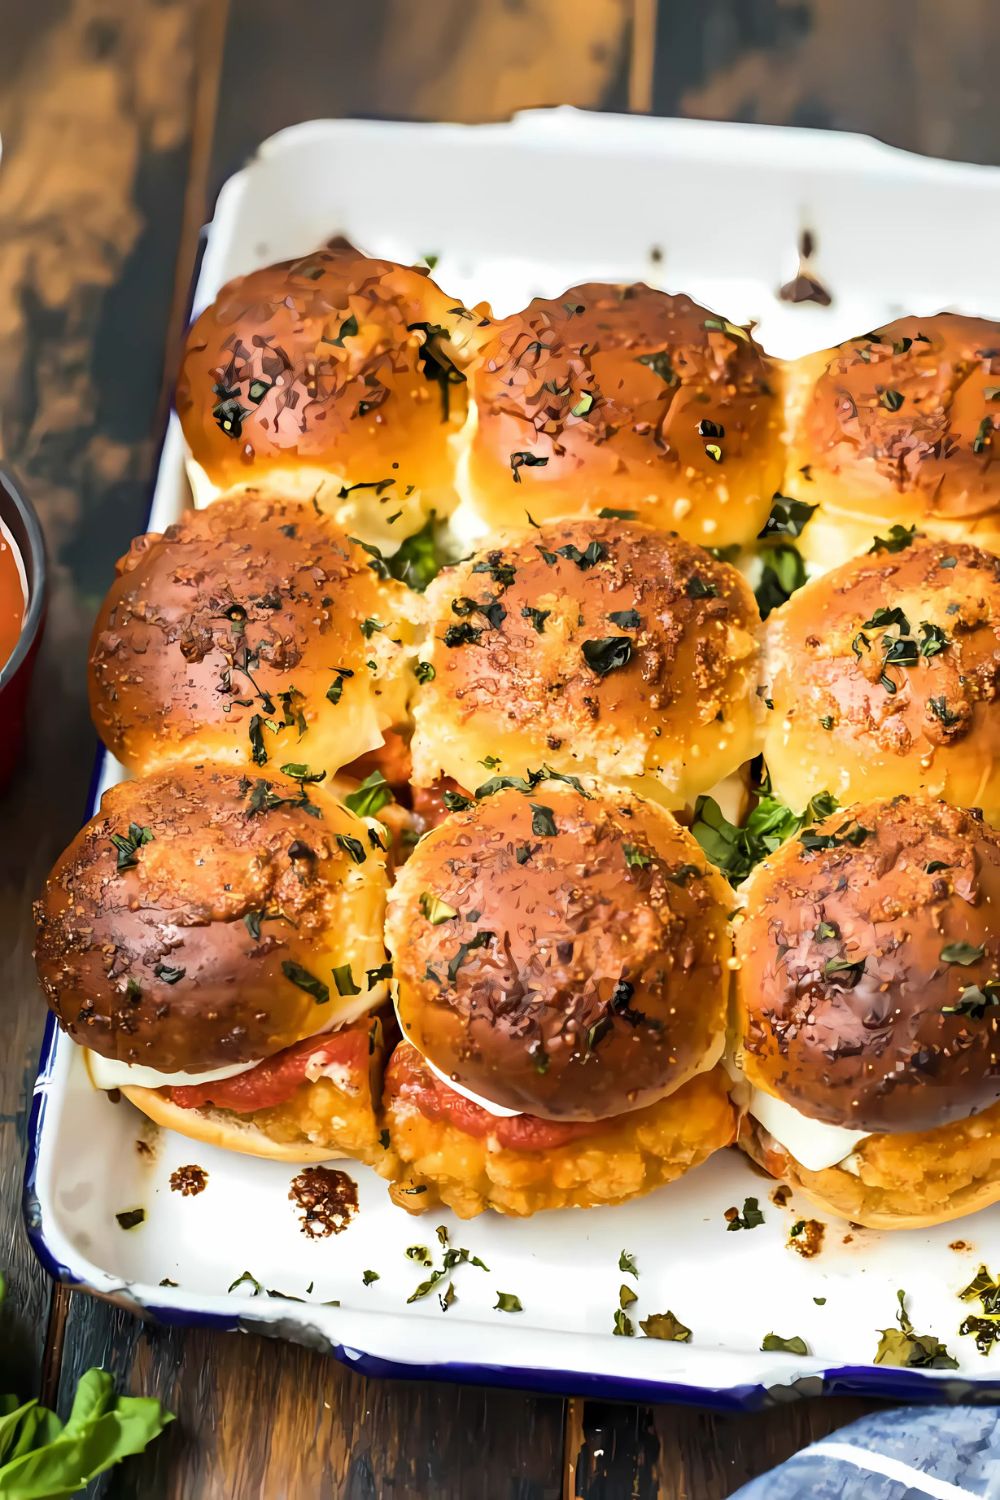
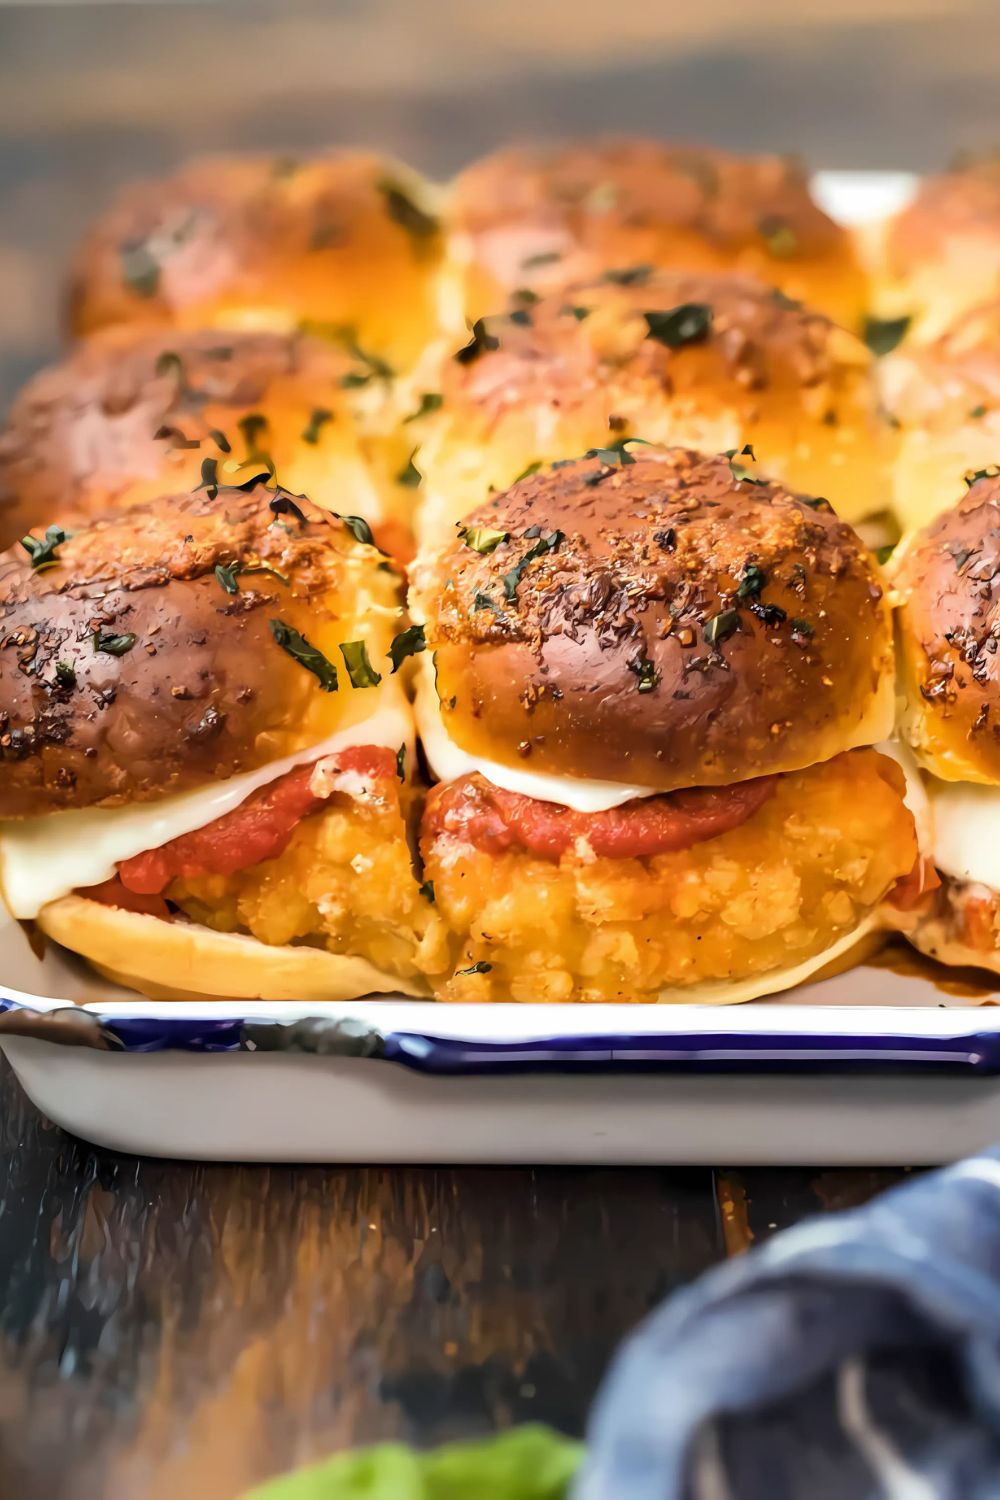
I’ve made countless recipes in my kitchen, but trust me when I say this Chicken Parmesan Sliders recipe is pure magic! They’re a bite-sized twist on a classic chicken parm dish but with a gooey, cheesy, comfort-food vibe that’s hard to resist.
I learned a thing or two about making flavorful sliders that taste just like comfort food at its best. Whether you’re hosting a party or planning an easy dinner, this recipe will instantly become a favorite. And if you’re a fan of creamy chicken dishes, you might also love this Chicken in Basil Cream Sauce recipe.
Ingredients for Chicken Parmesan Sliders
Every ingredient in this recipe works together to create the perfect slider. Here’s what you’ll need:
- 10 oz King’s Hawaiian Slider Buns – Their slightly sweet flavor complements the savory filling. Pre-sliced rolls make this super convenient.
- 10-12 frozen chicken strips – Fully cooked strips save time, but make sure to bake or fry them until crispy for the best texture.
- 1 cup marinara sauce – A rich and thick sauce is ideal. Opt for a high-quality jar or homemade marinara for maximum flavor.
- 9 slices mozzarella cheese – Whole milk mozzarella melts beautifully, creating that signature cheesy pull.
- ½ cup salted butter, melted – This enhances the rolls with a golden, buttery glaze.
- 1 oz Italian seasoning – A mix of dried herbs adds an earthy depth of flavor.
- 2 tbsp freshly grated Parmesan cheese – Sprinkle this in the glaze for a nutty, salty kick.
- Fresh basil (optional) – Adds a pop of color and a fresh, fragrant taste when topping the sliders.
Note: This recipe makes 9 sliders. Adjust the ingredient amounts if you want to prepare a smaller or larger batch.
Creative Variations for Chicken Parmesan Sliders
Making recipes your own is half the fun! Here are some fantastic variations to try:
- Dairy-Free: Swap mozzarella for plant-based cheese and use olive oil instead of butter for the glaze.
- Spicy Kick: Add a tablespoon of red chili flakes to the marinara sauce for some heat.
- Sugar-Free Option: Use a sugar-free marinara sauce and check for unsweetened rolls.
- Extra Cheesy: Double the Parmesan in the glaze or add a handful of shredded mozzarella inside the slider buns before baking.
Cooking Time
Here’s how much time you’ll need to whip up these sliders:
- Prep Time: 10 minutes
- Cooking Time: 25 minutes
- Total Time: 35 minutes
Equipment You Need
You won’t need much, but having these makes the process seamless:
- Baking Pan – For assembling and baking the sliders.
- Small Bowl – For mixing the butter glaze.
- Pastry Brush – To apply the buttery mixture evenly over the sliders.
- Knife – Helpful for slicing fresh basil or cutting baked sliders.
How to Make Chicken Parmesan Sliders
Making these sliders is straightforward, and the results are worth every step. Gather your ingredients, and follow along!
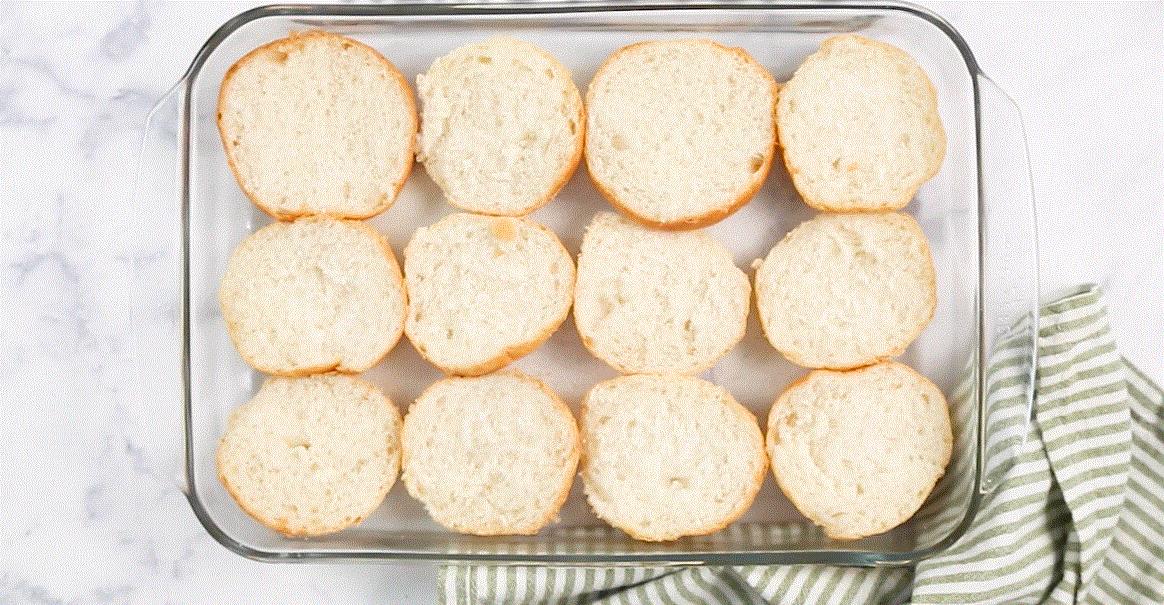
Step 1: Prep the Slider Rolls
Start by preheating the oven to 375°F. Arrange the bottom halves of the slider buns on your baking tray or pan. A sturdy Hawaiian roll base will hold all the delicious flavors in one bite.
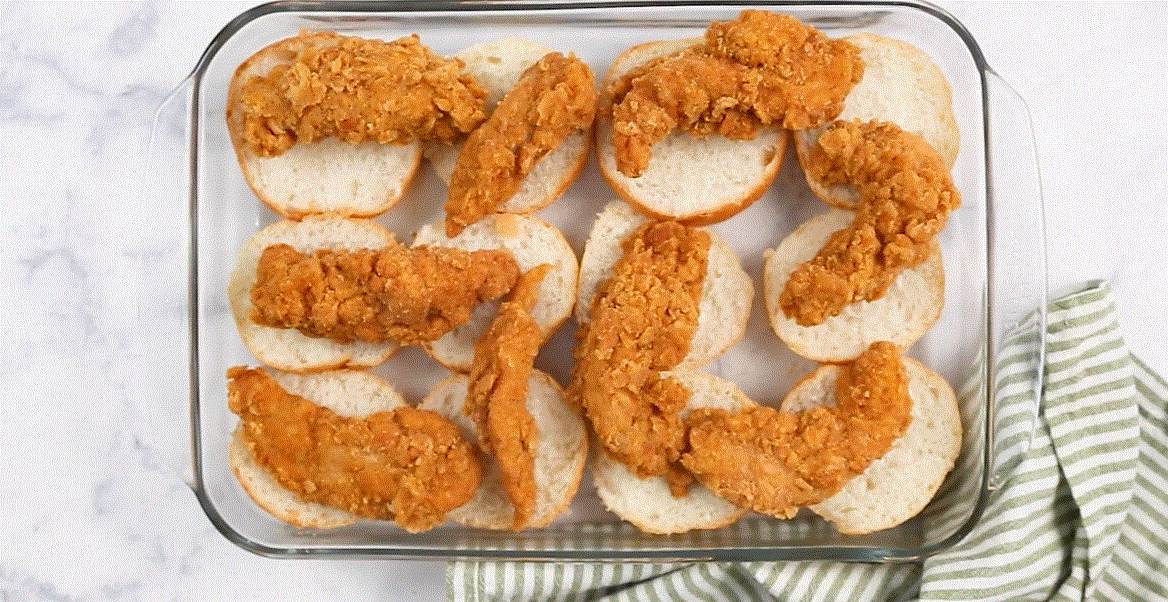
Step 2: Add the Chicken
Lay the crispy cooked chicken strips evenly on top of each bun base. It’s important to ensure the chicken fully covers the bun base so every bite includes that satisfying crunch.
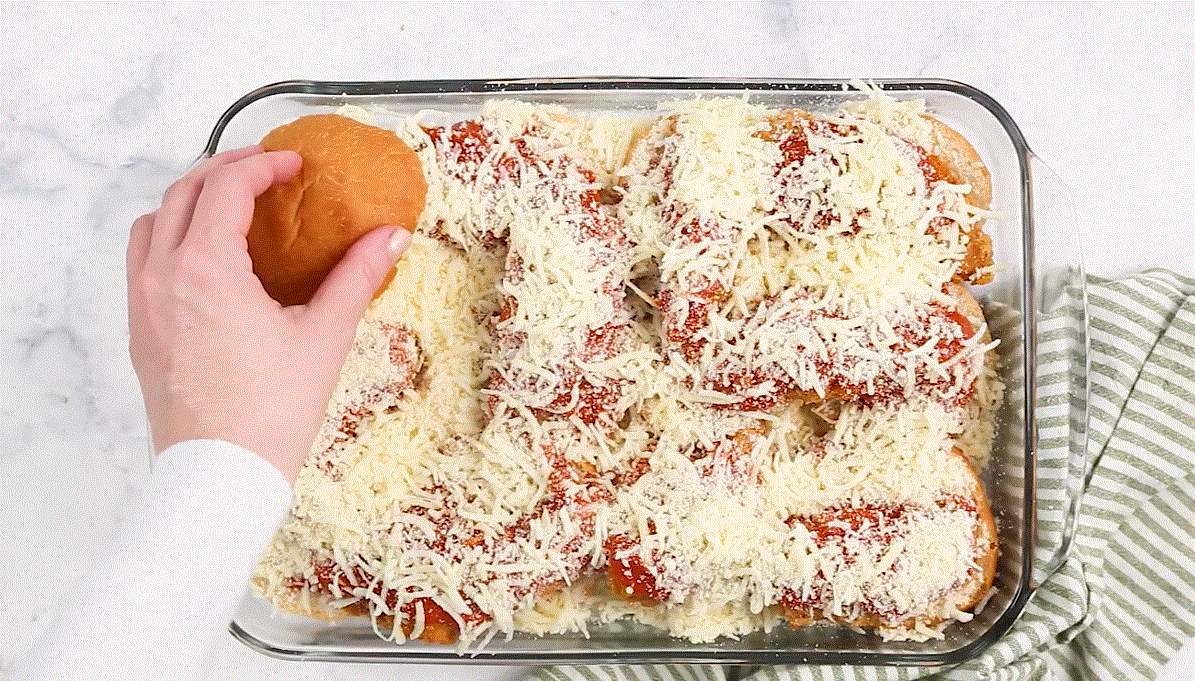
Step 3: Top It with Sauce and Cheese
Spread marinara sauce generously over the chicken strips, ensuring each piece is well-coated. Then, place a slice of mozzarella cheese on top of each bun. The cheese should just begin to melt into the sauce for ooey-gooey goodness.
Step 4: Assemble the Sliders
Place the top halves of the slider buns over the cheese. This step seals in the flavor and preps the sliders for baking.
Step 5: Butter Glaze Time
Mix melted butter, Italian seasoning, and Parmesan in a small bowl. Brush the glaze liberally over the tops of the buns. This step adds flavor and helps the buns bake to a delicious golden brown.
Step 6: Bake to Perfection
Bake the sliders in the preheated oven for about 20 minutes. When they’re golden brown, the cheese is melted, and everything smells like heaven, you know they’re done. Slice and serve immediately!
Additional Tips for Making This Recipe Better
After making this recipe a few times, I’ve learned a few tricks to make it even better:
- Don’t skip the butter glaze. It makes all the difference in achieving perfect golden buns.
- Use crispy chicken! Soggy chicken strips can ruin the texture. Baking or frying the strips longer ensures a great crunch.
- Pre-toast the base of the rolls. This adds a subtle crisp layer and prevents sogginess.
- Make it ahead. Prep and assemble in advance, then bake right before serving for fresh, warm sliders.
How to Serve Chicken Parmesan Sliders
Pair your sliders with crowd-pleasing sides for a complete meal. Here are a few ideas:
- Serve with a side of marinara sauce for dipping.
- Add a salad like Caesar or a simple Italian mixed green salad.
- Pair with crispy fries or Mushroom Chicken for a dinner-party-worthy spread.
Presentation tip? Brush a tiny bit of melted butter over just before serving and sprinkle freshly chopped basil on top for color.
Nutritional Information
These sliders are indulgent yet balanced. Here’s the breakdown per serving:
- Calories: 807
- Protein: 51g
- Carbohydrates: 47g
- Fat: 47g
How to Store Chicken Parmesan Sliders
You’ll want to enjoy these fresh, but leftovers are never a bad thing! Here’s how to store them:
- Restoring: Store sliders in an airtight container in the fridge for up to 3 days.
- Freezing: Freeze individually wrapped sliders in aluminum foil for up to 3 months. Thaw overnight in the fridge.
- Reheating: Use an oven set to 350°F and bake sliders for 10-15 minutes to maintain their crisp texture and gooey center.
Check some similar dinner recipe ideas here.
Why You’ll Love This Recipe
Here’s why this dish will become a staple:
- Quick to Make: Only 35 minutes from start to finish!
- Great for Crowds: Perfect for parties, game-day gatherings, or family dinners.
- Customizable: You can easily tweak this recipe to suit allergies, preferences, or dietary needs.
- Packed with Flavor: Every bite is a blend of crispy chicken, melty cheese, and herbaceous butter glaze.
- Versatile: These sliders work as appetizers, mains, or even a late-night snack.
FAQs
Can I use shredded cheese instead of slices?
Yes, but make sure to use enough to cover the chicken for maximum cheesy goodness.
What do I do if my buns get too crispy?
Reduce the oven temperature slightly or cover the pan loosely with aluminum foil while baking.
Can I use grilled chicken strips instead?
Definitely! Grilled chicken offers a healthier and slightly smoky variation.

Chicken Parmesan Sliders Recipe
Ingredients
Method
- Start by preheating the oven to 375°F. Arrange the bottom halves of the slider buns on your baking tray or pan. A sturdy Hawaiian roll base will hold all the delicious flavors in one bite.
- Lay the crispy cooked chicken strips evenly on top of each bun base. It’s important to ensure the chicken fully covers the bun base so every bite includes that satisfying crunch.
- Spread marinara sauce generously over the chicken strips, ensuring each piece is well-coated. Then, place a slice of mozzarella cheese on top of each bun. The cheese should just begin to melt into the sauce for ooey-gooey goodness.
- Place the top halves of the slider buns over the cheese. This step seals in the flavor and preps the sliders for baking.
- Mix melted butter, Italian seasoning, and Parmesan in a small bowl. Brush the glaze liberally over the tops of the buns. This step adds flavor and helps the buns bake to a delicious golden brown.
- Bake the sliders in the preheated oven for about 20 minutes. When they’re golden brown, the cheese is melted, and everything smells like heaven, you know they’re done. Slice and serve immediately!
Notes
- Don’t skip the butter glaze. It makes all the difference in achieving perfect golden buns.
- Use crispy chicken! Soggy chicken strips can ruin the texture. Baking or frying the strips longer ensures a great crunch.
- Pre-toast the base of the rolls. This adds a subtle crisp layer and prevents sogginess.
- Make it ahead. Prep and assemble in advance, then bake right before serving for fresh, warm sliders.