Root Beer Float Pie: A Cool No-Bake Dessert You’ll Crave
When I first made this Root Beer Float Pie, I didn’t expect it to taste so much like the classic drink I grew up loving. The combination of root beer, pudding, and whipped topping reminded me of summer evenings with my family.
It’s one of those desserts that makes everyone smile after the first bite. What I love most is how simple it is—no oven required, just mix, chill, and enjoy. Honestly, it feels even easier than making a Pink Lemonade Pie, yet the end result is just as impressive.

Additional Tips for Making This Recipe Better
After trying this recipe a few times, I’ve learned some tricks to make it even more delicious and foolproof. These tips come from my personal kitchen experience:
- Use regular root beer, not diet. The sweetness and flavor are much stronger, which makes the filling richer.
- Chill your mixing bowl and whisk before making the pudding mixture. It helps the filling set faster.
- Add just 1 tablespoon of root beer extract at first. Taste the mixture before adding more—it can get overpowering if you add too much.
- Garnish right before serving. Whipped cream and cherries look fresh and vibrant if you add them at the last minute.
- For a twist, drizzle some chocolate syrup on top before freezing—it gives the pie a float-meets-sundae vibe.
Fun Variations You Can Try
The beauty of this pie is its versatility. With a few swaps, you can create a dessert that matches your dietary needs or personal taste. You don’t have to stick to the classic version every time.
- Dairy-free option: Use almond or oat milk instead of regular milk, and swap Cool Whip for a dairy-free whipped topping.
- Sugar-free version: Choose sugar-free pudding mix and a sugar-free root beer for a lighter version.
- Chocolate twist: Add cocoa powder or chocolate pudding mix for a chocolate root beer float vibe.
- Extra toppings: Try crushed cookies, mini marshmallows, or even sprinkles for fun texture.
If you love exploring creative dinner recipes, this pie is proof that you can get playful in the kitchen without spending hours.
Equipment You’ll Need
You don’t need much to pull off this no-bake dessert. Here’s the simple equipment list:
- Mixing bowl – To combine the pudding, milk, and root beer.
- Whisk – For thickening the pudding mixture quickly.
- Spatula – Helps fold in the whipped topping without losing airiness.
- Measuring cups and spoons – Ensures your ingredients are accurate.
- Freezer-safe pie dish – Keeps the pie chilled and firm until serving.
How to Serve Root Beer Float Pie?
Serving this pie is just as fun as making it. Presentation makes all the difference, especially if you’re serving it at a party or family dinner.
- Slice the pie into even portions and serve chilled.
- Add a swirl of whipped cream on each slice before serving.
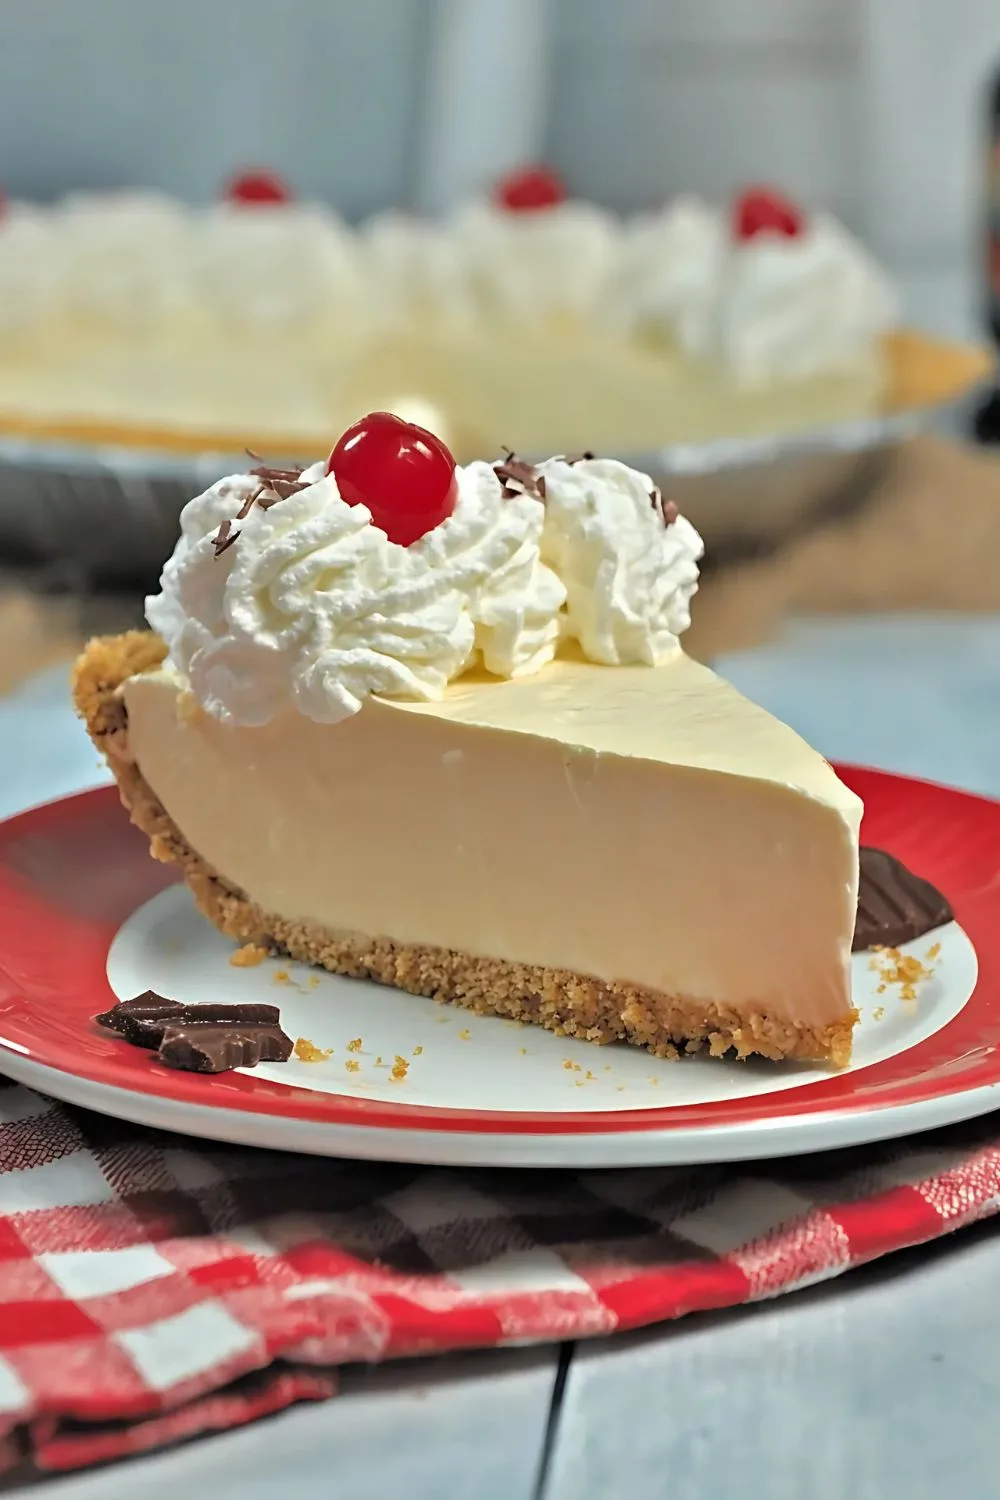
- Top with maraschino cherries to bring back the classic float look.
- Drizzle with chocolate syrup or caramel for extra sweetness.
- Pair a slice with coffee or a small scoop of vanilla ice cream for a deluxe dessert spread.
This pie pairs wonderfully alongside other desserts like Mango Float, giving you a playful dessert table everyone will love.

Calories Count
Here’s the nutritional breakdown for one slice (1/8 of the pie):
- Calories: 263
- Sugar: 24g
- Sodium: 104mg
- Fat: 14g
- Saturated Fat: 9g
- Unsaturated Fat: 3g
- Trans Fat: 0g
- Carbohydrates: 34g
- Fiber: <1g
- Protein: 2g
- Cholesterol: 31mg
How to Store Root Beer Float Pie
This pie keeps really well if stored properly. Here’s how I handle leftovers at home:
- Refrigerating: Store covered in the fridge for up to 3 days. It won’t be as firm as frozen, but it will still taste amazing.
- Freezing: This is the best option—keep the pie wrapped in plastic wrap or foil. It will stay fresh for up to 1 month.
- Restoring before serving: If frozen, let it sit at room temperature for about 10 minutes before slicing. It makes cutting much easier.
Why You’ll Love This Recipe
Let me share a few reasons why I keep making this dessert again and again:
- Super easy to prepare – No baking, no complicated steps—just mix and freeze.
- Customizable – You can change flavors, toppings, or even make it sugar-free.
- Great for any occasion – Perfect for birthdays, potlucks, or just a weekend treat.
- Family-friendly – Both kids and adults love it; it’s nostalgic and fun.
- Budget-friendly – Simple ingredients you probably already have in your pantry.
This Root Beer Float Pie is one of those desserts that feels special but doesn’t demand much from you in the kitchen.
Root Beer Float Pie
Ingredients
Method
- In a large mixing bowl, whisk together the root beer, milk, pudding mix, and root beer extract. Keep whisking until the pudding thickens, which should take about two minutes. The extract is key—it enhances the flavor and makes the pie taste like a real float.
- Once the pudding mixture is thickened, gently fold in the Cool Whip using a spatula. Folding instead of stirring keeps the texture light and fluffy. This step transforms the mixture into a creamy filling that will set perfectly in the crust.
- Pour the creamy mixture into the prepared graham cracker crust. Spread it evenly with your spatula to avoid uneven freezing. Place the pie in the freezer for at least 8 hours, or overnight if possible. The longer it chills, the firmer and easier it is to slice.
- When you’re ready to serve, take the pie out of the freezer and let it sit for a few minutes so it’s easier to cut. Top each slice with whipped cream and a cherry to give it the authentic root beer float look. Serve chilled and enjoy the refreshing flavor in every bite.