Ingredients
Method
- First, heat your oven to 350°F and line 16 muffin cups with foil liners. Mix crushed chocolate wafers with melted butter until evenly coated. Press the mixture firmly into each liner so the crust sets properly and doesn’t crumble later.
- Beat softened cream cheese until smooth and fluffy, then add sugar and cocoa powder until combined. Mix in vanilla and red food coloring for classic red velvet flavor and appearance. Add eggs one at a time, mixing gently to keep the batter smooth and creamy.
- Spoon batter evenly into crust-filled cups, almost to the top. Bake for 20–25 minutes until centers are set, then cool briefly at room temperature. Refrigerate at least two hours so the texture becomes rich and firm.
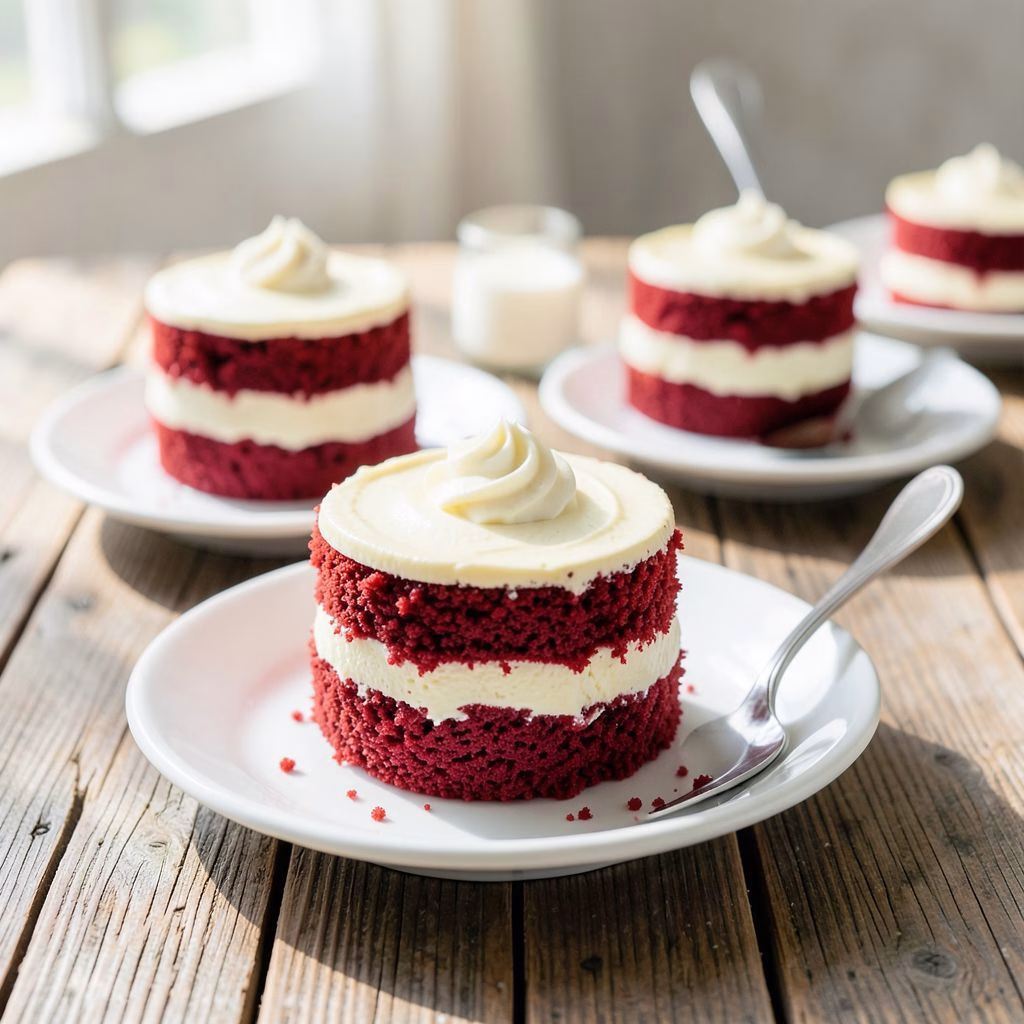
- Whip cream with sugar until stiff peaks form, then spoon or pipe onto chilled cheesecakes. Add chocolate curls or decorative toppings just before serving for an elegant finish. Serve cold for the best texture and taste.
Notes
• I always soften cream cheese fully to prevent lumps in the batter.
• Chilling the whipping bowl helps cream whip faster and fluffier.
• I press the crust very firmly so it doesn’t crumble when serving.
• I avoid overmixing once eggs are added to keep texture silky.
• Making them a day ahead actually improves flavor and consistency.
• Chilling the whipping bowl helps cream whip faster and fluffier.
• I press the crust very firmly so it doesn’t crumble when serving.
• I avoid overmixing once eggs are added to keep texture silky.
• Making them a day ahead actually improves flavor and consistency.