Start by preheating your oven to 350°F (175°C). This temperature ensures even baking throughout the loaf. Grease your 9x5 inch loaf pan with butter or cooking spray, then line with parchment paper. This double protection makes removing the finished bread much easier.
In your large mixing bowl, whisk together flour, baking powder, baking soda, salt, and dried dill weed. Make sure everything is well combined and no lumps remain. Proper mixing at this stage prevents uneven texture in your finished bread. Set this bowl aside while you prepare the wet ingredients.
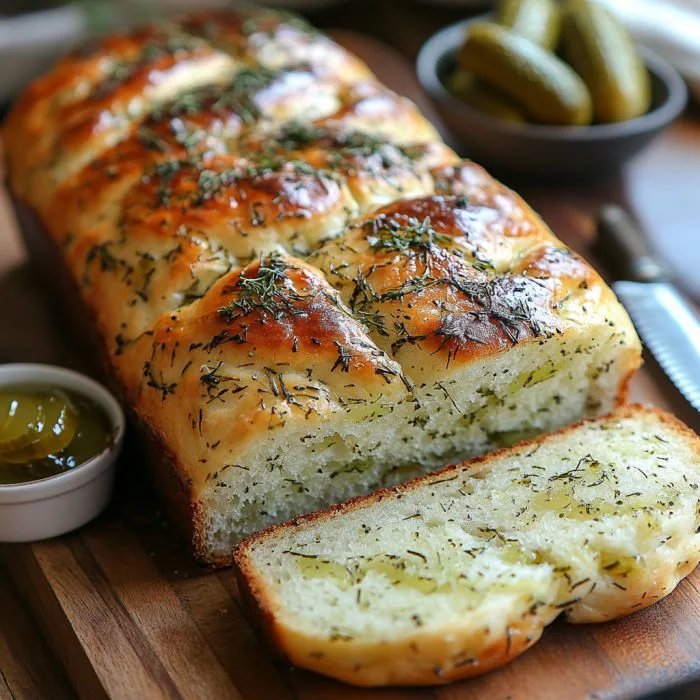
Beat the eggs in your medium bowl until smooth and well combined. Add buttermilk and mix thoroughly to create a uniform liquid base. Fold in your finely chopped and well-drained pickles, ensuring they're evenly distributed throughout the mixture. The pickles should be chopped small enough to spread evenly but large enough to provide bursts of flavor.
Pour the wet mixture into your dry ingredients and stir gently until just combined. Don't overmix as this can make your bread tough and dense. The batter should look slightly lumpy, which is perfectly normal for quick breads. If using melted butter, fold it in now with just a few gentle strokes.
Transfer your batter to the prepared loaf pan and smooth the top gently with a spatula. Bake for 50-60 minutes until the top is golden brown and a toothpick inserted in the center comes out clean. The bread should spring back lightly when touched on top. Start checking at 50 minutes to avoid overbaking.
Remove the bread from the oven and let it cool in the pan for 10 minutes. This prevents the bread from falling apart when you remove it. Turn the loaf out onto a wire rack to cool completely before slicing. Proper cooling ensures the best texture and makes slicing much easier.