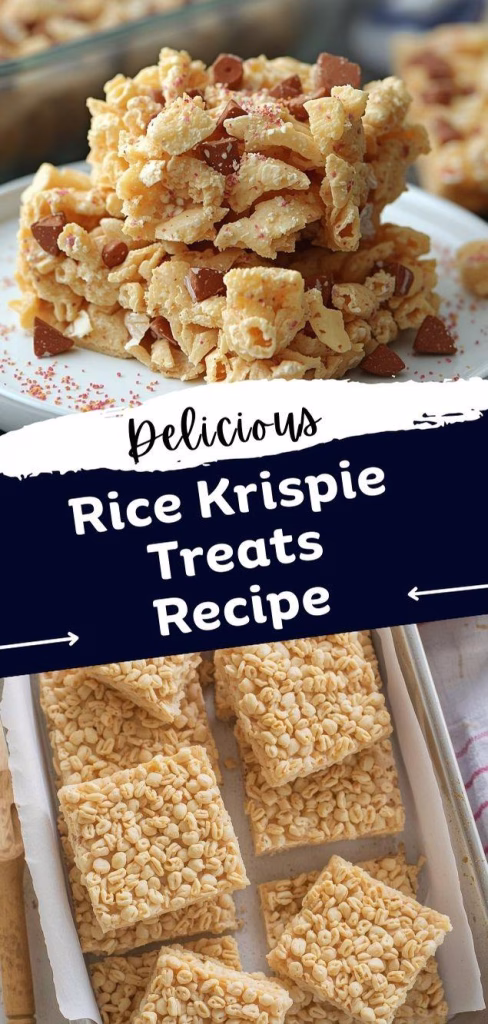
I’ve made this Rice Krispie Treats Recipe more times than I can count, and every single batch disappears within minutes. The first time I followed these simple steps, I couldn’t believe how soft, gooey, and perfectly chewy they turned out.
There’s something nostalgic about that buttery marshmallow aroma filling my kitchen. I’ve tested different ratios and techniques, and this version truly gives the best texture every time.
If you want bakery-style treats with minimal effort, you’re going to love making these at home.
Ingredients
Here’s everything you need to make the perfect batch. Each ingredient plays an important role in texture and flavor, so don’t skip the little details.
- ½ cup (113g) unsalted butter – Butter adds richness and depth. Using unsalted lets you control the salt level, but slightly browning it enhances flavor beautifully.
- 10 oz (about 40 regular-sized) marshmallows – Fresh marshmallows melt smoother and create a soft, stretchy texture. Avoid stale marshmallows for best results.
- 6 cups (160g) Rice Krispies cereal – Use fresh cereal for maximum crunch. Stale cereal leads to chewy or flat-tasting treats.
- ¼ teaspoon salt – Balances the sweetness and enhances the buttery flavor.
- 1 teaspoon vanilla extract – Adds warmth and elevates the classic marshmallow taste.
Note: This quantity makes approximately 12–16 squares, depending on how you cut them.
Variations
If you love experimenting like I do, there are plenty of ways to customize this rice krispie treats recipe.
- For a dairy-free version, swap the butter with plant-based butter or refined coconut oil. Both options still provide richness while keeping the treats soft.
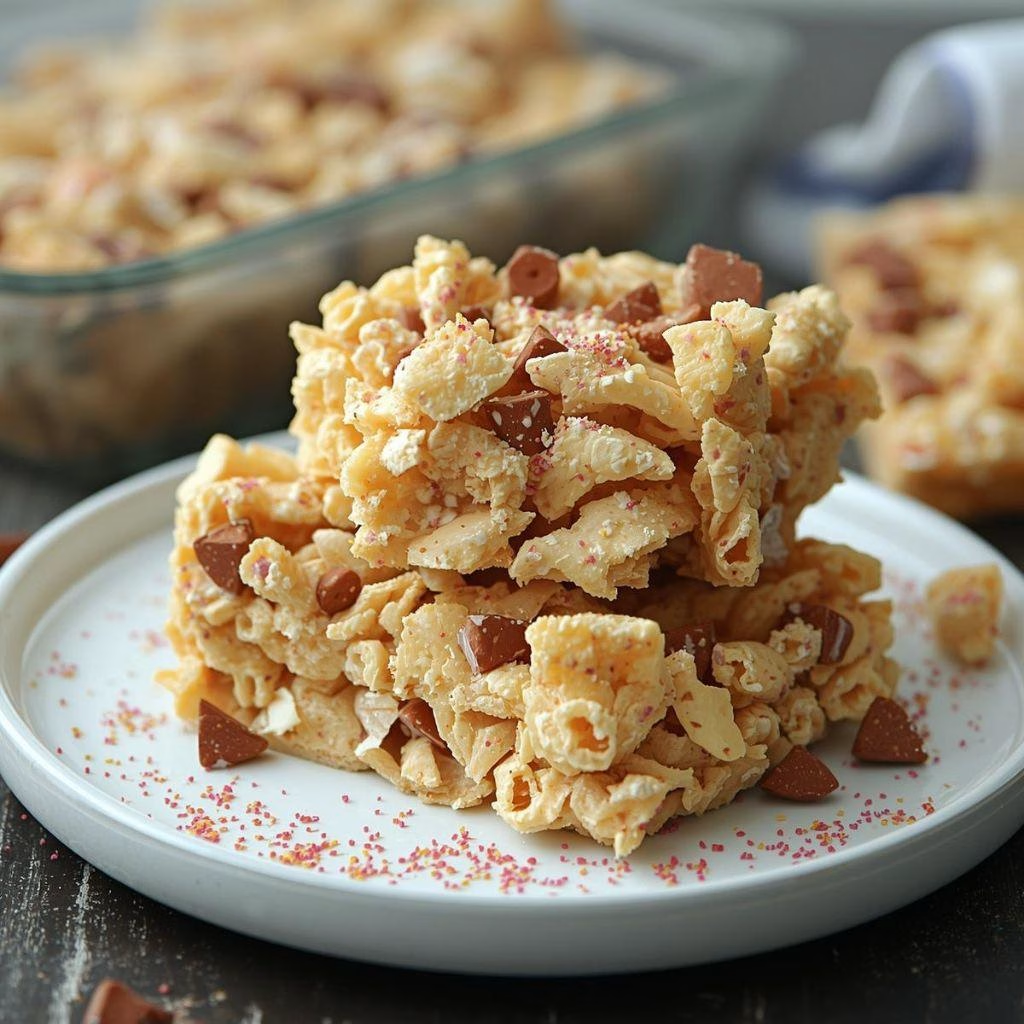
- For a fun flavor boost, stir in chocolate chips, peanut butter chips, or butterscotch chips right before pressing the mixture into the pan. Just let it cool slightly so the chips don’t melt completely.
- To make them extra indulgent, drizzle melted chocolate over the top after they set. I’ve also added crushed cookies, colorful sprinkles, or even a pinch of cinnamon for seasonal flair.
- If you prefer a less sweet option, add an extra pinch of salt or use lightly salted butter to balance the flavors.
Cooking Time
- Prep Time: 10 minutes
- Cooking Time: 10 minutes
- Total Time: 20 minutes (plus cooling time)
Equipment You Need
- Large saucepan – For melting butter and marshmallows evenly without burning.
- Wooden spoon or silicone spatula – Helps stir without sticking.
- 9×13-inch baking dish – Creates evenly thick treats.
- Parchment paper or non-stick spray – Prevents sticking and makes removal easy.
- Measuring cups – Ensures accurate ingredient ratios for perfect texture.
How to Make Rice Krispie Treats Recipe?
Making this recipe is simple, but small techniques make a big difference in texture. Follow these steps for perfectly soft and chewy squares every time.
Prepare the Pan
Grease your 9×13-inch pan generously with butter or line it with parchment paper. I like using parchment because it makes lifting the entire slab out effortless. Set it aside so it’s ready once the mixture is prepared.
This step is important because the marshmallow mixture sets quickly. Having everything ready prevents scrambling later.
Melt the Butter
Place the butter in a large saucepan over medium-low heat. Allow it to melt slowly, stirring occasionally so it doesn’t brown too quickly unless you intentionally want a nutty flavor.
Melting the butter gently prevents scorching and keeps the flavor smooth. If you want a richer taste, let it cook just until lightly golden.
Add the Marshmallows
Once the butter is fully melted, add the marshmallows and reduce the heat to low. Stir continuously until the marshmallows melt completely and the mixture becomes smooth and glossy.
Avoid high heat here because overheating can make the treats hard later. Stir patiently for the best soft texture.
Stir in Flavoring
Remove the saucepan from heat and quickly stir in the vanilla extract and salt. Mixing these in off-heat keeps the flavors bright and prevents evaporation.
This small step makes a noticeable difference in overall flavor balance.
Add the Cereal
Pour the Rice Krispies cereal into the melted marshmallow mixture. Gently fold everything together until the cereal is evenly coated without crushing it.
Work quickly but carefully because the mixture thickens as it cools. Make sure every piece of cereal is covered in marshmallow.
Press into the Pan
Transfer the mixture into the prepared pan and gently press it down with a buttered spatula or lightly greased hands. Do not pack it too tightly or the treats will become dense.
Press just enough to create an even layer. Light pressure keeps them soft and airy.
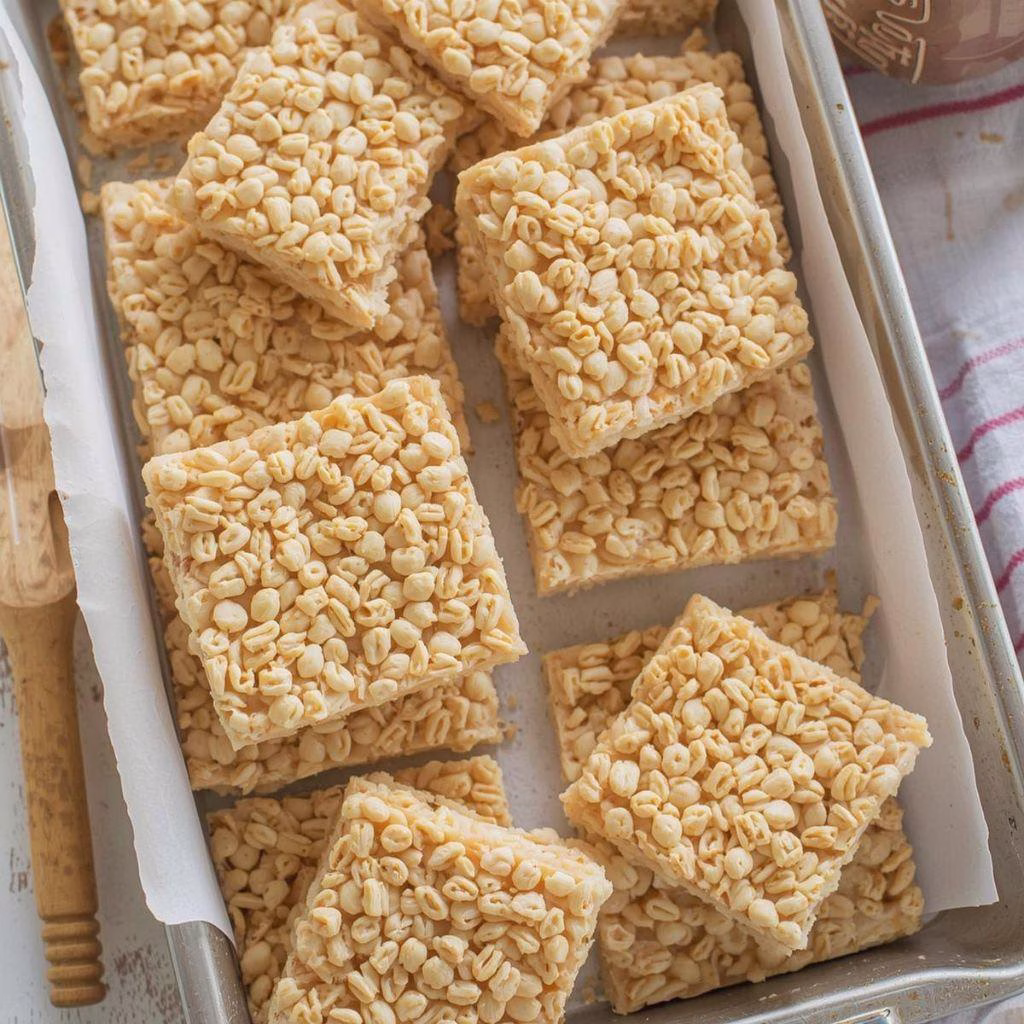
Cool and Slice
Allow the treats to cool at room temperature for at least 30–60 minutes. Once fully set, lift them out of the pan and cut into squares.
Use a sharp knife lightly coated with butter for clean cuts. Now they’re ready to enjoy!
Additional Tips for Making This Recipe Better
After making this rice krispie treats recipe many times, I’ve learned a few tricks that truly improve the final result.
- I always use fresh marshmallows because older ones don’t melt as smoothly and can make the texture tougher.
- I never turn the heat too high when melting marshmallows; low and slow keeps the treats soft and gooey.
- I lightly butter my spatula before pressing the mixture into the pan so it doesn’t stick.
- I avoid pressing the mixture firmly into the pan because that makes the bars dense instead of fluffy.
- Sometimes I reserve a handful of mini marshmallows and stir them in at the end for extra gooey pockets.
How to Serve Rice Krispie Treats Recipe?
These treats are delicious on their own, but I love dressing them up for special occasions.
You can cut them into fun shapes using cookie cutters for parties or holidays. Drizzle melted chocolate over the top and add colorful sprinkles for a festive look.
For an elegant presentation, stack squares neatly on a serving platter and dust lightly with powdered sugar. They also pair perfectly with a glass of cold milk or a warm cup of coffee.
Nutritional Information
Here’s an approximate breakdown per serving (based on 16 servings):
- Calories: About 150–180 per square
- Protein: 1–2 grams
- Carbohydrates: 25–30 grams
- Fat: 6–8 grams
Nutritional values may vary depending on portion size and added ingredients.
Make Ahead and Storage
Storing
Store rice krispie treats in an airtight container at room temperature. They stay fresh and soft for up to 3 days. Avoid refrigerating, as this can make them hard.
Freezing
You can freeze them for up to 6 weeks. Wrap each square individually in plastic wrap and place in a freezer-safe bag to prevent freezer burn.
Reheating or Restoring
If they become slightly firm, let them sit at room temperature for 15–20 minutes before serving. You can also microwave a square for 5–7 seconds to soften it slightly.
Why You’ll Love This Recipe?
This rice krispie treats recipe is a classic for good reason. Here’s why it stands out.
- Quick and easy to make
I can prepare the entire batch in about 20 minutes with minimal cleanup, making it perfect for busy days. - Perfectly soft and chewy texture
The butter-to-marshmallow ratio ensures they stay gooey without becoming hard. - Budget-friendly ingredients
Everything is simple and affordable, yet the result tastes bakery-quality. - Easy to customize
I can add chocolate, peanut butter, sprinkles, or seasonal flavors to match any occasion. - Kid-friendly and crowd-pleasing
Everyone from kids to adults loves these nostalgic treats, making them perfect for gatherings.
When I want a no-fuss dessert that delivers every single time, this rice krispie treats recipe is my go-to. It’s simple, nostalgic, and incredibly satisfying. Once you try it with these tips and techniques, you’ll never go back to the basic version again.