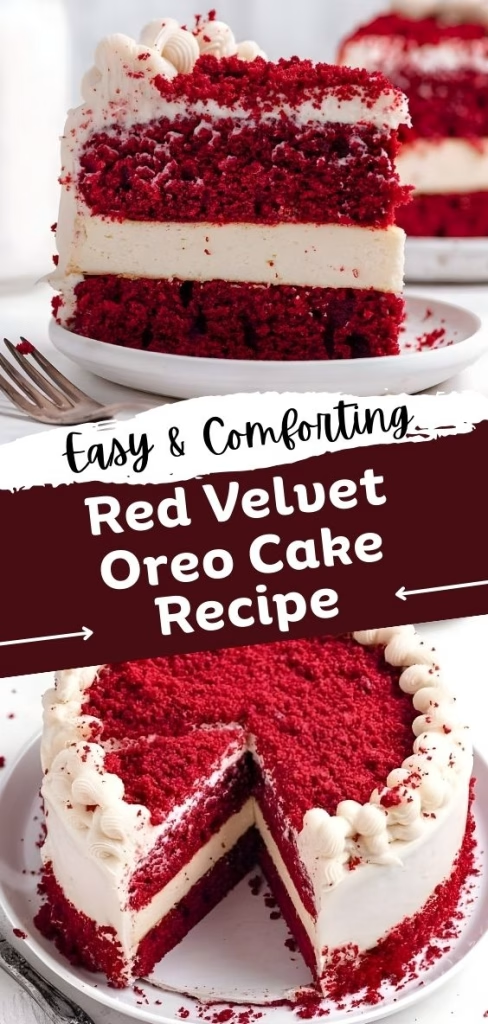
I have to admit, making this Red Velvet Oreo Cake Recipe was an absolute joy! From mixing the vibrant red layers to folding in crunchy Oreo pieces, I felt like a baker creating a masterpiece. Each bite is a perfect balance of tender cake and creamy, cookies-and-cream frosting. I love how easy it is to make yet so impressive when served.
If you’re ready to wow your friends or just indulge yourself, this recipe is exactly what you need. You can also enjoy similar simple yet impressive recipes like my Easy Baked Scallops Recipe for a delightful appetizer before serving this cake.
Ingredients
Here’s what I used to make my Red Velvet Oreo Cake, along with some tips to get it just right:
- All-purpose flour – 2 ½ cups, for a tender and soft cake. Sifted for best results.
- Granulated sugar – 2 cups, adds sweetness and structure. Don’t skip it!
- Unsweetened cocoa powder – 2 tablespoons, enhances the red velvet flavor.
- Baking soda – 1 teaspoon, ensures the cake rises beautifully.
- Salt – ½ teaspoon, balances the sweetness.
- Vegetable oil – 1 cup, keeps the cake moist. Any flavorless oil like canola works too.
- Eggs – 2 large, at room temperature for better mixing.
- Buttermilk – 1 cup, adds tanginess and tenderness. Can substitute with yogurt or almond milk.
- Sour cream – ½ cup, gives richness and keeps the cake soft.
- White vinegar – 1 teaspoon, reacts with baking soda to help the cake rise.
- Vanilla extract – 2 teaspoons, for that warm, classic flavor.
- Red gel food coloring – 1 teaspoon, gives the cake its iconic deep red hue.
- Crushed Oreos – 1 cup, folded into the batter for bursts of cookies-and-cream flavor.
Note: This recipe serves several, perfect for parties or family gatherings. You can also try this cake alongside a crowd-pleaser like my Buffalo Chicken Dip Recipe for a complete dessert-and-appetizer spread.
Variations
If you want to switch things up or cater to dietary needs:
- Dairy-free: Use almond or oat milk and vegan butter.
- Sugar-free: Swap sugar with a natural sweetener like erythritol.
- Extra flavor: Add a teaspoon of espresso powder to deepen the cocoa taste.
- Gluten-free: Use a 1:1 gluten-free flour blend instead of all-purpose flour.
Cooking Time
- Prep Time: 25 minutes
- Cooking Time: 30-35 minutes per layer
- Total Time: 1 hour 10 minutes
Equipment You Need
- Mixing bowls – for combining wet and dry ingredients.
- Electric mixer – makes mixing faster and smoother.
- Measuring cups and spoons – ensures accuracy for perfect texture.
- 9-inch cake pans – for evenly shaped layers.
- Spatula – to fold in Oreos without overmixing.
- Cooling racks – prevents soggy bottoms.
How to Make Red Velvet Oreo Cake
Prepare the Ingredients
First, I measured all my ingredients carefully. I like to have everything at room temperature—it makes mixing smoother and the cake fluffier. Preheat your oven to 350°F (175°C) so it’s ready when the batter is done.
Make the Cake Batter
I combined dry ingredients in one bowl and wet ingredients in another. Slowly mixing them together, I added the red gel food coloring and crushed Oreos, folding gently to keep the batter light and airy.
Bake the Cake
I divided the batter evenly into greased 9-inch pans and baked each layer for about 30-35 minutes. I always check with a toothpick—it should come out clean. Let the cakes cool completely on racks before frosting.
Prepare the Oreo Cream Cheese Frosting
I beat cream cheese and unsalted butter until smooth, then added powdered sugar and vanilla. Once fluffy, I folded in crushed Oreos for a perfect cookies-and-cream frosting that’s thick enough to hold the layers.
Assemble the Cake
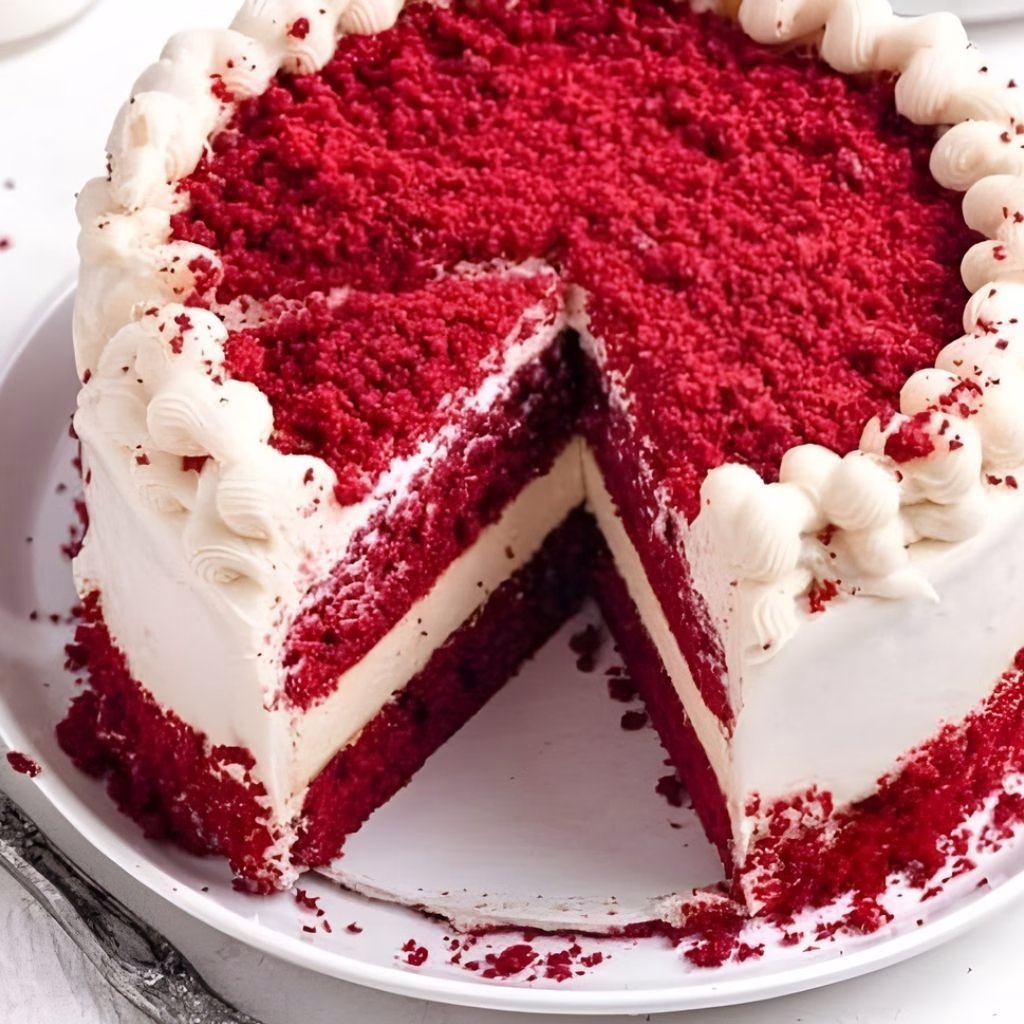
I leveled the cake layers with a serrated knife, then stacked them with a generous amount of frosting between each layer. After covering the whole cake with frosting, I decorated with extra crushed Oreos and cake crumbs for that classic look.
Additional Tips for Making This Recipe Better
From my experience, a few small adjustments make a big difference:
- I always weigh the cake pans as I fill them to ensure layers bake evenly.
- Chilling the layers for 20 minutes before frosting helps prevent sliding.
- Using a blender or food processor to crush Oreos gives the smoothest frosting.
- I recommend gel food coloring for the deepest red; liquid coloring can dilute the batter.
- Let the cake come to room temperature before slicing for cleaner cuts.
How to Serve Red Velvet Oreo Cake
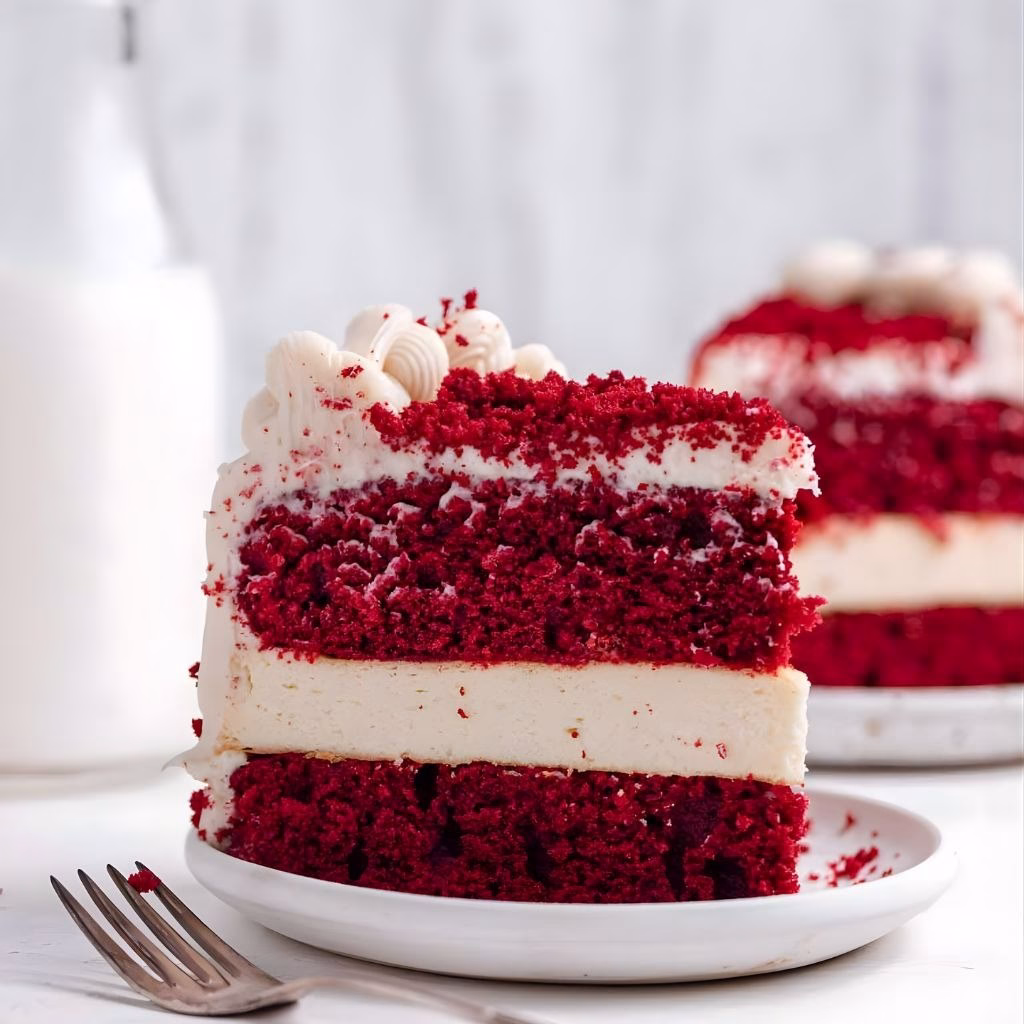
Serve this cake as a centerpiece dessert. I like to slice it into thick, generous pieces and plate each slice with a small drizzle of chocolate sauce or a few whole Oreos on the side. Adding a dollop of whipped cream or fresh berries really makes the presentation pop.
Nutritional Information
Here’s an approximate nutritional breakdown per slice (based on 12 slices):
- Calories: 450
- Protein: 5g
- Carbohydrates: 60g
- Fat: 20g
Make Ahead and Storage
Storing: The cake stays fresh in the fridge for up to a week. Keep it covered to maintain moisture.
Freezing: You can freeze unfrosted layers for up to 3 months. Wrap tightly in plastic wrap and foil.
Reheating: Let frozen layers thaw at room temperature before frosting. Frosted cake can be served straight from the fridge.
Why You’ll Love This Recipe
I absolutely adore this Red Velvet Oreo Cake, and here’s why you will too:
- Easy to make yet impressively decadent – perfect for celebrations.
- Versatile ingredients allow for dietary swaps.
- Flavor balance is perfect—moist red velvet with crunchy Oreo frosting.
- Freezer-friendly, so you can prepare ahead of time.
- Gorgeous presentation that always wows guests.
This Red Velvet Oreo Cake has quickly become my go-to for birthdays, parties, or whenever I crave something indulgent. It’s sweet, creamy, and absolutely irresistible!
Red Velvet Oreo Cake Recipe
Ingredients
Method
- First, I measured all my ingredients carefully. I like to have everything at room temperature—it makes mixing smoother and the cake fluffier. Preheat your oven to 350°F (175°C) so it’s ready when the batter is done.
- I combined dry ingredients in one bowl and wet ingredients in another. Slowly mixing them together, I added the red gel food coloring and crushed Oreos, folding gently to keep the batter light and airy.
- I divided the batter evenly into greased 9-inch pans and baked each layer for about 30-35 minutes. I always check with a toothpick—it should come out clean. Let the cakes cool completely on racks before frosting.
- I beat cream cheese and unsalted butter until smooth, then added powdered sugar and vanilla. Once fluffy, I folded in crushed Oreos for a perfect cookies-and-cream frosting that’s thick enough to hold the layers.
- I leveled the cake layers with a serrated knife, then stacked them with a generous amount of frosting between each layer. After covering the whole cake with frosting, I decorated with extra crushed Oreos and cake crumbs for that classic look.
Notes
- I always weigh the cake pans as I fill them to ensure layers bake evenly.
- Chilling the layers for 20 minutes before frosting helps prevent sliding.
- Using a blender or food processor to crush Oreos gives the smoothest frosting.
- I recommend gel food coloring for the deepest red; liquid coloring can dilute the batter.
- Let the cake come to room temperature before slicing for cleaner cuts.