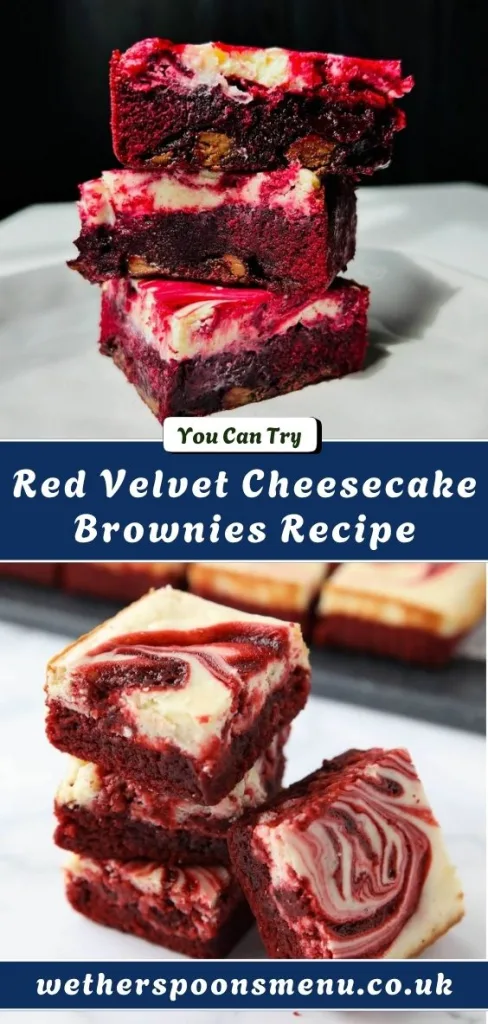
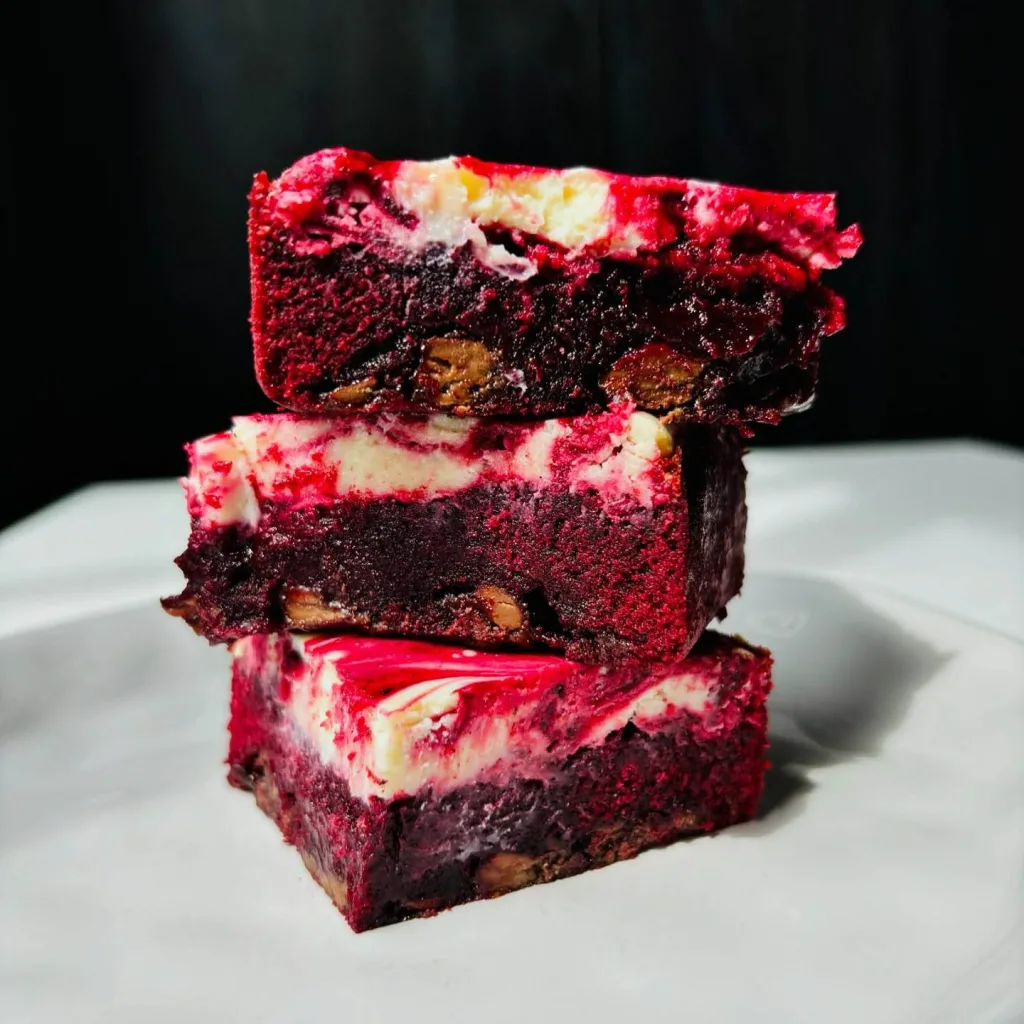
I just made these red velvet cheesecake brownies and I can’t wait to tell you about them. When the fudgy, rich red velvet brownie base meets tangy cheesecake swirls, magic happens.
I baked them the evening before and the next day they were even better. Over the weekend I shared them with friends — everyone asked for the recipe. If you love combining brownie and cheesecake flavors, you’re going to adore this dessert.
Ingredients
Here’s everything you need to make these:
For the red velvet brownie layer:
- 8 tablespoons unsalted butter, melted (use fresh, good-quality butter for richness)
- 1 cup sugar (granulated; helps balance tang and sweetness)
- ¼ cup unsweetened cocoa powder (use natural cocoa, not Dutch-processed)
- ½ teaspoon vanilla extract (freshly measured)
- 1 tablespoon red food coloring (liquid or gel; gel gives more vibrant hue with less liquid)
- ⅛ teaspoon salt (to offset sweetness)
- ½ teaspoon white vinegar (brightens the red velvet flavor)
- 2 eggs (room temperature helps them incorporate smoothly)
- ¾ cup all-purpose flour (measure correctly by spooning/fluffing)
For the cheesecake filling:
- 1 (8-oz) package cream cheese, softened (full fat yields best texture)
- 3 tablespoons sugar
- ½ teaspoon vanilla extract
- 1 large egg yolk
Note: several servings
(According to the original recipe yield, this makes about 12 brownies)
Variations
You can adapt this recipe in several fun ways:
- Use dairy-free cream cheese and vegan butter to make it dairy-free (texture will be slightly different).
- Swap regular sugar for erythritol or your favorite sugar substitute to make a lower-sugar version (test sweetness).
- Stir in a handful of white chocolate chips or chopped dark chocolate into the brownie portion for extra decadence.
- Add a teaspoon of instant espresso powder into the brownie batter to deepen chocolate flavor without overt coffee taste.
- Replace or reduce the red food coloring and use beet juice powder or freeze-dried beet powder for natural coloring.
For a hearty dinner before dessert, consider pairing this with a comforting chicken with garlic parmesan rice recipe. The creamy, savory flavors complement the sweetness of these brownies perfectly.
Cooking Time
Here’s how long it takes:
- Prep Time: 15 minutes
- Cooking Time: 30 minutes
Total Time: 45 minutes
Equipment You Need
Here are the tools I used (and why):
- 8×8-inch baking pan (for the right depth and shape)
- Parchment paper (to lift brownies easily)
- Electric mixer or handheld mixer (to beat the cheesecake filling smooth)
- Mixing bowls (one for brownie batter, one for cheesecake filling)
- Measuring cups and spoons (to be precise with ingredients)
- Toothpick or skewer (to swirl the batters)
How to Make Red Velvet Cheesecake Brownies Recipe Name
Preheat and prepare pan
First, I preheated the oven to 350 °F (175 °C). Then I lined an 8×8-inch baking pan with parchment paper and greased it lightly with butter so the brownies would lift out cleanly.
Make the red velvet brownie batter
In a large bowl, I whisked melted butter, sugar, cocoa, vanilla, food coloring, and salt until smooth, then stirred in vinegar. Next I folded in the eggs, one by one, and gently stirred in the flour until just combined (don’t overmix).
Make cheesecake filling and layer
I beat the cream cheese, sugar, vanilla, and egg yolk until creamy and smooth. Then I poured most of the brownie batter into the pan, spread it flat, and dolloped the cheesecake mixture on top. I topped that with the remaining brownie batter in small spoonfuls.
Swirl and bake
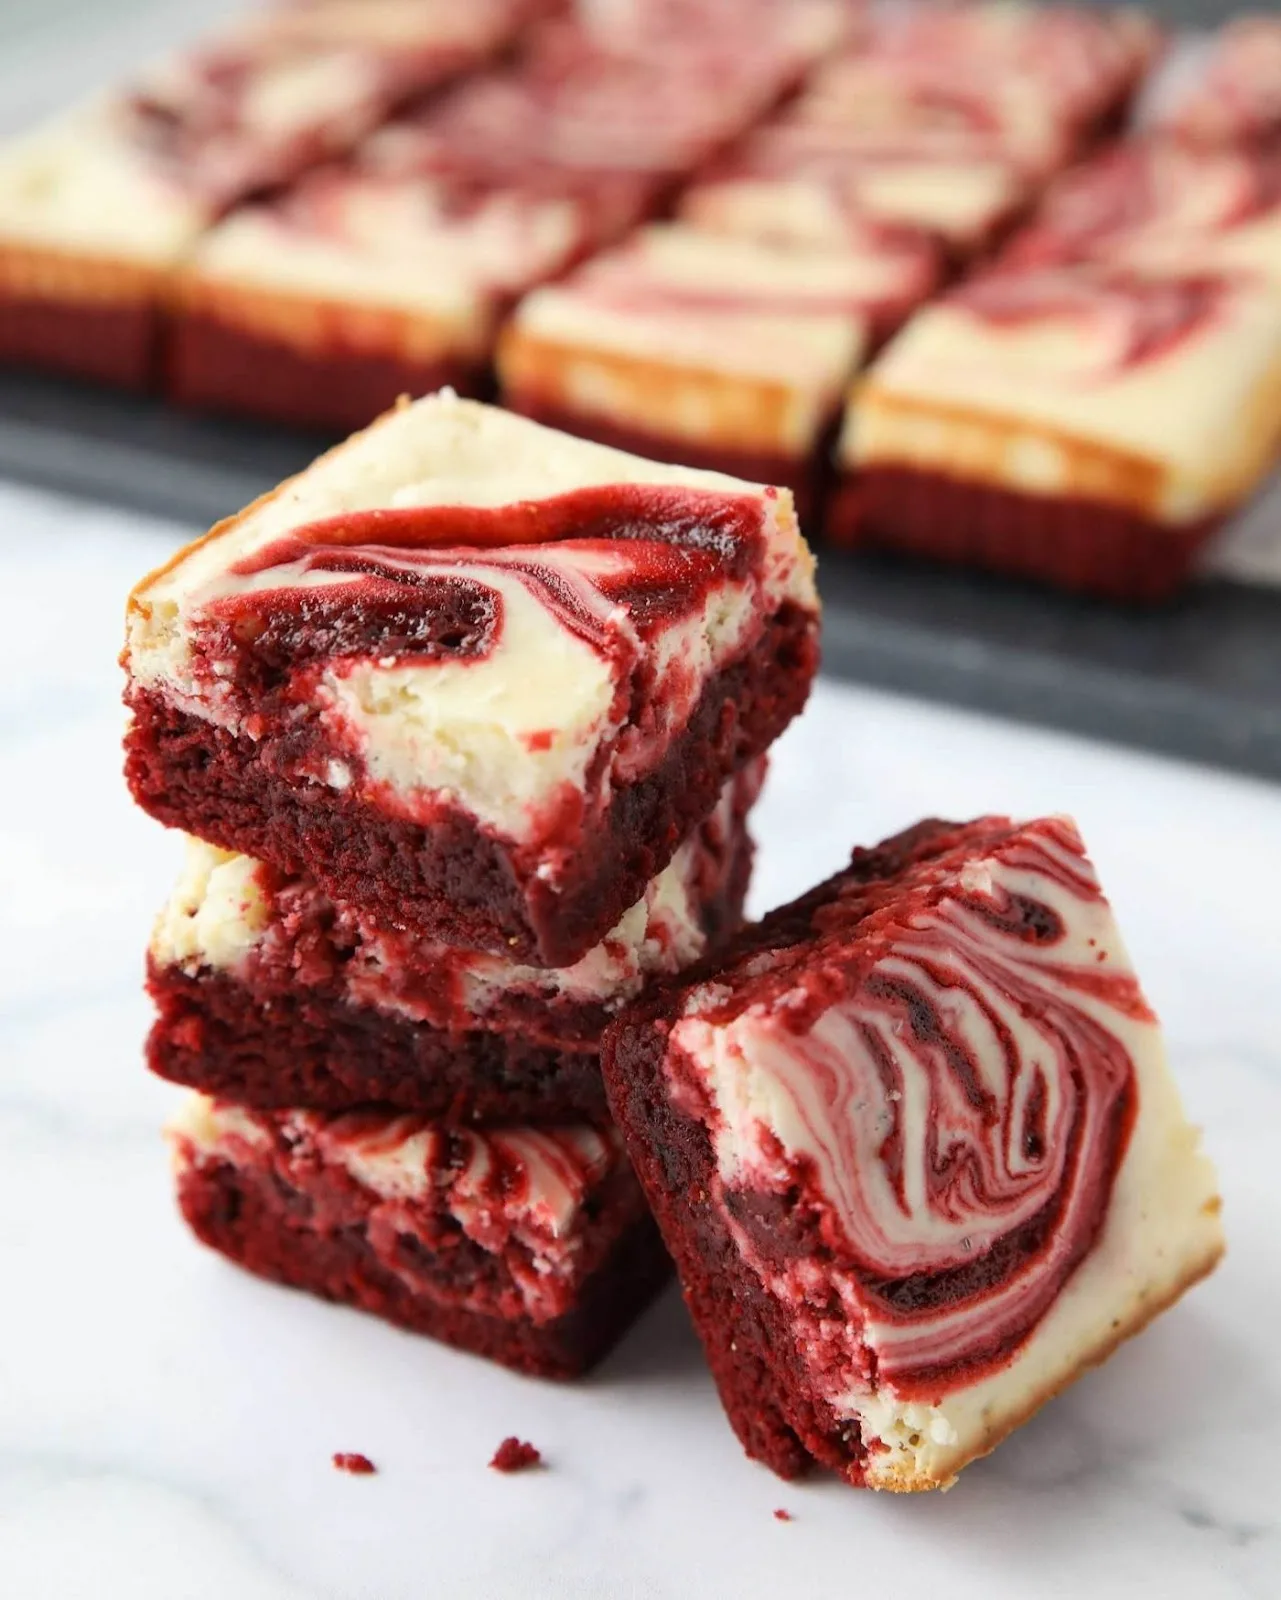
Using a toothpick or skewer, I lightly swirled the cheesecake and brownie layers for a marbled effect (don’t overdo it). Then I baked for 30 minutes until set around the edges (center may still jiggle slightly). After baking, I let them cool completely before lifting out and slicing.

Additional Tips for Making this Recipe Better
From my experience, here’s what helped me get the best results:
- Let the cream cheese soften well at room temperature — I found cold cream cheese can lead to lumps.
- Don’t over swirl — I kept the swirl subtle so you see both red and white distinct layers.
- Let brownies cool fully (or even chill) before slicing — it helps them cut cleaner rather than tearing.
- Use a sharp knife, rinsing between cuts, so each square looks neat.
- Try refrigerating overnight — I noticed the flavors deepen and texture becomes firmer.
These brownies are as delightful as a comforting spinach ricotta pasta bake recipe, perfect for sharing with loved ones.
How to Serve Red Velvet Cheesecake Brownies?
I like to serve these brownies chilled or at room temperature. For presentation, I dust a little powdered sugar or cocoa on top (carefully). Garnishing with fresh raspberries or a mint sprig adds color contrast.
You can plate each square with a drizzle of chocolate or a small dollop of whipped cream on the side. Serve on a white plate to let the red marbling stand out.
Nutritional Information
Here’s a rough breakdown per serving (based on the original recipe):
- Calories: 192 kcal
- Protein: 2 g
- Carbohydrates: 26 g
- Fat: 8 g
Make Ahead and Storage
Storing
I keep these brownies in an airtight container in the fridge (because of the cheesecake). They stay fresh for about 3–4 days that way.
Freezing
You can freeze individual squares, wrapped tightly in plastic and placed in a freezer bag. They thaw in the refrigerator overnight and still taste great for up to 2 months.
Reheating / restoring
If you like them slightly warm, I let a cold brownie sit at room temperature or heat it gently (10–15 seconds in microwave). But they’re really good straight from the fridge — the swirl texture is more distinct.
For a festive dinner party, you could serve these brownies alongside a fiesta chicken casserole recipe. The vibrant flavors of the casserole pair wonderfully with the rich, tangy dessert.
Why You’ll Love This Recipe
Here are a few reasons this dessert wins me over:
- It’s a two-in-one dessert: you get fudge-style red velvet plus creamy cheesecake in every bite.
- The swirl effect makes it look elegant and impressive with minimal effort.
- It’s flexible — you can tweak color, add mix-ins, or use dietary swaps and still maintain great taste.
- The brownies hold their shape well when sliced (especially after chilling).
- It’s perfect for special occasions (Valentine’s, celebrations) or just treating yourself.
Red Velvet Cheesecake Brownies Recipe
Ingredients
Method
- First, I preheated the oven to 350 °F (175 °C). Then I lined an 8×8-inch baking pan with parchment paper and greased it lightly with butter so the brownies would lift out cleanly.
- In a large bowl, I whisked melted butter, sugar, cocoa, vanilla, food coloring, and salt until smooth, then stirred in vinegar. Next I folded in the eggs, one by one, and gently stirred in the flour until just combined (don’t overmix).
- I beat the cream cheese, sugar, vanilla, and egg yolk until creamy and smooth. Then I poured most of the brownie batter into the pan, spread it flat, and dolloped the cheesecake mixture on top. I topped that with the remaining brownie batter in small spoonfuls.
- Using a toothpick or skewer, I lightly swirled the cheesecake and brownie layers for a marbled effect (don’t overdo it). Then I baked for 30 minutes until set around the edges (center may still jiggle slightly). After baking, I let them cool completely before lifting out and slicing.
Notes
- Let the cream cheese soften well at room temperature — I found cold cream cheese can lead to lumps.
- Don’t over swirl — I kept the swirl subtle so you see both red and white distinct layers.
- Let brownies cool fully (or even chill) before slicing — it helps them cut cleaner rather than tearing.
- Use a sharp knife, rinsing between cuts, so each square looks neat.
- Try refrigerating overnight — I noticed the flavors deepen and texture becomes firmer.