
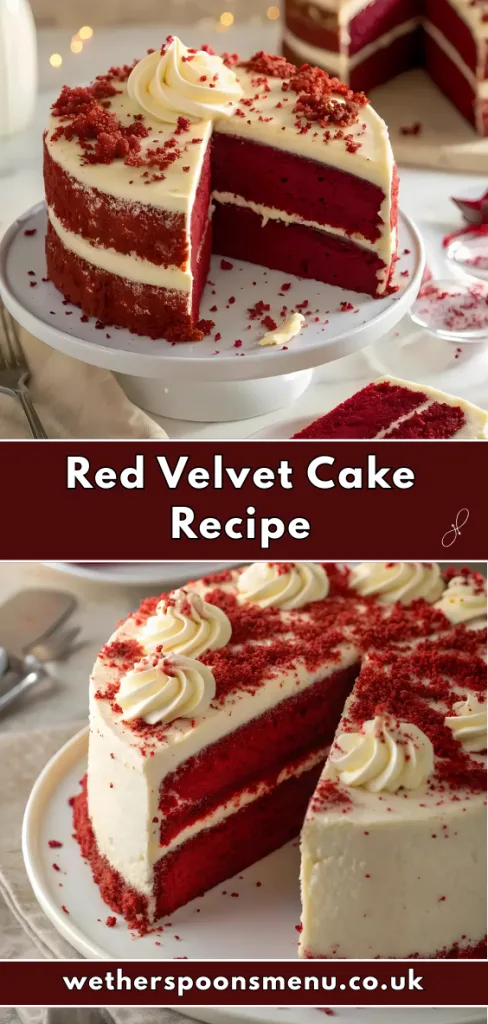
The Best Red Velvet Cake Recipe You’ll Ever Try
When I first made this Red Velvet Cake, I honestly didn’t expect it to turn out so moist and tender. But the rich flavor, the soft crumb, and that creamy, tangy frosting completely won me over.
It reminded me of why classic recipes never go out of style. I had fun layering the cake, smoothing the frosting, and finally sharing it with my family.
If you’ve ever tried a Fruity Pebbles Sushi Recipe and loved the surprise inside, this cake gives the same “wow” factor when sliced—bright, beautiful, and delicious.
Additional Tips for Making This Recipe Better
After baking this cake a few times, I’ve learned some tricks that make the process smoother and the results even better. Here are my personal tips:
- Use cake strips – I always wrap cake strips around my pans before baking. This helps the layers rise evenly without domes.
- Bring ingredients to room temperature – I noticed that when the butter, eggs, and buttermilk are at room temperature, the batter blends more smoothly.
- Measure flour with a scale – Using a kitchen scale keeps the cake fluffy and prevents it from becoming dense.
- Don’t overmix – After adding flour, I mix gently. Overmixing can make the cake tough instead of soft.
- Chill before frosting – I like chilling the cake layers for 30 minutes before frosting. It makes assembly much easier.
These little steps really make a difference, and they’re worth remembering the next time you bake this classic dessert.
Variations to Try
The beauty of this recipe is how flexible it can be. If you want to adjust it to your diet or simply add new flavors, here are some fun variations:
- Dairy-free version – Replace buttermilk with almond or soy milk mixed with a teaspoon of vinegar. Use vegan cream cheese and dairy-free butter for the frosting.
- Sugar-free twist – Swap granulated sugar with a natural sweetener like monk fruit or stevia blend. Powdered erythritol can replace confectioners’ sugar in the frosting.
- Chocolate lover’s upgrade – Add extra cocoa powder or sprinkle chocolate chips into the batter for a richer taste.
- Nutty crunch – I sometimes top the cake with crushed pecans or walnuts for texture.
- Cupcake version – Turn the batter into cupcakes for individual servings.
You can also explore other dinner recipes for creative baking inspiration when planning a full meal.
Equipment You Need
Here’s what you’ll need to make this Red Velvet Cake. Each tool helps keep the process smooth and the cake professional-looking.
- Cake pans (6-inch or 9-inch) – For baking even layers.
- Mixing bowls – To separate dry and wet ingredients.
- Electric mixer – Creams butter and sugar into a fluffy base.
- Wire cooling rack – Helps cakes cool evenly without getting soggy.
- Piping bag and tip – For adding decorative frosting touches.
- Offset spatula or bench scraper – Smooths the frosting for a clean look
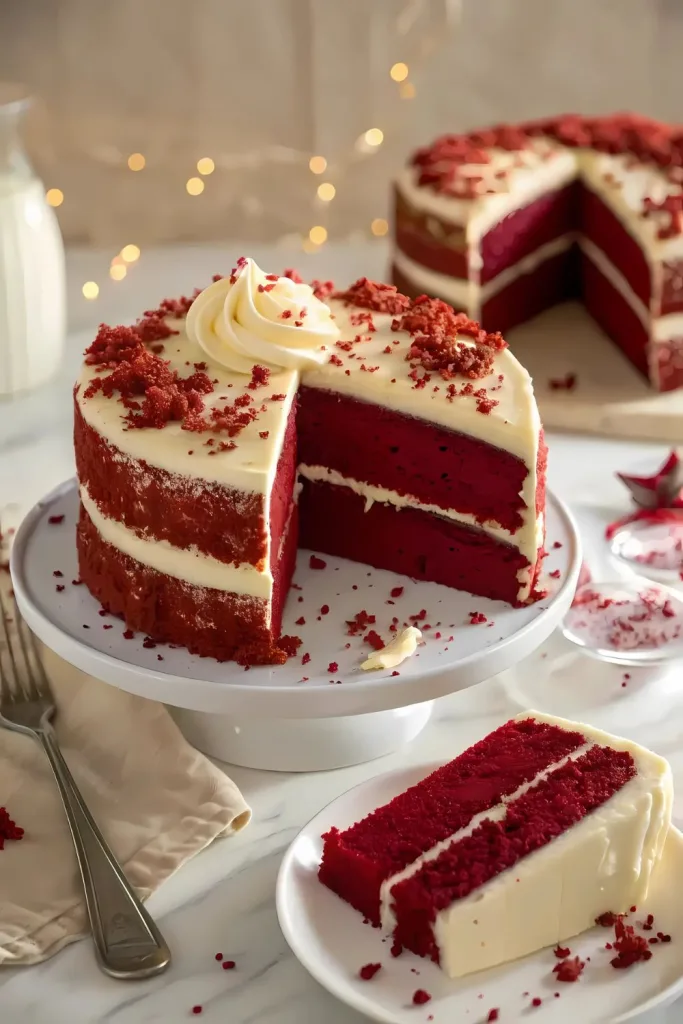
How to Serve Red Velvet Cake?
Presentation makes this cake even more appealing. Here are some serving ideas I love using:
- Slice and serve on white plates to let the red layers pop.
- Sprinkle cake crumbs over the frosting as a natural garnish.
- Pipe small frosting swirls around the edge for an elegant finish.
- Pair each slice with fresh strawberries or raspberries for added color.
- Serve with a scoop of vanilla ice cream for a richer dessert.
If you enjoy creative desserts like this one, you might also want to try making Brazilian Lemonade for a refreshing treat.
How to Store the Cake
At Room Temperature
If you plan to eat the cake within two days, cover it with a cake dome or plastic wrap and keep it at room temperature. It stays soft and moist this way.
In the Refrigerator
For longer storage, I refrigerate the cake. It lasts up to a week when properly covered. Just let slices sit out for 20 minutes before serving so the frosting softens.
In the Freezer
Red Velvet Cake freezes very well. Wrap each layer tightly in plastic and freeze for up to two months. When ready to use, thaw in the fridge overnight before frosting.
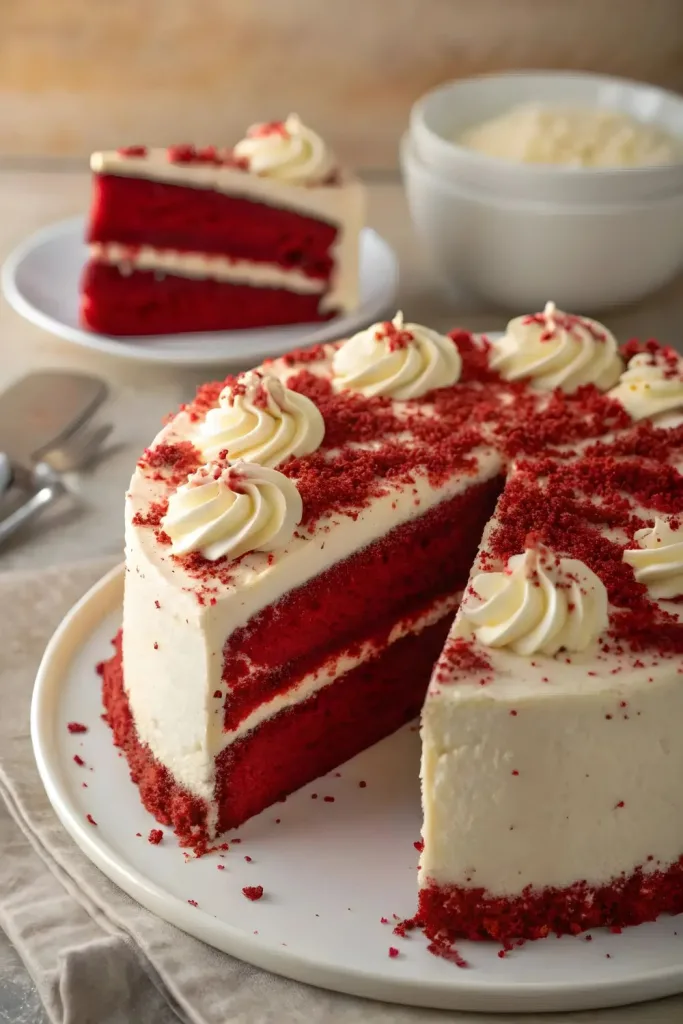
Why You’ll Love This Recipe?
This recipe has so many things to love. Here are a few reasons why it always works for me:
- Moist and tender texture – Thanks to buttermilk and vinegar, the crumb stays soft and never dry.
- Easy but impressive – The steps are simple, but the finished cake looks bakery-perfect.
- Versatile for occasions – Works for birthdays, holidays, or casual gatherings.
- Customizable flavors – From chocolate-rich to nutty versions, it’s easy to adapt.
- Crowd-pleasing frosting – That tangy cream cheese frosting pairs perfectly with the cake’s sweetness.
No matter the occasion, this cake brings both beauty and flavor to the table.

Red Velvet Cake Recipe
Ingredients
Method
- Start by preheating the oven to 350°F and preparing your cake pans with butter and flour. In one bowl, sift together flour, salt, and baking soda to avoid lumps. In another bowl, cream the butter and sugar until light and fluffy. This step ensures your cake has a soft and airy base. Add eggs one at a time, then vanilla, mixing until fully combined.
- Sift cocoa powder into the butter mixture and blend well. In a measuring cup, stir together buttermilk, vinegar, and food coloring. This gives the cake its iconic red color while keeping the crumb moist. Gradually add half the flour mixture, then half the buttermilk mixture. Repeat until both are used up, mixing just until smooth. Overmixing can make the cake tough.
- Divide the batter evenly into the cake pans and bake for 30–35 minutes. The cakes are ready when the tops spring back to touch. Allow them to cool in the pans for 10 minutes before transferring them to a wire rack. Cooling fully is important so the frosting doesn’t melt when you assemble the cake.
- In a large bowl, beat cream cheese and butter until smooth and fluffy. Add vanilla and a pinch of salt. Slowly sift in confectioners sugar, mixing on low to prevent lumps. Once combined, increase speed and beat until light and fluffy. Save some frosting in a piping bag for decorating later.
- Place the first cake layer on a stand and spread ½ cup frosting evenly. Add the second layer, repeat with frosting, then top with the final layer. Spread the remaining frosting over the top and sides of the cake. Use a spatula to smooth it out. Pipe decorations around the edges for a polished finish. Chill for 1 hour so the frosting sets before serving.