I have to confess—I never thought a simple twist on classic hummus could blow me away like this. The first time I tried making Pepperoncini Hummus Recipe , I couldn’t stop tasting it straight from the bowl! It’s tangy, slightly spicy, and has that creamy, dreamy texture I crave in dips.
What I love most is how easy it is to make; even on a busy day, I can have it ready in under 15 minutes. Whether I’m snacking alone, entertaining friends, or prepping for a picnic, this hummus always impresses.
Plus, it’s made from wholesome ingredients you probably already have in your pantry! For a sweet complement, try the Ricotta Pistachio Honey Bites Recipe as a delightful dessert alongside your hummus spread.
Ingredients
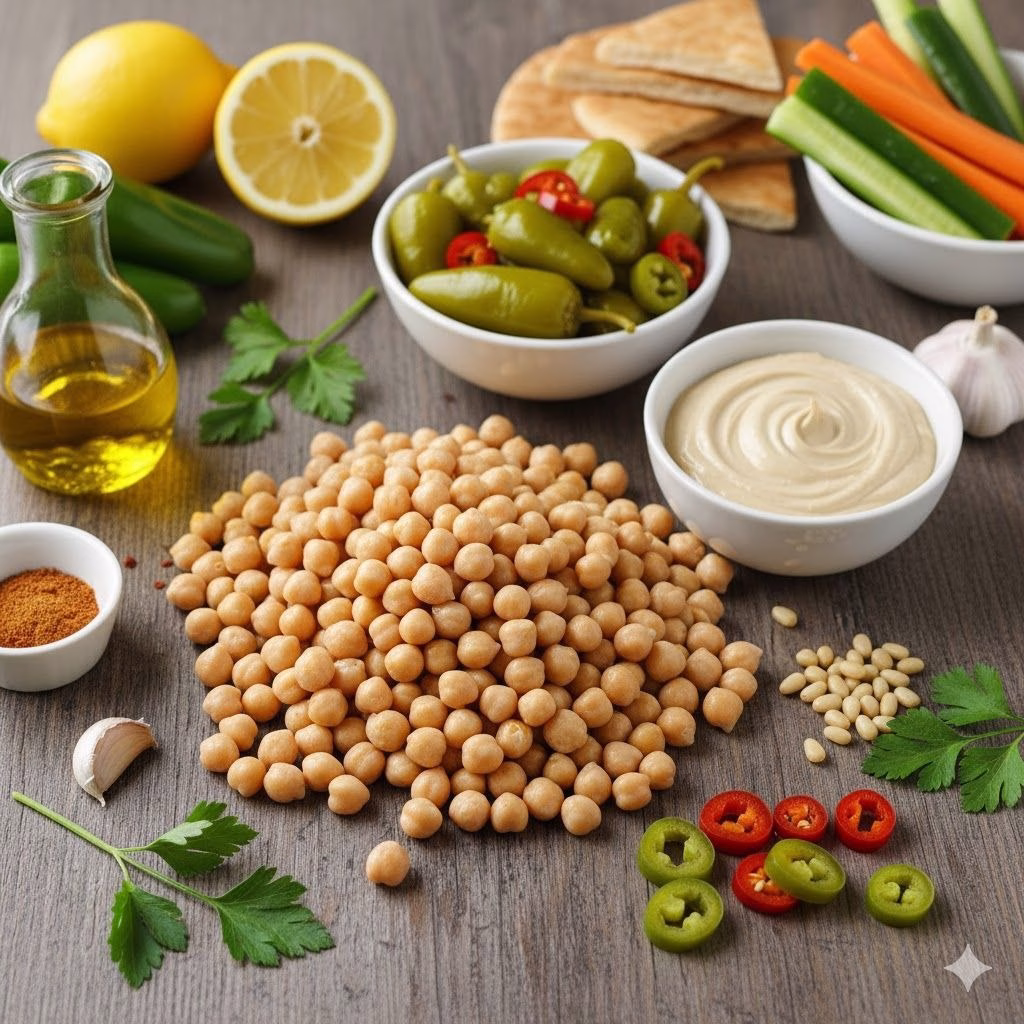
Here’s everything you’ll need to make this zesty hummus shine, along with some helpful tips for the best flavor and texture:
- 1 15-ounce can of chickpeas, drained and rinsed – Canned chickpeas make this recipe quick and easy, and rinsing them removes excess salt. You can also use cooked dried chickpeas for a richer, creamier taste.
- ¼ cup pepperoncini juice, straight from the jar – This adds the signature tangy flavor. I usually taste and adjust based on how spicy or tangy I want my hummus.
- 2 tablespoons tahini – Smooth tahini is key for that silky texture. I always stir it well before adding so it blends evenly.
- ¼ teaspoon sea salt or to taste – Salt enhances all the flavors, so don’t skip it!
- Freshly ground black pepper, to taste – Adds a subtle heat that balances the tanginess.
- ½ cup jarred pepperoncini rings, chopped – These provide little bursts of flavor in every bite.
Note: Serves 6
This combination is what gives the hummus its bright, bold, and slightly spicy flavor. Each ingredient has a purpose—pepperoncini juice for tang, tahini for creaminess, and chickpeas for that classic hummus base.
Variations
One of the best things about this hummus is how flexible it is. You can customize it to suit your dietary needs or just change the flavor profile:
- Swap roasted red peppers for pepperoncini if you prefer a milder, sweeter hummus.
- Use sunflower seed butter instead of tahini for a nut-free version.
- Add a clove of fresh garlic for extra punch and depth.
- Sprinkle smoked paprika, chili flakes, or fresh herbs on top for extra flavor.
- Mix in a spoonful of olive tapenade for a Mediterranean twist.
These small adjustments can completely change the hummus while keeping it just as delicious. You can also enjoy similar flavors with Stuffed Sweet Potatoes with Burrata and Pesto Recipe for a savory, indulgent treat.
Cooking Time
This is one of the quickest hummus recipes you’ll ever make:
- Prep Time: 10 minutes – Mainly measuring and rinsing ingredients.
- Cooking Time: 0 minutes – No cooking required!
- Total Time: 15 minutes – Perfect for last-minute snacking or entertaining.
Equipment You Need
You don’t need a lot of fancy tools, just a few basics to make this hummus perfectly smooth:
- Food processor or high-powered blender – Essential for creamy texture. A regular blender works too, but it may take longer.
- Measuring cups and spoons – For accurate seasoning.
- Mixing bowl – To gently fold in chopped pepperoncini without crushing them.
- Spatula – Helps scrape down the sides of the blender for even blending.
- Serving bowl or dish – Presentation makes a difference when serving guests.
How to Make Pepperoncini Hummus Recipe?
Making this hummus is so straightforward that even beginners can succeed. Here’s my step-by-step method:
Step 1: Prep the Ingredients
I start by draining and rinsing my chickpeas to remove excess salt and ensure smooth blending. I also measure out the tahini, pepperoncini juice, salt, and pepper. Having everything ready makes the process faster and more enjoyable.
Step 2: Blend Until Smooth
Next, I add the chickpeas, tahini, pepperoncini juice, salt, and pepper to my food processor. I blend everything for about 2–3 minutes until it becomes silky smooth. I sometimes pause to scrape the sides with a spatula, ensuring no chickpeas are left unblended.
Step 3: Fold in Chopped Pepperoncini
After blending, I transfer the hummus to a bowl and gently fold in the chopped pepperoncini. This step adds texture and those tangy bursts that make every bite exciting. I avoid overmixing to keep the pieces intact.
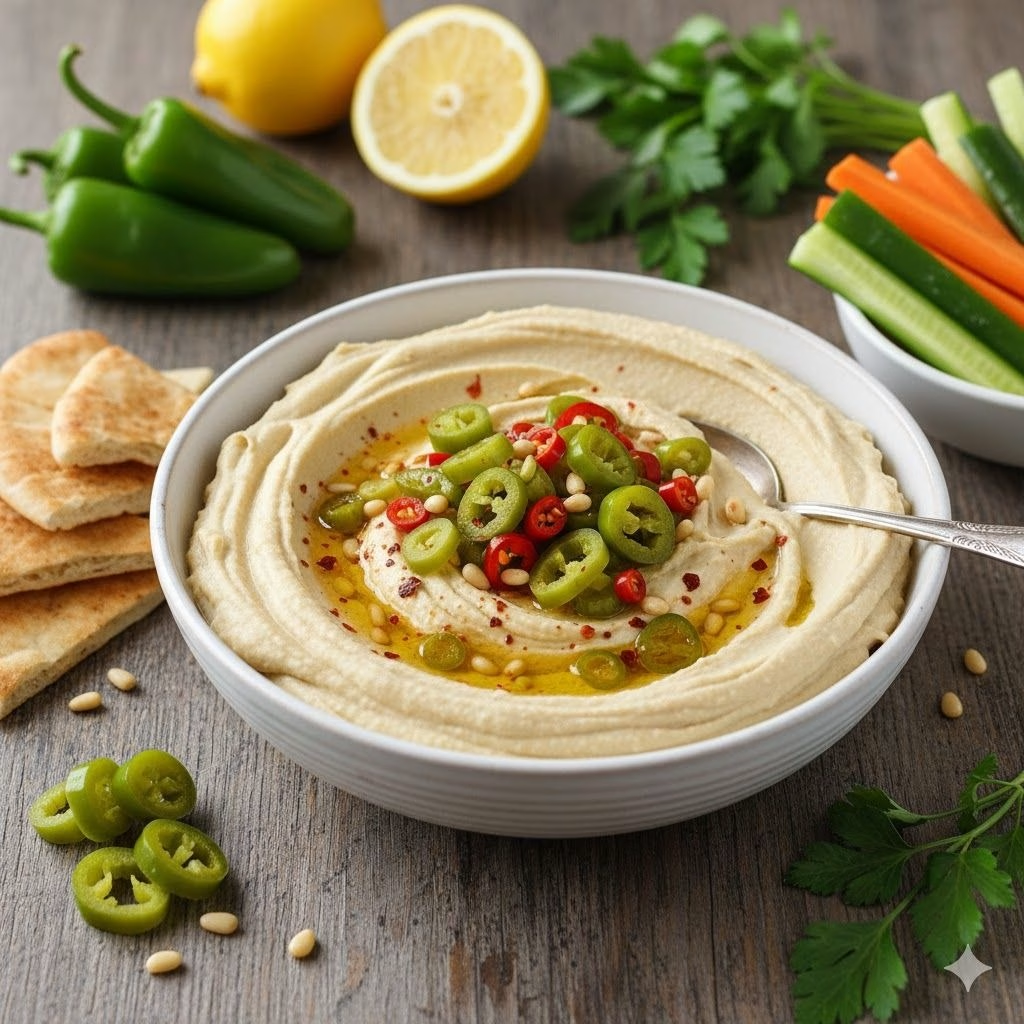
Step 4: Serve or Chill
Finally, I scoop the hummus into a serving bowl and smooth the top. I love drizzling a little olive oil and sprinkling paprika on top for presentation. While you can eat it immediately, letting it chill for 30–60 minutes intensifies the flavor.
Additional Tips for Making this Recipe Better
After making this hummus several times, I’ve learned a few tricks that really elevate it:
- I always taste and adjust the seasoning at the end—it makes a huge difference.
- For an extra creamy texture, peeling the chickpeas before blending works wonders.
- If I want a slightly spicier kick, I add a few drops of extra pepperoncini juice.
- Using fresh tahini versus old, separated tahini ensures smoother blending.
- Letting the hummus rest in the fridge for an hour allows the flavors to marry beautifully.
How to Serve Pepperoncini Hummus Recipe?
Serving this hummus is just as fun as making it. Here’s how I like to enjoy it:
- With fresh veggie sticks like carrots, cucumbers, and bell peppers for a colorful platter.
- Alongside pita chips, crackers, or toasted bread slices for extra crunch.
- On a charcuterie board with olives, cheeses, and nuts.
- As a spread in sandwiches or wraps for a tangy flavor boost.
- Garnished with a drizzle of olive oil, a sprinkle of paprika, and a few pepperoncini slices for a beautiful, appetizing look.
Presentation matters, and a few simple touches make this hummus look restaurant-worthy.
Nutritional Information
Here’s a snapshot of the nutrition per serving, perfect for health-conscious snackers:
- Calories: ~120 kcal – Light and satisfying snack.
- Protein: 4 g – Helps keep you full longer.
- Carbohydrates: 12 g – Provides energy without feeling heavy.
- Fat: 6 g – Mostly from tahini and olive oil, giving healthy fats.
This makes it an excellent option for a guilt-free, nutrient-rich snack.
Make Ahead and Storage
Storing
Store hummus in an airtight container in the fridge. It stays fresh and flavorful for up to 5 days. I usually label the container so I know when to use it.
Freezing
Hummus freezes well if you want to make it in bulk. Freeze in small portions for up to 3 months. Thaw in the fridge overnight before enjoying.
Reheating
No need to heat hummus. Serve chilled or at room temperature for the creamiest texture and brightest flavor. I find reheating can make it slightly grainy.
Why You’ll Love This Recipe?
This hummus has become a staple in my kitchen for so many reasons:
- Quick and Easy – Under 15 minutes from start to finish, perfect for last-minute snacks.
- Bold and Flavorful – Tangy, slightly spicy, and creamy all in one bite.
- Versatile – Works as a dip, spread, or sandwich addition.
- Diet-Friendly – Vegan, gluten-free, and wholesome.
- Customizable – Spice levels and toppings can be adjusted to your preference.
Pepperoncini Hummus Recipe
Ingredients
Method
- I start by draining and rinsing my chickpeas to remove excess salt and ensure smooth blending. I also measure out the tahini, pepperoncini juice, salt, and pepper. Having everything ready makes the process faster and more enjoyable.
- Next, I add the chickpeas, tahini, pepperoncini juice, salt, and pepper to my food processor. I blend everything for about 2–3 minutes until it becomes silky smooth. I sometimes pause to scrape the sides with a spatula, ensuring no chickpeas are left unblended.
- After blending, I transfer the hummus to a bowl and gently fold in the chopped pepperoncini. This step adds texture and those tangy bursts that make every bite exciting. I avoid overmixing to keep the pieces intact.
- Finally, I scoop the hummus into a serving bowl and smooth the top. I love drizzling a little olive oil and sprinkling paprika on top for presentation. While you can eat it immediately, letting it chill for 30–60 minutes intensifies the flavor.
Notes
- I always taste and adjust the seasoning at the end—it makes a huge difference.
- For an extra creamy texture, peeling the chickpeas before blending works wonders.
- If I want a slightly spicier kick, I add a few drops of extra pepperoncini juice.
- Using fresh tahini versus old, separated tahini ensures smoother blending.
- Letting the hummus rest in the fridge for an hour allows the flavors to marry beautifully.