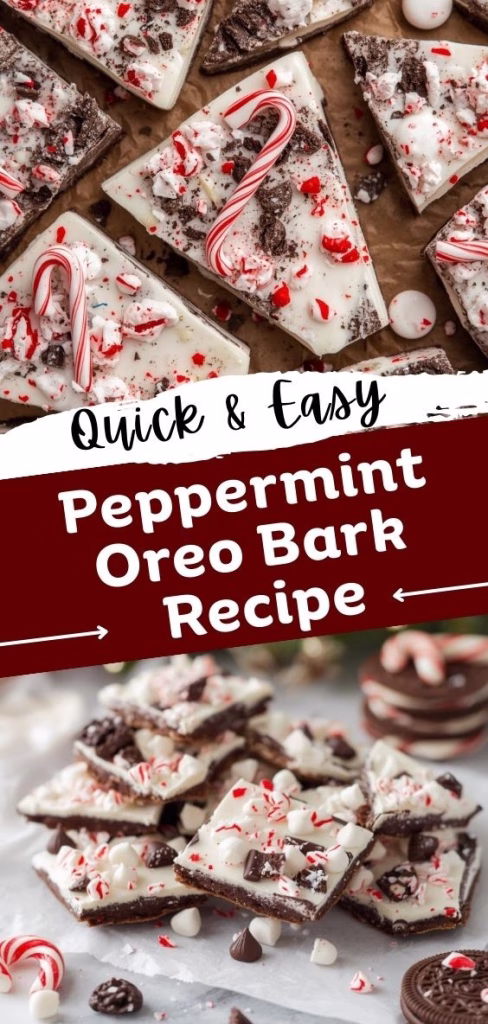
I have to admit, the first time I made this Peppermint Oreo Bark Recipe, I didn’t expect it to disappear so fast. I was just looking for a quick no-bake treat, but it turned into everyone’s favorite holiday snack. The mix of creamy chocolate, crunchy Oreos, and refreshing peppermint is honestly hard to beat.
I love how festive it looks with barely any effort. This is one of those recipes I always keep in mind when I need something simple but impressive. You can also enjoy similar festive desserts like the Coconut Caramel Flan Recipe for a smooth, indulgent treat.
Ingredients
Here’s everything you’ll need to make this festive chocolate bark, plus why each ingredient works so well.
- 1 (10-ounce) package Oreo Thins
These work better than regular Oreos because they lay flat and don’t overpower the chocolate layer. - 2 (10-ounce) bags white chocolate melting wafers
Melting wafers create a smooth, glossy finish and are easier to work with than regular chocolate chips. - 1 (10-ounce) bag chocolate melting wafers
The darker chocolate balances the sweetness and adds a beautiful swirl effect. - ¼ cup peppermint bits
Crushed candy canes or peppermint crunch give the bark that classic holiday flavor and color.
Note: This recipe makes several servings and yields approximately 30 pieces, depending on how you cut the bark. You can also try pairing it with other baked treats like Roasted Cherry Brownies Recipe for a rich chocolatey addition.
Variations
This Peppermint Oreo Bark is easy to customize based on your preferences or dietary needs.
- Dairy-Free Option: Use dairy-free chocolate melts and vegan sandwich cookies.
- Sugar-Free Version: Choose sugar-free chocolate wafers and sugar-free peppermint candies.
- Extra Flavor Boost: Add a few drops of peppermint extract to the white chocolate for a stronger mint taste.
- Crunchy Add-Ins: Sprinkle chopped pretzels, almonds, or pistachios on top.
- Holiday Colors: Add festive red and green sprinkles for extra visual appeal.
Cooking Time
This is one of those recipes that feels almost too easy.
- Prep Time: 15 minutes
- Cooking Time: 0 minutes (no baking required)
- Total Time: 15 minutes plus setting time
Equipment You Need
These basic kitchen tools make the process smooth and mess-free.
- Baking Sheet: Holds the bark while it sets.
- Parchment Paper or Foil: Prevents sticking and allows easy removal.
- Microwave-Safe Bowls: Used to melt the chocolates separately.
- Spatula: Helps spread and swirl the chocolate evenly.
- Sharp Knife: For cutting the bark once it’s fully set.
How to Make Peppermint Oreo Bark Recipe
This recipe comes together quickly, so it’s best to prepare everything before you start.
Prepare the Pan
Line a baking sheet with parchment paper or foil and set it aside. This step is important because it prevents the chocolate from sticking and makes removing the bark much easier once it’s set.
Melt the White Chocolate
Place the white chocolate melting wafers in a microwave-safe bowl and melt according to package instructions. Stir frequently to ensure the chocolate stays smooth and doesn’t overheat.
Melt the Dark Chocolate
In a separate bowl, melt the chocolate wafers the same way. Keeping the chocolates separate helps maintain clean swirls and better flavor balance.
Arrange the Oreo Base
Dip the bottom of each Oreo Thin into the melted white chocolate and place it chocolate-side down on the prepared baking sheet. Arrange them close together so they form a solid base.
Spread the White Chocolate Layer
Pour the remaining white chocolate over the Oreos, spreading it gently to fill gaps and cover the cookies evenly. This layer acts as the foundation of the bark.
Create Chocolate Swirls
Spoon the melted dark chocolate over the white chocolate layer. Use a spatula or knife to gently swirl the two chocolates together for a marbled look.
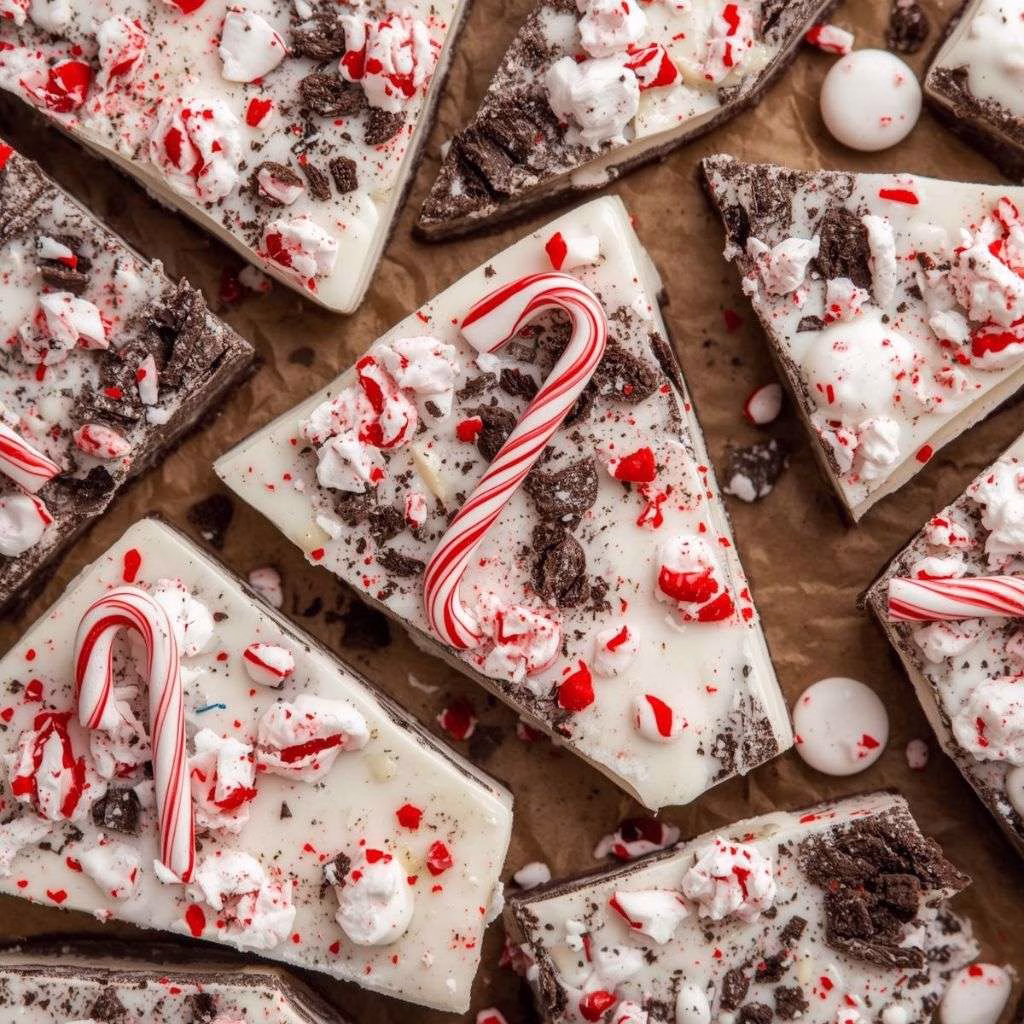
Add the Peppermint Topping
While the chocolate is still soft, sprinkle the peppermint bits evenly over the top. Press them gently so they stick once the chocolate hardens.
Set and Cut the Bark
Let the bark sit at room temperature or in the refrigerator until completely firm. Once set, lift it out and cut it into pieces using a sharp knife.
Additional Tips for Making This Recipe Better
After making this bark several times, here are a few things I always keep in mind:
- I always use high-quality melting wafers because they melt smoother and set better.
- I avoid overheating the chocolate, since that can cause it to seize.
- I add the peppermint topping immediately so it sticks perfectly.
- I let the bark set fully before cutting to get clean, sharp edges.
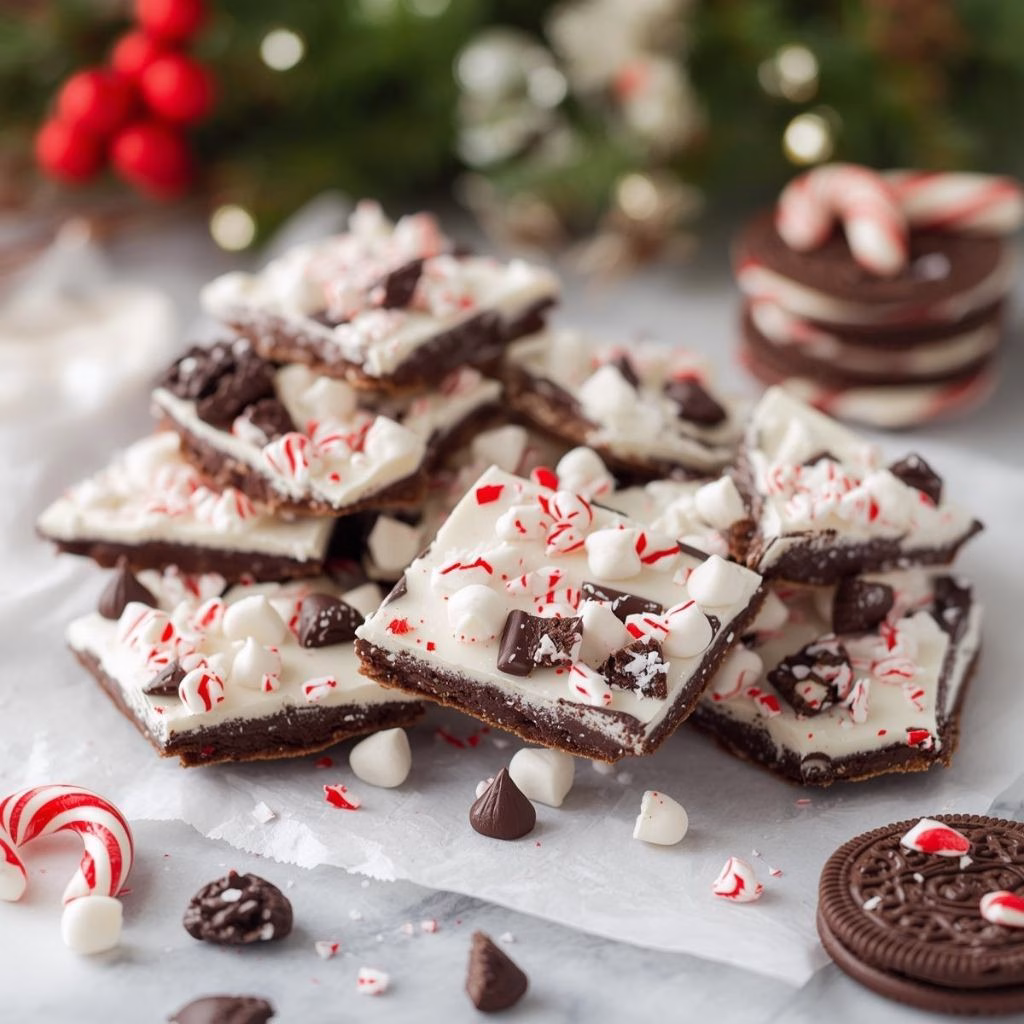
How to Serve Peppermint Oreo Bark Recipe
This bark looks just as good as it tastes, so presentation is easy. I like serving it on a festive platter or holiday tray for parties. You can also place pieces in clear gift bags tied with ribbon for homemade gifts. For an extra touch, sprinkle a few peppermint bits on the serving plate or pair it with hot cocoa or coffee for a cozy treat.
Nutritional Information
Here’s a general idea of what one serving contains:
- Calories: Approximately 200–210
- Protein: About 2 grams
- Carbohydrates: Around 25 grams
- Fat: Roughly 10–11 grams
Values may vary depending on ingredient brands and portion size.
Make Ahead and Storage
Storing:
Store Peppermint Oreo Bark in an airtight container at room temperature for up to 7 days. Keep it away from heat or humidity to maintain its texture.
Freezing:
This bark freezes very well. Wrap it tightly and store it in the freezer for up to 2–3 months. Thaw at room temperature before serving.
Reheating:
No reheating is needed. Simply allow chilled bark to come to room temperature for the best flavor and bite.
Why You’ll Love This Recipe
There are so many reasons this recipe has become a favorite in my kitchen.
This is one of those treats that feels special without being complicated.
- Quick and Easy: No baking and minimal prep make it stress-free.
- Perfect for Holidays: Peppermint and chocolate are a classic festive combo.
- Great for Sharing: Ideal for parties, gift boxes, or dessert tables.
- Highly Customizable: Easy to adjust flavors, toppings, and dietary needs.
Peppermint Oreo Bark Recipe
Ingredients
Method
- Line a baking sheet with parchment paper or foil and set it aside. This step is important because it prevents the chocolate from sticking and makes removing the bark much easier once it’s set.
- Place the white chocolate melting wafers in a microwave-safe bowl and melt according to package instructions. Stir frequently to ensure the chocolate stays smooth and doesn’t overheat.
- In a separate bowl, melt the chocolate wafers the same way. Keeping the chocolates separate helps maintain clean swirls and better flavor balance.
- Dip the bottom of each Oreo Thin into the melted white chocolate and place it chocolate-side down on the prepared baking sheet. Arrange them close together so they form a solid base.
- Pour the remaining white chocolate over the Oreos, spreading it gently to fill gaps and cover the cookies evenly. This layer acts as the foundation of the bark.
- Spoon the melted dark chocolate over the white chocolate layer. Use a spatula or knife to gently swirl the two chocolates together for a marbled look.
- While the chocolate is still soft, sprinkle the peppermint bits evenly over the top. Press them gently so they stick once the chocolate hardens.
- Let the bark sit at room temperature or in the refrigerator until completely firm. Once set, lift it out and cut it into pieces using a sharp knife.
Notes
- I always use high-quality melting wafers because they melt smoother and set better.
- I avoid overheating the chocolate, since that can cause it to seize.
- I add the peppermint topping immediately so it sticks perfectly.
- I let the bark set fully before cutting to get clean, sharp edges.