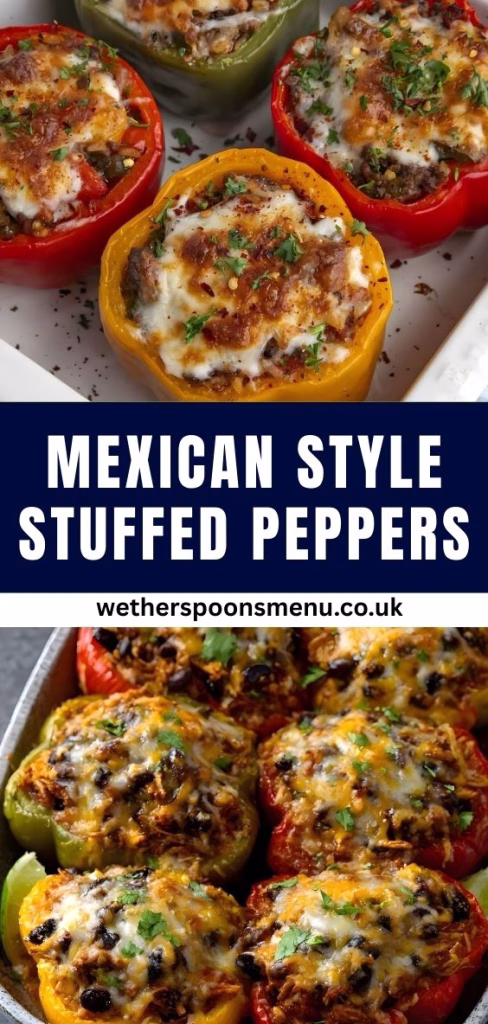
Mexican Style Stuffed Peppers Recipe | Savory & Flavorful
I’ve always loved recipes that feel festive but are actually simple to make, and Mexican style stuffed peppers recipe are exactly that. The first time I tried making them, I was amazed at how the colorful bell peppers turned into little flavor-packed bundles. Every bite was a mix of savory, slightly spicy, and cheesy goodness.
I found it fun to customize them with different fillings depending on what I had in the fridge. After making this recipe a few times, it’s now a go-to dinner for me when I want something healthy yet satisfying. You can also enjoy Chicken and Wild Rice Soup Recipe as a starter to go alongside these peppers.
Ingredients
Here’s what you’ll need to make these delicious Mexican stuffed peppers. I’ve included some tips to help you get the best flavors and textures.
- 4 large bell peppers (any color you like) – choose firm peppers with no soft spots for the best structure.
- 1 pound ground beef – you can use lean for less fat or ground turkey for a lighter option.
- 1 cup cooked rice – I prefer long-grain for a fluffier texture; freshly cooked is best.
- 1 can (15 oz) black beans, drained and rinsed – adds protein and creaminess.
- 1 cup corn kernels – fresh or thawed frozen corn works best for a sweet crunch.
- 1 small onion, finely chopped – enhances flavor; sauté for sweetness.
- 2 cloves garlic, minced – adds aroma; don’t let it burn when cooking.
- 1 cup shredded cheddar cheese – freshly grated melts better and tastes fresher.
- 1 teaspoon chili powder – gives a mild Mexican spice kick.
- 1 teaspoon cumin – adds a warm, earthy flavor.
- ½ teaspoon paprika – optional, for smokiness.
- Salt and pepper, to taste – adjust carefully; the cheese adds saltiness too.
- 1 can (8 oz) tomato sauce – provides moisture and tangy flavor.
- 2 tablespoons fresh cilantro, chopped – for garnish and fresh flavor.
Note: This recipe serves 4 people generously. Adjust ingredients accordingly if you need more or fewer servings.
Variations
I love experimenting with different versions of this recipe. Here are a few options:
- Dairy-free: Use a vegan cheese alternative or skip the cheese completely.
- Low-carb: Replace rice with cauliflower rice for a lighter version.
- Extra spice: Add chopped jalapeños or a pinch of cayenne for heat.
- Flavor boost: Mix in diced tomatoes or roasted red peppers for extra depth. You may also love finishing your meal with a Blueberry Cream Cake Recipe for dessert.
Cooking Time
Here’s a quick breakdown of how long this recipe takes:
- Prep Time: 20 minutes
- Cooking Time: 30 minutes
- Total Time: 50 minutes
Equipment You Need
These tools will make your cooking experience smoother:
- Baking dish – to hold peppers while baking.
- Skillet or frying pan – for cooking the meat and veggies.
- Cutting board – for chopping peppers, onions, and garlic.
- Sharp knife – ensures clean cuts without crushing vegetables.
- Spoon – for scooping the filling into the peppers.
How to Make Mexican Style Stuffed Peppers Recipe?
Prepare the Peppers
Start by washing your bell peppers and cutting off the tops. Remove seeds and membranes carefully to create a cavity for the filling. I like to keep the tops for presentation or chop them to add to the filling.
Cook the Filling
Heat a skillet and sauté onions and garlic until fragrant. Add ground beef and cook until browned, then mix in rice, beans, corn, chili powder, cumin, paprika, salt, and pepper. Stir in tomato sauce until everything is well combined.
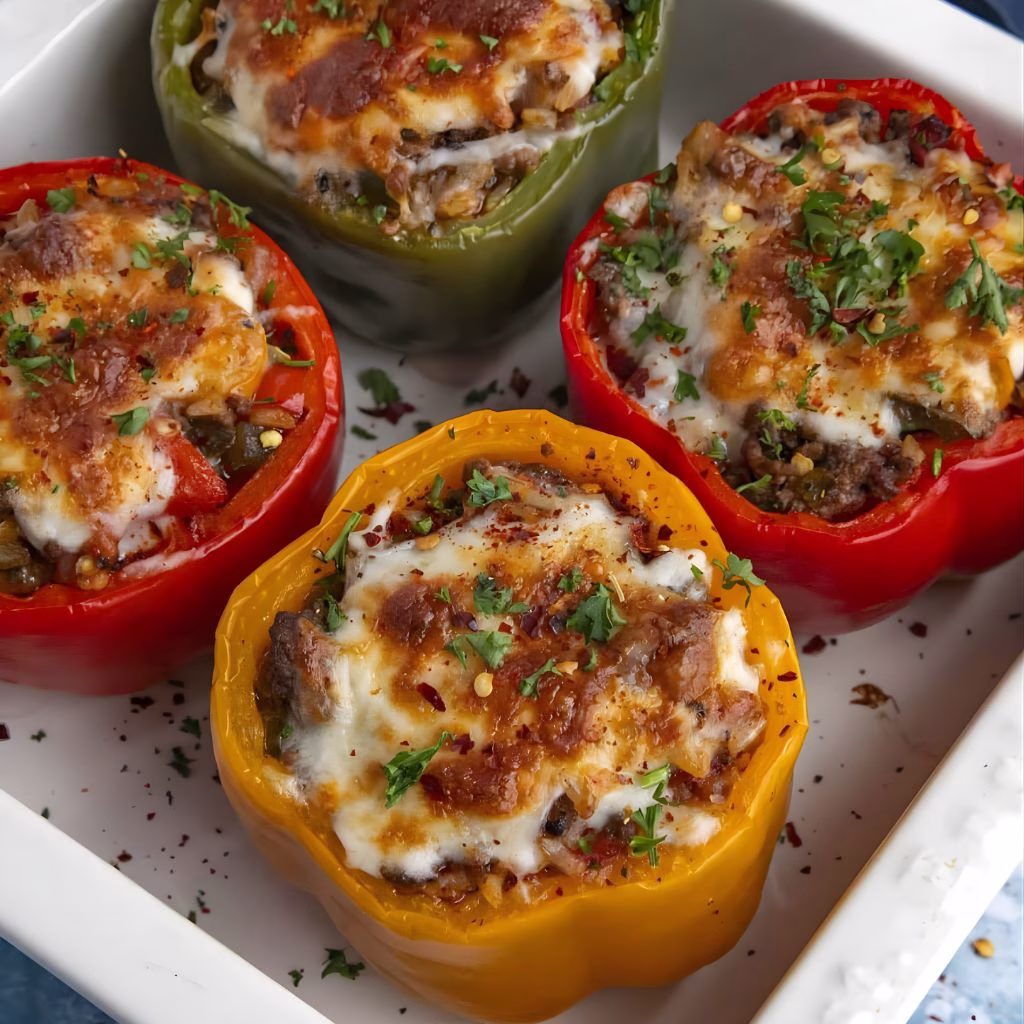
Stuff the Peppers
Carefully spoon the filling into each pepper, packing it slightly without overfilling. Sprinkle the shredded cheese on top for a golden, melty layer. I find adding cheese at the end keeps it from burning during baking.
Bake the Peppers
Place the stuffed peppers upright in a baking dish. Cover with foil and bake at 375°F (190°C) for 25 minutes. Remove the foil and bake for another 5–10 minutes until the cheese is bubbly and slightly golden.
Additional Tips for Making this Recipe Better
From my experience, these tips really elevate the dish:
- I always toast the spices briefly in the pan to enhance their aroma.
- I like to precook the rice; it absorbs the flavors better when mixed with the filling.
- Adding a squeeze of lime juice before serving brightens the flavors.
- I sometimes add a handful of chopped fresh cilantro into the filling for extra freshness.
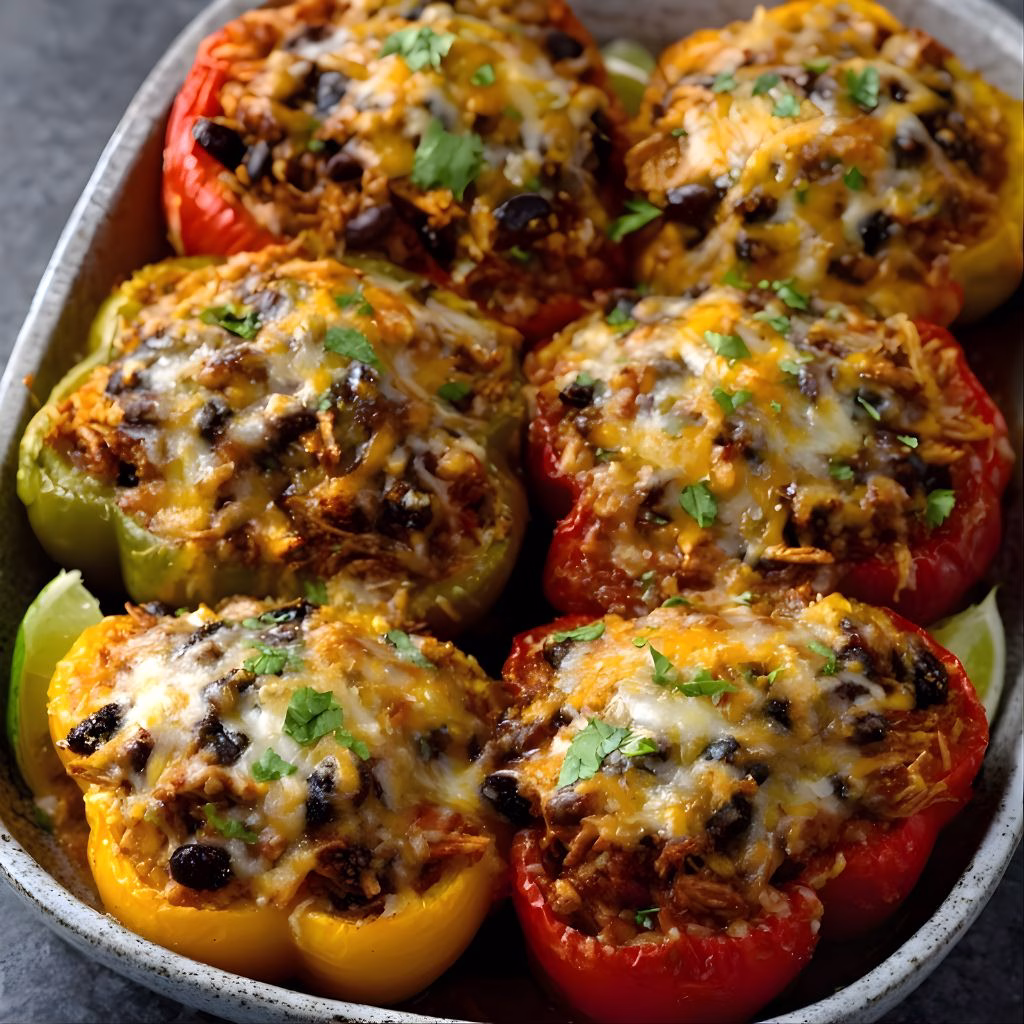
How to Serve Mexican Style Stuffed Peppers Recipe?
These peppers are a feast for the eyes as well as the taste buds. Serve them on a colorful plate, drizzle with a little extra tomato sauce, and sprinkle fresh cilantro on top. Pair with a side of guacamole or sour cream for a complete meal. I like adding a wedge of lime for a tangy punch.
Nutritional Information
Here’s a general idea of what you’re getting per stuffed pepper:
- Calories: 320
- Protein: 20g
- Carbohydrates: 28g
- Fat: 14g
These values may vary slightly depending on your choice of meat and cheese.
Make Ahead and Storage
Storing
You can refrigerate leftover stuffed peppers in an airtight container for up to 3 days. I recommend storing the cheese separately if possible to prevent it from becoming rubbery.
Freezing
For longer storage, freeze stuffed peppers individually in freezer-safe containers for up to 2 months. Thaw in the fridge overnight before reheating.
Reheating
Reheat in the oven at 350°F (175°C) for 15–20 minutes or until warmed through. I prefer reheating in the oven over the microwave to keep the peppers from getting soggy.
Why You’ll Love This Recipe?
Here are some reasons I can’t get enough of these stuffed peppers:
- Quick and Easy: It’s a one-dish meal that comes together without stress.
- Versatile: You can switch up meats, grains, and spices for different flavors.
- Family-Friendly: Everyone loves the cheesy, savory filling.
- Healthy and Balanced: Packed with protein, vegetables, and wholesome carbs.
- Customizable Heat: Adjust spices to suit your preferred level of heat.
Mexican style stuffed peppers are colorful, flavorful, and perfect for a weeknight dinner or a festive meal. They’re simple enough to make any day but impressive enough to serve to guests. I’ve found that this recipe hits the perfect balance between convenience, flavor, and visual appeal every time.