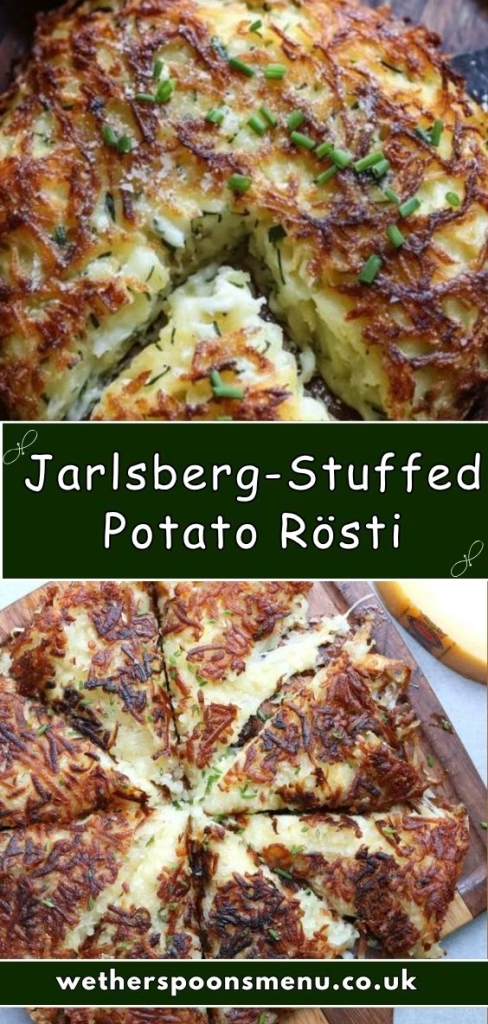
I recently made this Jarlsberg-Stuffed Potato Rösti Recipe, and honestly, I couldn’t stop thinking about it.I love how simple potatoes turn into something so crispy and golden on the outside.When I sliced into it, the melted cheese in the center was just irresistible.
It felt like the perfect comfort dish—rich, warm, and satisfying. If you enjoy cheesy, crispy food like me, this recipe will quickly become your favorite, just like lasagna-stuffed-chicken-breasts-recipe when you’re craving something equally rich and filling.
Ingredients
Here’s everything I used to make this delicious, crispy rösti at home.
- 2 lb thin-skinned potatoes – Use waxy or Yukon-style potatoes; they hold shape better after boiling.
- ½–1 lb Jarlsberg cheese, grated – Always grate fresh for better melting and flavor.
- 2 green onions or a few chives, chopped – Adds freshness and mild sharpness.
- 2–3 tbsp canola oil – Helps create that golden crispy crust.
- 1–2 tbsp butter – Adds rich flavor and enhances browning.
- Salt, to taste – Essential for bringing out potato flavor.
- Black pepper, to taste – Adds a mild heat and depth.
Note: This quantity serves about 6–8 people generously.
Variations
You can easily customize this rösti based on your taste or dietary needs.
- Add crispy bacon or sausage for a smoky, savory twist.
- Swap Jarlsberg with Gruyère or cheddar for a different cheese flavor.
- Add sautéed mushrooms or onions for extra depth.
- Make it vegetarian-loaded by adding roasted veggies like zucchini or peppers.
- For a lighter version, reduce butter and use olive oil instead.
Cooking Time
Here’s how long it takes from start to finish:
- Prep Time: 20 minutes
- Cooking Time: 20 minutes
- Total Time: 40 minutes
Equipment You Need
- Large skillet – For cooking the rösti evenly and achieving crispiness.
- Box grater – To coarsely grate the potatoes perfectly.
- Mixing bowl – For holding grated potatoes and seasoning.
- Spatula – Helps in flipping without breaking the rösti.
- Cutting board or plate – Useful for flipping the rösti safely.
How to Make Jarlsberg-stuffed Potato Rösti Recipe?
This recipe is easier than it looks, and I’ll guide you step-by-step.
Prepare the Potatoes
Start by boiling or baking the potatoes until just tender but not soft.I like to keep the skins on because they add texture and flavor.Let them cool completely before grating to avoid mushiness.
Grate the Potatoes
Using a box grater, coarsely grate the cooled potatoes into a bowl.Some of the peel will naturally fall off—just discard it.Make sure the shreds stay fluffy and not mashed together.
Start the Base Layer
Heat oil and butter in a skillet over medium-high heat.Spread half the grated potatoes evenly and press them gently.Season with salt, pepper, and sprinkle green onions on top.
Add Cheese and Top Layer
Scatter all the grated Jarlsberg evenly over the base.Cover it with the remaining grated potatoes and press lightly.This creates a sealed layer that keeps the cheese inside.
Flip and Cook
Once the bottom is golden, carefully flip using a plate.Slide it back into the pan with more butter or oil.Cook until the second side is crispy and the cheese melts fully.
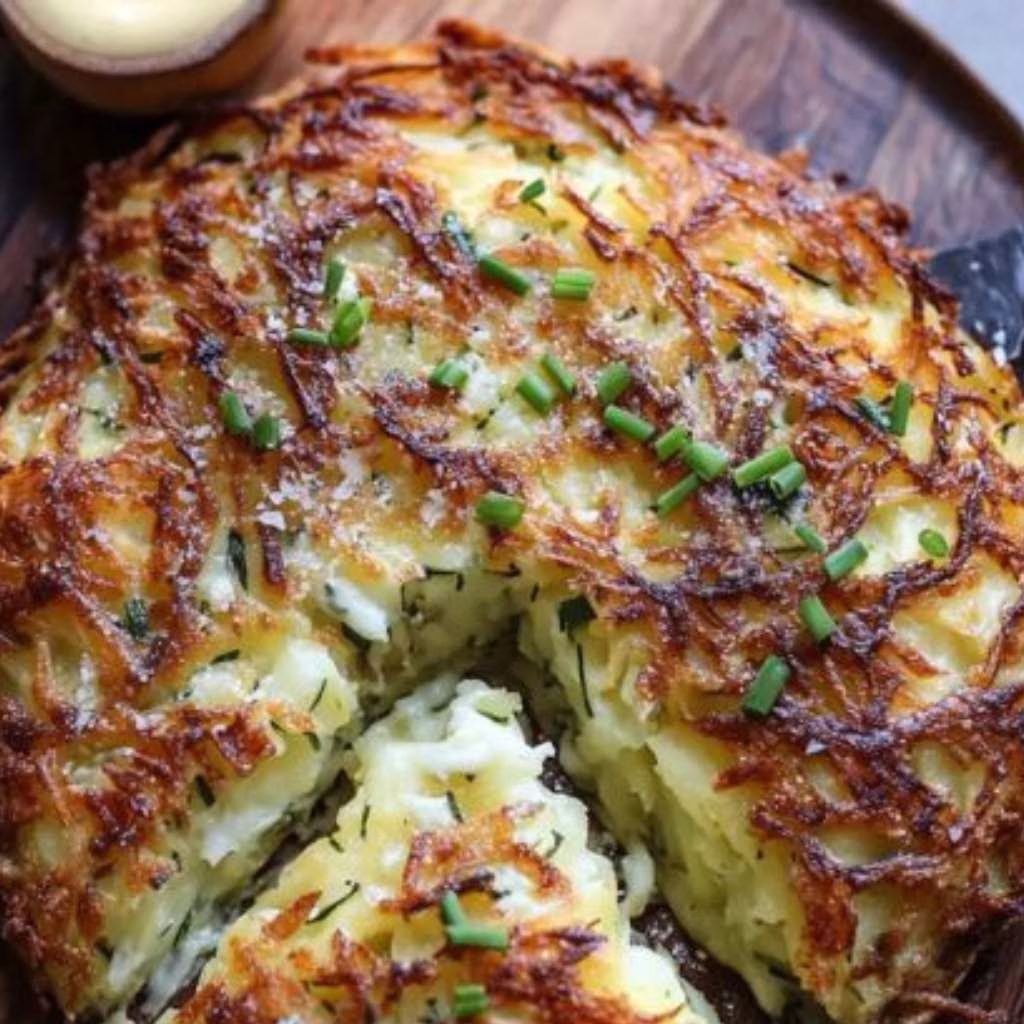
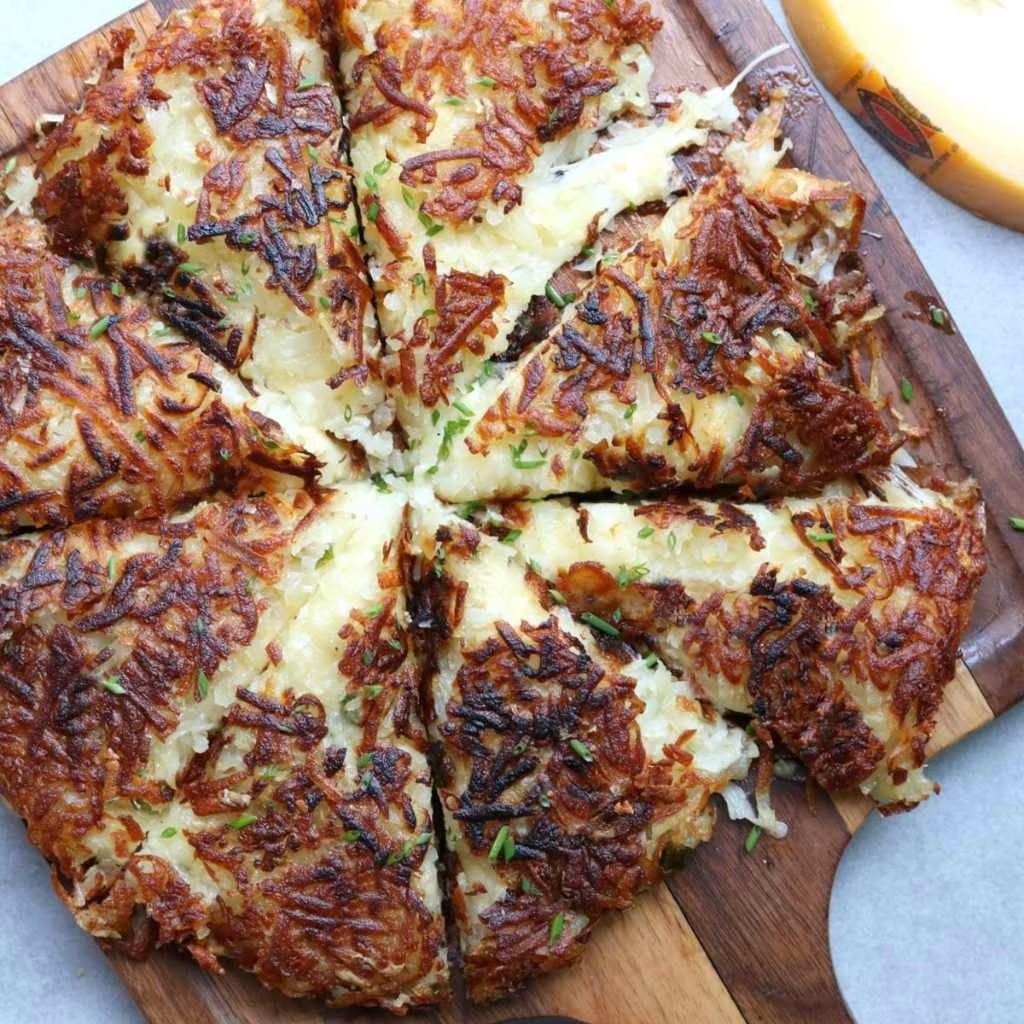
Serve Warm
Transfer the rösti to a cutting board and let it rest slightly.Slice into wedges for easy serving and better presentation.Top with extra chives if you like a fresh finish.
Additional Tips for Making this Recipe Better
These are some tips I learned after making this recipe myself.
- I always let the potatoes cool fully before grating—it makes a big difference.
- Don’t skimp on butter and oil; that’s what makes it beautifully crispy.
- I use a non-stick or well-seasoned pan to avoid sticking issues.
- Flipping can be tricky, so I always use a plate—it’s much safer.
- I press the layers gently, not too hard, to keep the texture light.
How to Serve Jarlsberg-stuffed Potato Rösti Recipe?
This dish is incredibly versatile and works for many occasions.Serve it hot as a main dish with a fresh green salad on the side.It pairs beautifully with roasted chicken or grilled meat for dinner.For brunch, I love topping it with a fried or poached egg.You can also add sour cream or yogurt dip for extra richness.Garnish with fresh herbs like chives for a clean, vibrant finish.
Nutritional Information
Here’s a quick look at the nutrition per serving (approximate):
- Calories: 380–420 kcal
- Protein: 14–16 g
- Carbohydrates: 30–35 g
- Fat: 20–25 g
Make Ahead and Storage
Make Ahead
You can boil the potatoes a day or two in advance and refrigerate them.
This actually makes grating easier and improves texture.
Storage
Store leftover rösti in an airtight container in the fridge.
It stays fresh for up to 3 days without losing much flavor.
Reheating
Reheat in a skillet for best crispiness instead of a microwave.
Cook on low heat until warmed through and crispy again.
Why You’ll Love This Recipe?
This recipe is a true comfort food with a gourmet twist.
- It’s crispy outside and cheese inside
I love how every bite gives both crunch and gooey melted cheese. - Simple ingredients, big flavor
You only need basic pantry staples, but the result feels special. - Perfect for any meal
I’ve served it for brunch, lunch, and dinner—it works every time. - Great for sharing
It looks impressive on the table and is perfect for family meals. - Easy to customize
You can add meats, veggies, or different cheeses to suit your taste.
Jarlsberg-Stuffed Potato Rösti Recipe
Ingredients
Method
- Start by boiling or baking the potatoes until just tender but not soft.I like to keep the skins on because they add texture and flavor.Let them cool completely before grating to avoid mushiness.
- Using a box grater, coarsely grate the cooled potatoes into a bowl.Some of the peel will naturally fall off—just discard it.Make sure the shreds stay fluffy and not mashed together.
- Heat oil and butter in a skillet over medium-high heat.Spread half the grated potatoes evenly and press them gently.Season with salt, pepper, and sprinkle green onions on top.
- Scatter all the grated Jarlsberg evenly over the base.Cover it with the remaining grated potatoes and press lightly.This creates a sealed layer that keeps the cheese inside.
- Once the bottom is golden, carefully flip using a plate.Slide it back into the pan with more butter or oil.Cook until the second side is crispy and the cheese melts fully.
- Transfer the rösti to a cutting board and let it rest slightly.Slice into wedges for easy serving and better presentation.Top with extra chives if you like a fresh finish.
Notes
- I always let the potatoes cool fully before grating—it makes a big difference.
- Don’t skimp on butter and oil; that’s what makes it beautifully crispy.
- I use a non-stick or well-seasoned pan to avoid sticking issues.
- Flipping can be tricky, so I always use a plate—it’s much safer.
- I press the layers gently, not too hard, to keep the texture light.