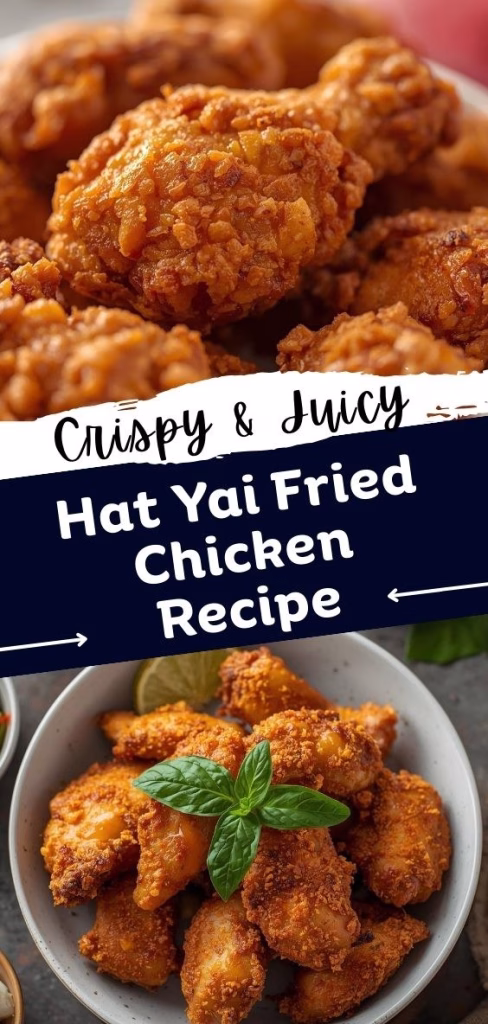
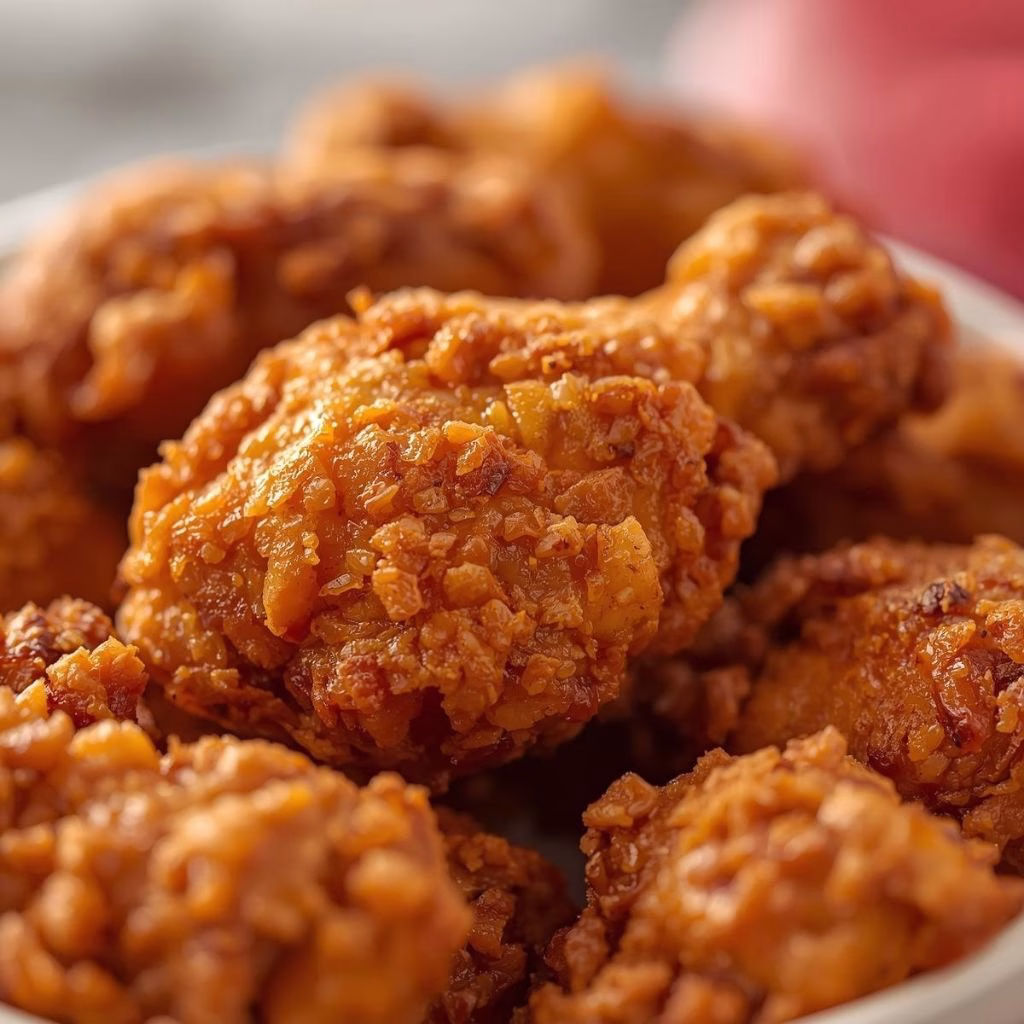
I still remember the first time I made Hat Yai Fried Chicken Recipe at home—it was love at first bite! The chicken came out golden, crunchy, and incredibly juicy, with a unique Thai flavor that’s hard to resist. I couldn’t stop thinking about the combination of sweet, savory, and slightly spiced notes.
It’s a street food favorite from Southern Thailand, and making it myself was easier than I expected. Once I tried this recipe, it quickly became a go-to for weekend dinners and special gatherings. If you enjoy flavorful chicken recipes, you might also like the BBQ Chicken Quesadilla Recipe for a fun twist on chicken.
Ingredients
Here’s everything you’ll need to make the perfect Hat Yai fried chicken. I’ve included tips for getting the best flavor and texture.
- Chicken – Use drumsticks, thighs, or wings for the juiciest results; avoid chicken breast as it can dry out.
- Tempura flour – Creates a light, crispy crust; all-purpose or rice flour can be used as substitutes.
- Fish sauce – Adds authentic umami flavor; soy sauce can work in a pinch but won’t taste the same.
- Palm sugar – Brings a gentle caramel sweetness that balances the salty flavors.
- Salt – Enhances all the flavors in the marinade.
- Coriander seeds – Pounded for aroma and subtle earthiness.
- Coriander root – A classic Thai ingredient that adds depth to the marinade.
- Cumin seeds – Adds a warm, nutty undertone.
- Black peppercorns – Freshly pounded for a mild heat and fragrance.
- Garlic – Freshly minced for aroma and flavor.
- Water – Used to help dissolve the palm sugar and blend the marinade.
Note: This recipe serves approximately 4–6 people depending on the portion sizes. You can also explore other Asian-inspired dishes like Beijing Beef Panda Express Style Recipe for a sweet and tangy option.
Variations
I love experimenting with this recipe to suit different tastes:
- For a dairy-free version, no substitutions are needed since the original recipe is already dairy-free.
- To make it sugar-free, replace palm sugar with a natural sweetener like stevia or erythritol.
- Spice it up by adding a pinch of chili powder or cayenne for a kick.
- For extra crunch, coat the chicken with panko breadcrumbs along with the tempura flour.
Cooking Time
- Prep Time: 20 minutes
- Cooking Time: 20–25 minutes
- Total Time: 45 minutes
Equipment You Need
- Deep fryer or large pot – For frying chicken evenly.
- Mortar and pestle – Essential for pounding spices and herbs.
- Tongs – To safely turn chicken while frying.
- Paper towels – To drain excess oil from fried chicken.
- Mixing bowls – For marinating and coating the chicken.
How to Make Hat Yai Fried Chicken Recipe?
Prepare the Marinade
Start by pounding coriander seeds, cumin seeds, black peppercorns, garlic, and coriander root into a paste. Mix this with fish sauce, palm sugar, salt, and water to make a balanced Thai-style marinade.
Marinate the Chicken
Rub the marinade over your chicken pieces, making sure every part is coated. Cover and refrigerate for at least 1 hour to let the flavors penetrate deeply.
Coat the Chicken
Lightly dust the marinated chicken in tempura flour, ensuring an even coating. This creates that signature crispy crust while keeping the meat inside tender.
Fry Until Golden
Heat oil in a deep fryer or heavy pot. Fry chicken in batches until golden brown and cooked through, about 8–10 minutes per batch depending on size.
Add the Crispy Shallots
Top the chicken with thinly sliced, lightly salted fried shallots. They add extra crunch and a subtle sweetness that enhances the dish.
Additional Tips for Making This Recipe Better
- I always pat the chicken dry before coating to get an extra crispy crust.
- I prefer using fresh palm sugar—it melts better and gives a richer flavor.
- For the best aroma, I fry shallots separately and sprinkle them over right before serving.
- I recommend using a thermometer to maintain oil at 350°F for perfect frying.
- I like letting the chicken rest on a wire rack after frying to prevent sogginess.
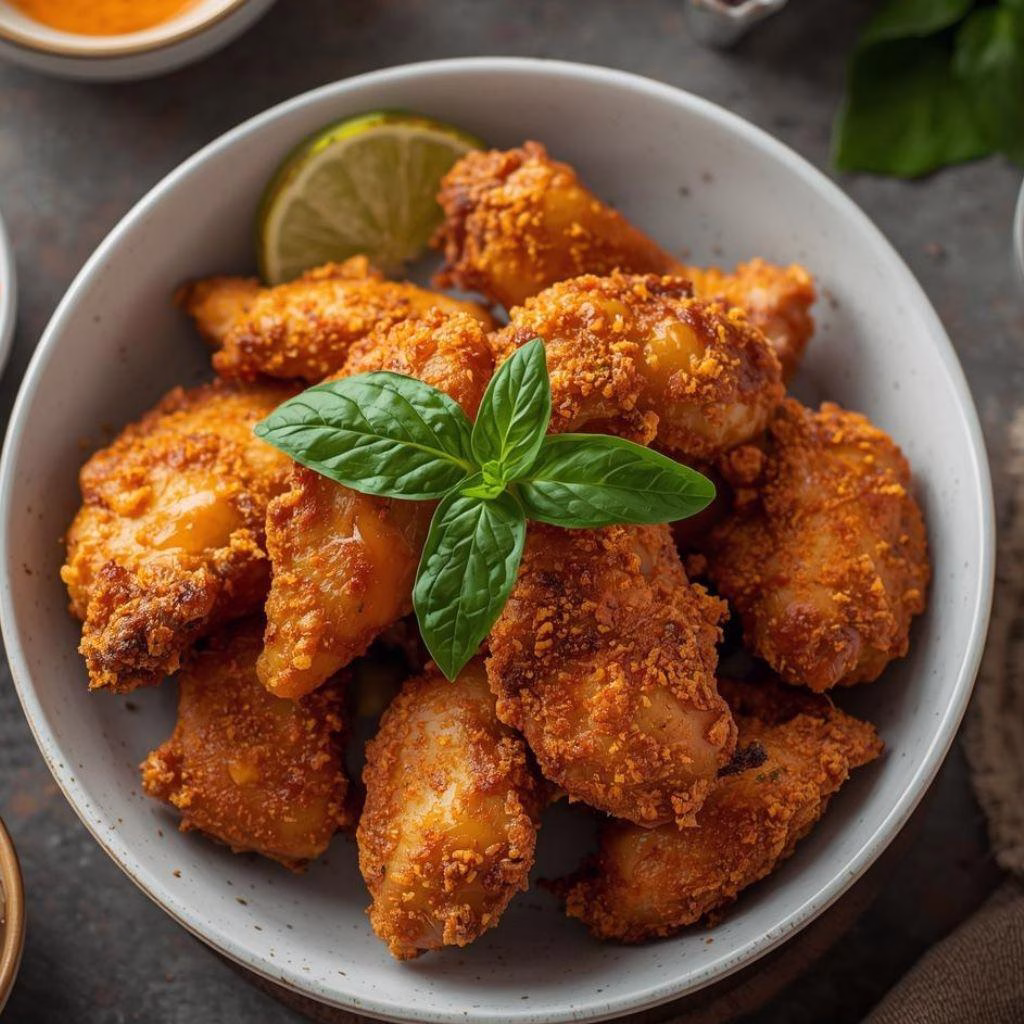
How to Serve Hat Yai Fried Chicken Recipe?
I love serving Hat Yai fried chicken with sticky jasmine rice and a tangy dipping sauce. For presentation, arrange the chicken on a bamboo tray, sprinkle fried shallots on top, and add a few fresh herbs for color. It’s visually appealing and perfect for sharing with friends or family.
Nutritional Information
Here’s a quick look at what you’re enjoying with each serving:
- Calories: Approximately 320 per serving
- Protein: 25g
- Carbohydrates: 12g
- Fat: 20g
Make Ahead and Storage
Refrigerating: Let the chicken cool completely, then store in an airtight container for up to 2 days.
Freezing: Wrap cooked chicken pieces individually in foil or plastic wrap, then freeze for up to 1 month.
Reheating: Reheat in a preheated oven at 375°F for 10–15 minutes to maintain crispiness. Avoid microwaving to prevent soggy crust.
Why You’ll Love This Recipe?
Here’s why Hat Yai fried chicken is a must-try:
- Incredibly Flavorful: The marinade perfectly balances sweet, salty, and aromatic flavors.
- Crispy Yet Juicy: Tempura flour coating keeps chicken tender inside with a crunchy exterior.
- Quick and Easy: Despite the authentic taste, it’s straightforward and doesn’t take hours to make.
- Versatile: Works as a snack, main dish, or party appetizer.
- Customizable: You can adjust spice levels, sweetness, or add your favorite herbs.
Hat Yai fried chicken brings the taste of Southern Thailand right into your kitchen. With its golden crust, juicy meat, and signature Thai flavors, it’s a recipe I can’t stop making—and neither will you!
Hat Yai Fried Chicken Recipe
Ingredients
Method
- Start by pounding coriander seeds, cumin seeds, black peppercorns, garlic, and coriander root into a paste. Mix this with fish sauce, palm sugar, salt, and water to make a balanced Thai-style marinade.
- Rub the marinade over your chicken pieces, making sure every part is coated. Cover and refrigerate for at least 1 hour to let the flavors penetrate deeply.
- Lightly dust the marinated chicken in tempura flour, ensuring an even coating. This creates that signature crispy crust while keeping the meat inside tender.
- Heat oil in a deep fryer or heavy pot. Fry chicken in batches until golden brown and cooked through, about 8–10 minutes per batch depending on size.
- Top the chicken with thinly sliced, lightly salted fried shallots. They add extra crunch and a subtle sweetness that enhances the dish.
Notes
- I always pat the chicken dry before coating to get an extra crispy crust.
- I prefer using fresh palm sugar—it melts better and gives a richer flavor.
- For the best aroma, I fry shallots separately and sprinkle them over right before serving.
- I recommend using a thermometer to maintain oil at 350°F for perfect frying.
- I like letting the chicken rest on a wire rack after frying to prevent sogginess.