I Made Fruity Pebbles Cheesecake Tacos Recipe– Here’s Why You Need to Try Them!
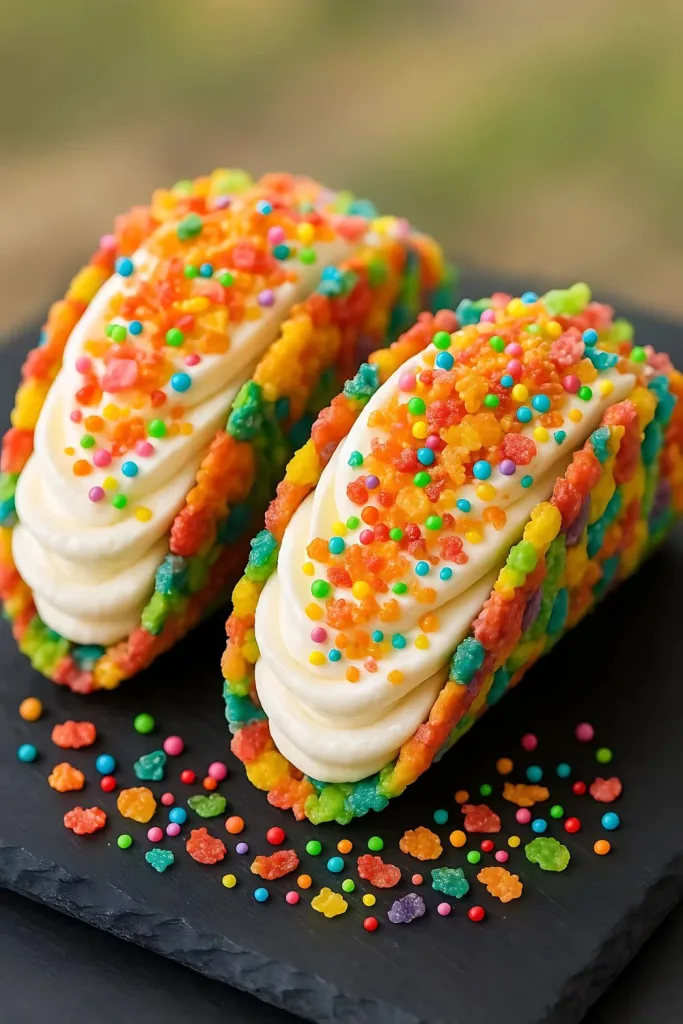
I recently whipped up these Fruity Pebbles Cheesecake Tacos, and I have to say—they’re one of the most fun desserts I’ve ever made! They’re bright, colorful, and seriously delicious. The contrast between the crunchy cereal shell and the creamy cheesecake filling is just perfect.
Plus, it reminded me of how exciting it is to try something different—just like when I made my favorite Apple Fritter Waffle Donuts. These tacos are perfect for parties or a sweet treat any day!

Ingredients That Make This Dessert a Showstopper
Each component of this recipe is carefully picked to create a perfect blend of crunch, creaminess, and sweetness.
Shells:
3 cups Fruity Pebbles cereal – Adds a vibrant, sweet crunch and forms the shell.
1/2 cup unsalted butter, melted – Helps bind the cereal and adds rich flavor.
Filling:
8 oz cream cheese (room temperature) – The base for a smooth, tangy cheesecake filling.
1/2 cup powdered sugar, sifted – Sweetens the mixture without grittiness.
1 tsp pure vanilla extract – Enhances the overall flavor.
1 cup whipped cream – Lightens the texture and adds fluffiness.
Garnish:
Extra Fruity Pebbles cereal – Adds extra color and crunch to the finished tacos.
Note: This recipe makes 6 dessert tacos—great for sharing or savoring solo!
Fun Twists and Delicious Variations
You can always switch things up depending on your preferences or dietary needs. Here are some tasty ideas:
- Use marshmallow fluff instead of whipped cream for a thicker filling.
- Swap regular cream cheese with a dairy-free version for lactose intolerance.
- Replace Fruity Pebbles with Cocoa Pebbles for a chocolatey twist.
- Mix in mini chocolate chips or fruit bits for extra flavor.
When you’re building your breakfast recipes collection, don’t forget that desserts like this are the perfect happy ending!
How Long Will It Take?
This dessert is fairly quick to make, especially since it doesn’t require baking!
- Prep Time: 20 minutes
- Cook/Chill Time: 30 minutes
- Total Time: 50 minutes
What You’ll Need to Get Started
Here’s a quick list of the tools I used while making these cheesecake tacos:
- Mixing bowls – For combining cereal and mixing the filling.
- Hand mixer – Whips the cream cheese into a silky texture.
- Spatula – Helps fold in whipped cream gently without deflating it.
- Taco molds or muffin tins – Shape and set the cereal shells.
How to Make Fruity Pebbles Cheesecake Tacos
This dessert is as easy as it is colorful. Here’s how I made mine step by step:
Step 1: Prepare the Shells
Start by pouring your Fruity Pebbles cereal into a large mixing bowl. Melt the butter and drizzle it over the cereal. Stir well so that every piece is coated. This is essential to help the cereal stick together and hold its shape.
Step 2: Mold the Taco Shells
Scoop the buttery cereal mixture into taco molds or gently press into the side of muffin tins to form a half-shell shape. Press firmly! You want to pack it in tight so the shell holds up once filled. Chill in the refrigerator for at least 30 minutes until firm.
Step 3: Whip the Cream Cheese Filling
While your shells are chilling, let’s work on that dreamy cheesecake center. Beat the softened cream cheese using a hand mixer until fluffy. Slowly add powdered sugar and vanilla extract, continuing to mix until smooth and creamy.
Step 4: Fold in Whipped Cream
Take your whipped cream and gently fold it into the cream cheese mixture with a spatula. Be careful not to stir too aggressively—you want to keep that fluffy texture intact.
Step 5: Fill the Shells
Once the shells are firm, carefully remove them from the molds or muffin tins. Use a spoon or piping bag to fill each one with the cheesecake mixture. Be generous!
Step 6: Add the Final Touch
Sprinkle some extra Fruity Pebbles over the top of each taco for a vibrant, crunchy finish. Serve immediately, or refrigerate again for a firmer bite.
Extra Tips from My Kitchen to Yours
After making these several times, here are some tips that helped me perfect the process:
- Don’t skip chilling the shells—it’s the key to them holding their shape.
- Make sure your cream cheese is room temp for a smooth, lump-free filling.
- If using muffin tins, shape the shells on the back of the tin for better taco shapes.
- Add a few drops of lemon juice to the filling for a slight tang.
- I like piping the filling in for a cleaner presentation.
How to Serve Fruity Pebbles Cheesecake Tacos?
Presentation really makes this dish pop—so make it count! You can place the tacos upright in a tray or lay them flat on a platter. Add a drizzle of white chocolate or fresh fruit slices for more flair. These tacos also pair beautifully with a scoop of vanilla ice cream.
I tried them alongside an Mexican Street Corn Pasta Salad Recipe, and the combo was surprisingly perfect—sweet and spicy harmony!
Nutritional Information
Here’s a quick nutritional breakdown per serving (approximate):
- Calories: 320
- Protein: 4g
- Carbohydrates: 28g
- Fat: 22g
Perfect for a fun dessert that’s satisfying but not overly heavy.
How to Store Fruity Pebbles Cheesecake Tacos
- Storing in Fridge: Keep the tacos in an airtight container for up to 3 days. The shell may soften over time, but it’ll still taste great.
- Freezing: Freeze the unfilled cereal shells wrapped in plastic. They can last up to 1 month. Thaw before filling.
- Reheating: No reheating needed—this is a chilled dessert! Just let it sit at room temp for 5-10 minutes before serving for the best texture.
Why You’ll Love This Recipe?
Let me tell you—this recipe is a crowd-pleaser for so many reasons:
- It’s visually stunning: The rainbow colors make it perfect for parties or birthdays.
- No baking required: Great for hot days or when you want something easy.
- Customizable: You can tweak the flavors, add fruits, or use different cereals.
- Kid-friendly and adult-approved: Everyone loves the fun taco twist and rich filling.
- Perfect for sharing: Each taco is a personal-sized treat—no slicing needed!
Common Mistakes to Avoid for Better Results
Want perfect cheesecake tacos every time? Avoid these common pitfalls:
- Not pressing shells tightly enough: They’ll crumble if too loose.
- Skipping chill time: The cereal needs time to set or it won’t hold its shape.
- Overmixing the filling: This can deflate your whipped cream and ruin the texture.
- Using cold cream cheese: Makes it harder to get that smooth consistency.
- Adding cereal garnish too early: It may get soggy. Top right before serving!
More Info for a Better Experience
- Try different cereals: Cocoa Pebbles, Rice Krispies, or even Corn Flakes for variety.
- Use flavored whipped cream: Strawberry or chocolate whipped topping adds a new twist.
- Mini versions: Make bite-sized tacos for party trays or dessert bars.
- Make it seasonal: Add pumpkin spice or crushed candy canes during holidays.
- Store upright: Use an empty egg carton or taco stand to keep them in place in the fridge.

Fruity Pebbles Cheesecake Tacos Recipe
Ingredients
Method
- Start by pouring your Fruity Pebbles cereal into a large mixing bowl. Melt the butter and drizzle it over the cereal. Stir well so that every piece is coated. This is essential to help the cereal stick together and hold its shape.
- Scoop the buttery cereal mixture into taco molds or gently press into the side of muffin tins to form a half-shell shape. Press firmly! You want to pack it in tight so the shell holds up once filled. Chill in the refrigerator for at least 30 minutes until firm.
- While your shells are chilling, let’s work on that dreamy cheesecake center. Beat the softened cream cheese using a hand mixer until fluffy. Slowly add powdered sugar and vanilla extract, continuing to mix until smooth and creamy.
- Take your whipped cream and gently fold it into the cream cheese mixture with a spatula. Be careful not to stir too aggressively—you want to keep that fluffy texture intact.
- Once the shells are firm, carefully remove them from the molds or muffin tins. Use a spoon or piping bag to fill each one with the cheesecake mixture. Be generous!
- Sprinkle some extra Fruity Pebbles over the top of each taco for a vibrant, crunchy finish. Serve immediately, or refrigerate again for a firmer bite.