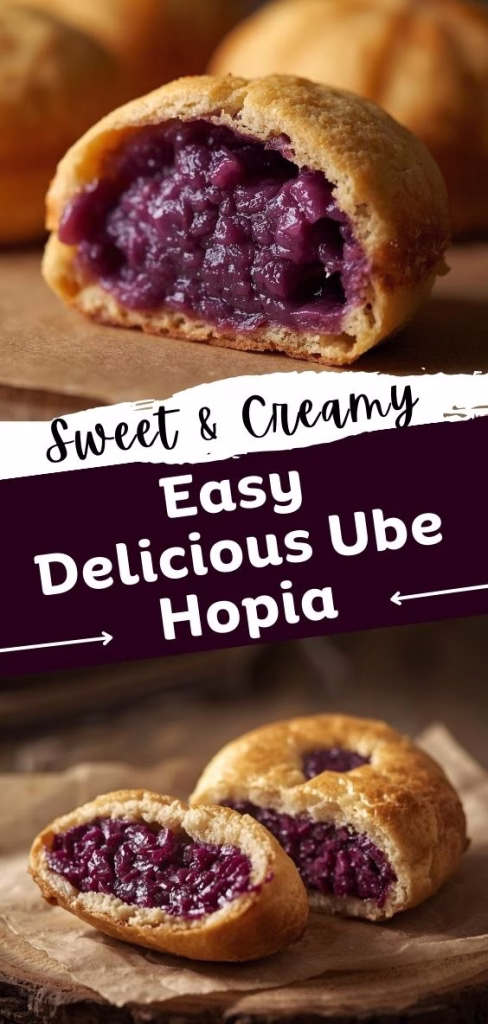
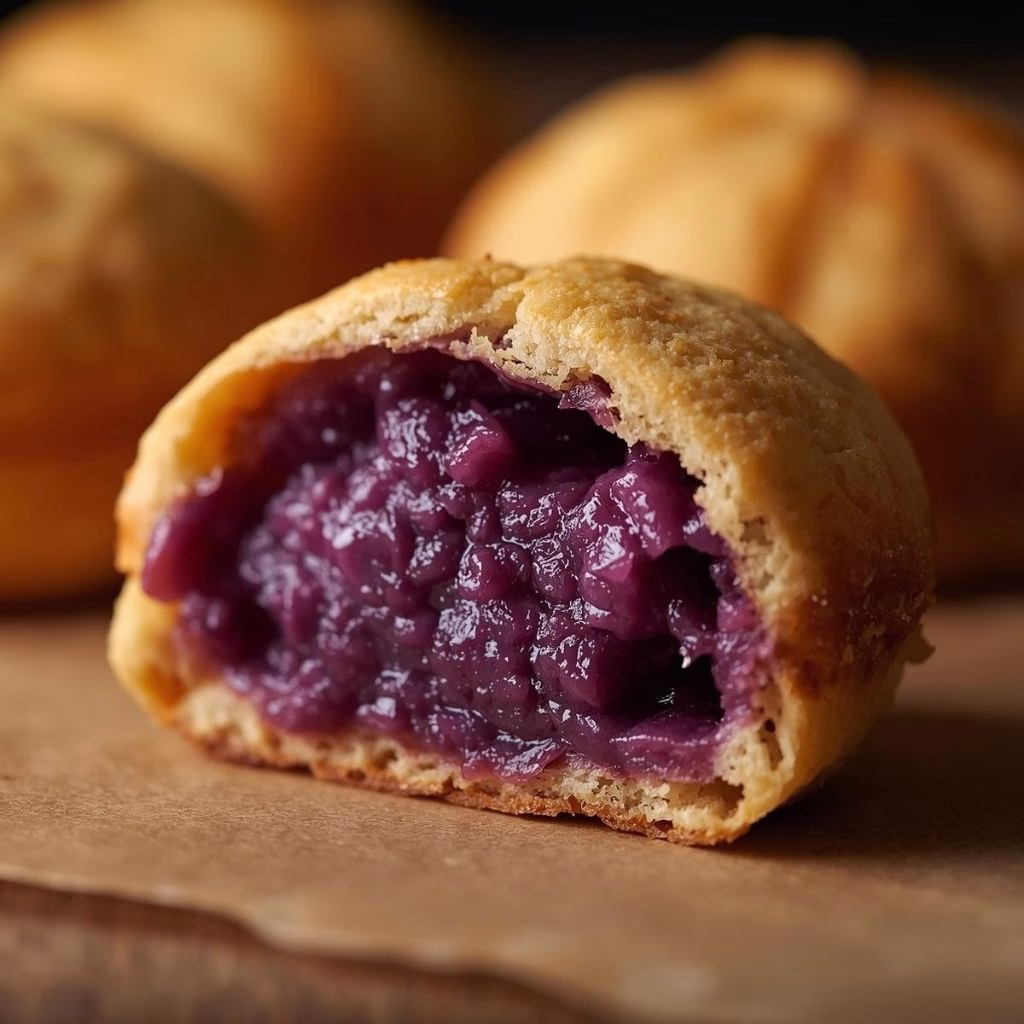
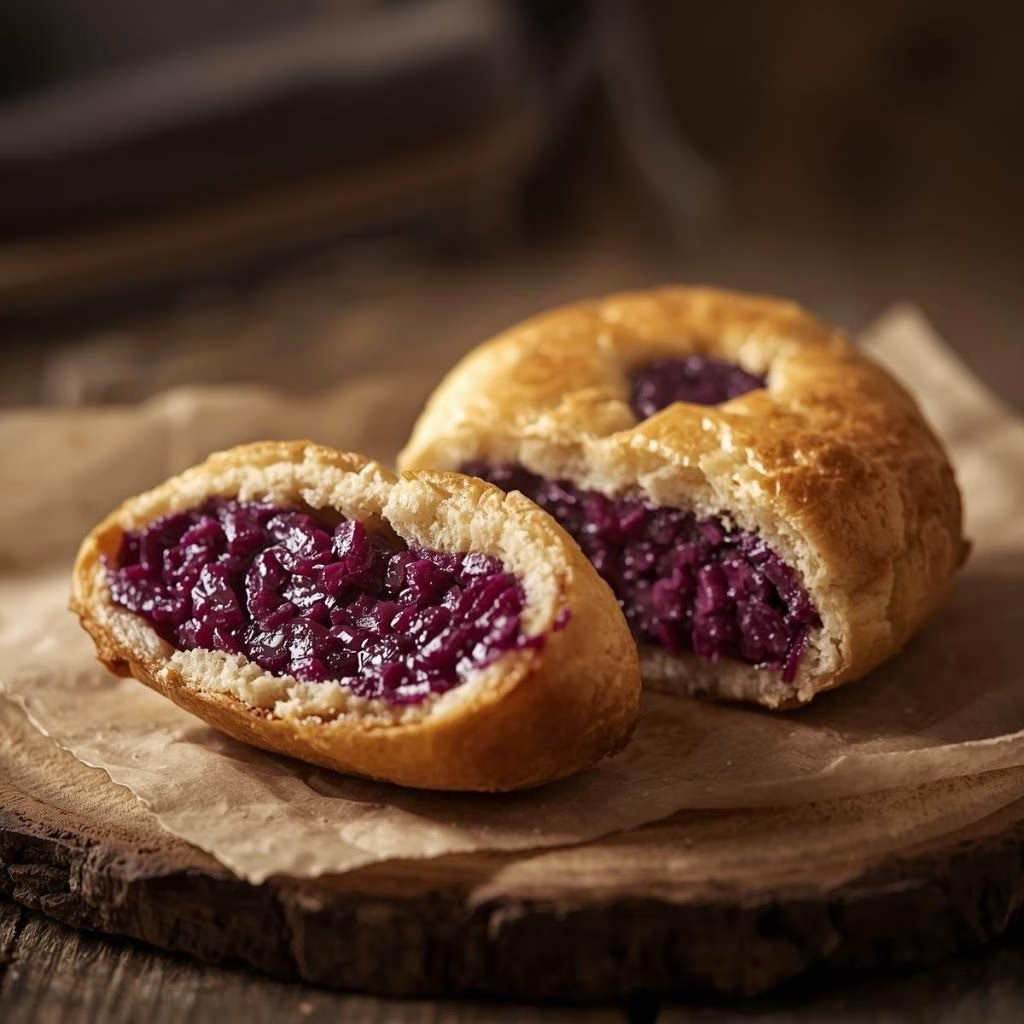
I never imagined I’d make ube hopia at home, but after trying this Easy Delicious Ube Hopia Recipe, I’m hooked! It’s surprisingly simple, doesn’t require an oven, and tastes far better than store-bought versions. Every bite has that flaky pastry with sweet, creamy ube filling that melts in your mouth.
Making these at home has become my favorite merienda project, and I’m excited to share how you can easily do it too. Let’s dive into this delicious Filipino treat together! If you enjoy creating treats at home, you can also try the One Skillet Salmon with Lemon Orzo Recipe for a savory twist.
Ingredients
Here’s everything you’ll need to create the perfect ube hopia at home:
- All-purpose flour – for the pastry; use fresh for best texture
- Granulated sugar – to add sweetness to the dough
- Salt – enhances the flavor of the pastry
- Unsalted butter – gives flakiness and richness; cut into small cubes
- Canola oil – for light, tender pastry (flavorless oil works best)
- Water – to bring the dough together
- Ube halaya (ube jam) – the star ingredient for the filling; homemade or store-bought works
- Egg – for brushing on top to achieve a golden finish
Note: This recipe makes several servings, perfect for sharing or storing. For a sweet treat to pair after your hopia, you might enjoy making the Cream Cheese Brownies Recipe.
Variations
You can tweak this recipe to suit different preferences:
- Dairy-free: substitute butter with coconut oil or vegan margarine
- Sugar-free: use a sugar alternative in both the dough and filling
- Flavor boosters: add a hint of vanilla or coconut extract to enhance the ube taste
Cooking Time
- Prep Time: 30 minutes
- Cooking Time: 20 minutes
- Total Time: 50 minutes
Equipment You Need
- Mixing bowls – for combining dough and filling
- Wooden spoon – to mix ingredients gently
- Pastry cutter – to cut butter into flour evenly
- Rolling pin – for flattening dough to perfect thickness
- Cookie scoop – to portion the ube filling evenly
- Pastry mat – for easy rolling and cleanup
How to Make Easy Delicious Ube Hopia
Prepare the First Dough
Start by combining flour, salt, oil, and water in a large bowl. Mix gently with a wooden spoon, then finish by kneading lightly with your hands. The goal is just to bring the ingredients together without overworking the dough.
Make the Second Dough
In another bowl, mix flour and sugar, then cut in the butter using a pastry cutter or fork. This creates a flaky texture for the pastry layers, which is essential for that classic hopia feel.
Assemble the Hopia
Flatten the first dough, then layer it with the second dough. Place a scoop of ube filling in the center, fold, and seal the edges. Brush with egg wash for a beautiful golden finish before cooking.
Cook the Hopia
Traditionally, these are baked, but this version cooks on a stovetop. Heat a non-stick pan and cook each piece over medium heat until lightly browned and crispy on both sides. Cool slightly before serving.
Additional Tips for Making this Recipe Better
From my experience, small adjustments make a huge difference:
- I like chilling the dough before rolling—it’s easier to handle and less sticky
- Use a cookie scoop for the filling to ensure each hopia is the same size
- Don’t overmix the dough; it should be slightly rough to stay flaky
- Brush generously with egg wash for a gorgeous golden color
How to Serve Easy Delicious Ube Hopia
Serve these hopia warm with coffee or tea for a classic merienda. For a festive touch, sprinkle a little powdered sugar or coconut flakes on top. Stack them neatly on a plate or arrange in a small gift box—they make a great present too.
Nutritional Information
Here’s a quick glance at the nutrition per serving:
- Calories: ~180 kcal – for a satisfying snack
- Protein: 2 g – from the egg and flour
- Carbohydrates: 28 g – mainly from flour and sugar
- Fat: 7 g – from butter and oil
Make Ahead and Storage
Storing
Keep hopia in an airtight container at room temperature for up to 3 days.
Freezing
They freeze beautifully. Wrap individually in plastic and place in a freezer bag for up to 2 months.
Reheating
Warm in a non-stick pan or oven for a few minutes to restore crispiness. Avoid microwaving for too long to maintain the flaky texture.
Why You’ll Love This Recipe
Here’s why this ube hopia recipe is a must-try:
- Simple steps: Even beginners can master it with ease
- No oven needed: Perfect for small kitchens or quick prep
- Freezes well: Make a big batch and enjoy later
- Flavorful and authentic: Sweet, creamy ube with a flaky pastry
- Customizable: Adjust sweetness, flavors, and dietary preferences
Making these at home is fun, rewarding, and absolutely delicious. Once you try this ube hopia recipe, you’ll never go back to store-bought again!
Easy Delicious Ube Hopia Recipe
Ingredients
Method
- Start by combining flour, salt, oil, and water in a large bowl. Mix gently with a wooden spoon, then finish by kneading lightly with your hands. The goal is just to bring the ingredients together without overworking the dough.
- In another bowl, mix flour and sugar, then cut in the butter using a pastry cutter or fork. This creates a flaky texture for the pastry layers, which is essential for that classic hopia feel.
- Flatten the first dough, then layer it with the second dough. Place a scoop of ube filling in the center, fold, and seal the edges. Brush with egg wash for a beautiful golden finish before cooking.
- Traditionally, these are baked, but this version cooks on a stovetop. Heat a non-stick pan and cook each piece over medium heat until lightly browned and crispy on both sides. Cool slightly before serving.
Notes
- I like chilling the dough before rolling—it’s easier to handle and less sticky
- Use a cookie scoop for the filling to ensure each hopia is the same size
- Don’t overmix the dough; it should be slightly rough to stay flaky
- Brush generously with egg wash for a gorgeous golden color