Crispy Ranch Chicken Tenders Recipe | Easy Family Favorite
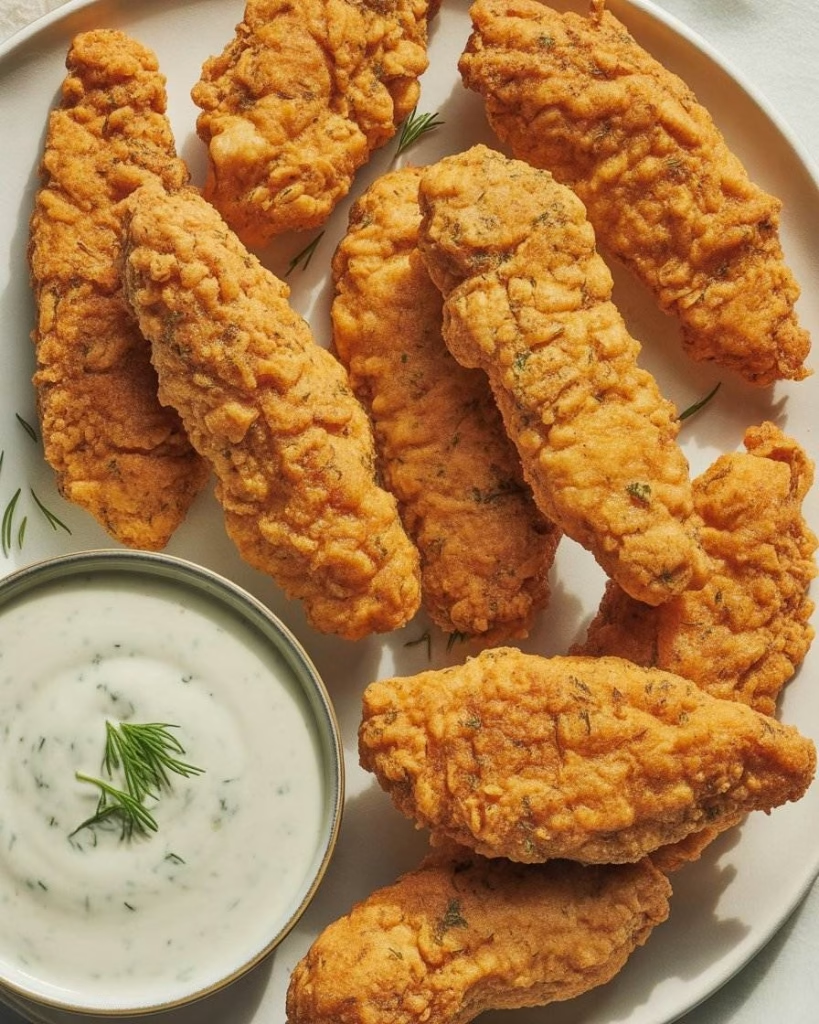
I’ve always been a huge fan of fried chicken, but making restaurant-style tenders at home is a game-changer. I recently tried this Crispy Ranch Chicken Tenders recipe, and let me tell you—it’s an absolute winner! The chicken is juicy inside with a golden, crunchy coating that’s perfectly seasoned.
Ranch seasoning mixed with buttermilk gives the chicken a flavorful kick without any fuss. These tenders are quick, easy, and perfect for both family dinners and game-day snacks. You can also enjoy a hearty meal like Rotisserie Chicken Pasta Recipe alongside these tenders for extra variety.

Ingredients
Here’s what you need to make these irresistible chicken tenders:
- 2 lb boneless, skinless chicken tenderloins – choose fresh tenders for best texture.
- 2 cups buttermilk – adds tang and helps tenderize the chicken.
- 2 cups all-purpose flour – ensures a crispy, golden coating.
- 1 packet Buttermilk Ranch Dressing Seasoning Mix – gives your chicken that iconic Ranch flavor.
- 1 teaspoon coarse ground black pepper – adds a gentle heat and depth.
- 1 teaspoon dried parsley – optional, for a pop of color and mild herbiness.
- Canola or peanut oil – for frying; these oils withstand high heat well.
Note: Serves 12 chicken tenders.
Variations
You can tweak this recipe to suit different dietary needs or flavor preferences:
- Swap buttermilk for a dairy-free alternative like almond milk mixed with lemon juice.
- Use gluten-free flour instead of all-purpose flour for a gluten-free version.
- Add smoked paprika or garlic powder to the coating for extra flavor punch.
- For a lower-fat option, cook in an air fryer using panko breadcrumbs.
For a lower-fat option, cook in an air fryer using panko breadcrumbs. You can also try these flavors with Rotisserie Chicken Nachos Recipe for a fun twist.
Cooking Time
Making these chicken tenders is fast and straightforward:
- Prep Time: 10 minutes
- Cooking Time: 25 minutes
- Total Time: 35 minutes
Equipment You Need
- Dutch oven, cast-iron skillet, or deep fryer – for frying chicken to golden perfection.
- Large mixing bowl – to soak the chicken in buttermilk.
- Shallow bowl – to coat chicken in flour and seasoning.
- Wire rack with baking sheet – lets coated chicken rest and keeps the crust crispy.
- Tongs – for safely turning chicken while frying.
How to Make Crispy Ranch Chicken Tenders Recipe
Soak the Chicken
Start by placing the chicken tenderloins in a large bowl and cover them with buttermilk. Make sure each piece is fully coated and separated. This soaking step keeps the chicken moist and helps the seasoning stick better.
Coat the Chicken
Mix the flour, Ranch seasoning, black pepper, and parsley in a shallow bowl. Dredge each tender in the mixture, pressing the coating gently into the chicken. Place coated tenders on a wire rack for a few minutes; letting them rest makes the coating extra crispy when fried.
Fry the Chicken
Heat oil in your skillet or fryer to 375°F. Fry the tenders in batches for 5-8 minutes per side until golden brown and cooked through. Transfer to a plate lined with paper towels to drain excess oil, then serve immediately.
Additional Tips for Making This Recipe Better
- I like to pat my chicken dry before soaking; it helps the coating stick perfectly.
- I always use fresh flour and seasoning; old spices can make the coating taste flat.
- I found that letting the coated chicken rest briefly before frying makes the crunch next-level.
- I avoid overcrowding the pan; giving each tender space ensures even cooking.
How to Serve Crispy Ranch Chicken Tenders Recipe
These tenders shine when paired with classic sides. I love serving them with mashed sweet potatoes, scalloped potatoes, or a fresh coleslaw. A drizzle of honey mustard or your favorite BBQ sauce adds a fun dipping option. Garnish with a sprinkle of fresh parsley for a vibrant, restaurant-quality presentation.
Nutritional Information
Here’s a quick look at the nutritional profile per tender:
- Calories: 250-300 kcal – perfect for a hearty snack or meal.
- Protein: 20-22 g – keeps you full and satisfied.
- Carbohydrates: 15-18 g – mainly from the crispy coating.
- Fat: 12-15 g – comes from the frying oil and coating.
Make Ahead and Storage
Storing: Keep leftovers in an airtight container in the fridge for up to 3 days.
Freezing: Freeze cooked tenders in a single layer on a baking sheet, then transfer to a freezer bag. They last up to 2 months.
Reheating: Warm in a 350°F oven until heated through; this restores the crispiness beautifully.
Why You’ll Love This Recipe
Here’s why this recipe quickly became my favorite:
- Easy to prepare – just soak, coat, and fry.
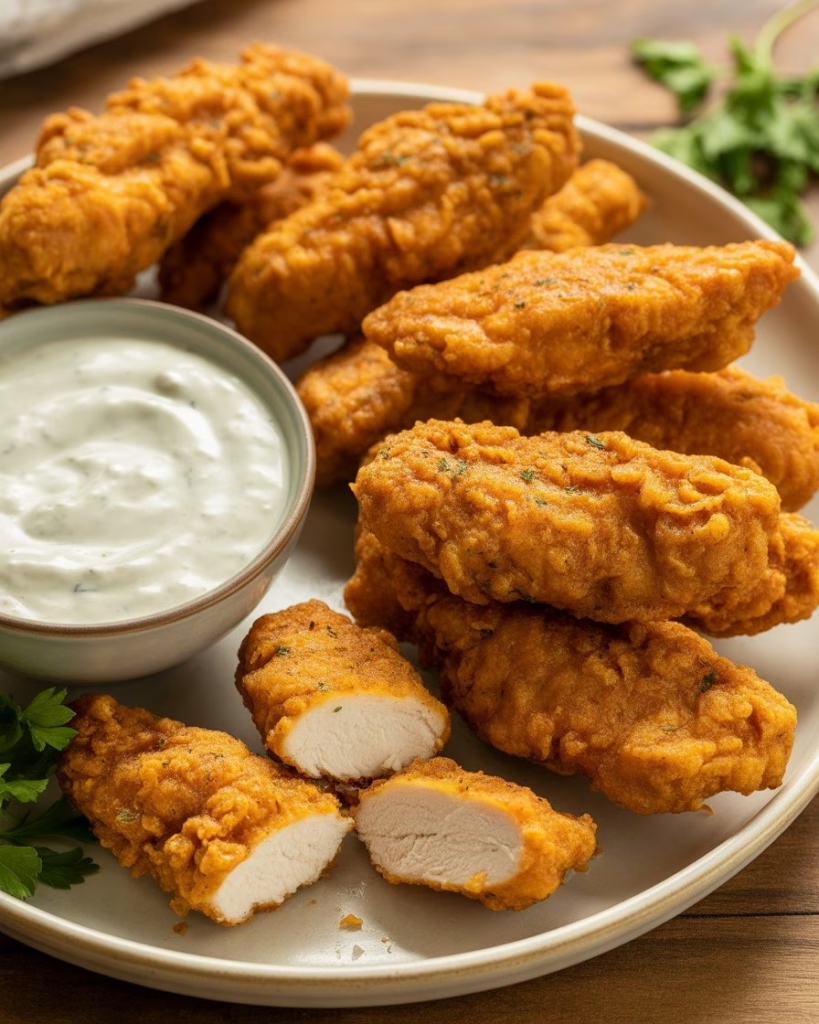
- Perfectly crispy – golden outside, juicy inside every time.
- Kid and adult-friendly – everyone loves them!
- Customizable – tweak seasonings, flour, or cooking method.
- Versatile – great for dinners, game days, or party appetizers.
Crispy Ranch Chicken Tenders are a simple yet irresistible dish that never disappoints. I love making them for family dinners and watching everyone go back for seconds. With just a few ingredients and a little patience, you can enjoy perfectly crispy, flavorful chicken anytime at home.

Crispy Ranch Chicken Tenders Recipe
Ingredients
Method
- Start by placing the chicken tenderloins in a large bowl and cover them with buttermilk. Make sure each piece is fully coated and separated. This soaking step keeps the chicken moist and helps the seasoning stick better.
- Mix the flour, ranch seasoning, black pepper, and parsley in a shallow bowl. Dredge each tender in the mixture, pressing the coating gently into the chicken. Place coated tenders on a wire rack for a few minutes; letting them rest makes the coating extra crispy when fried.
- Heat oil in your skillet or fryer to 375°F. Fry the tenders in batches for 5-8 minutes per side until golden brown and cooked through. Transfer to a plate lined with paper towels to drain excess oil, then serve immediately.
Notes
- I like to pat my chicken dry before soaking; it helps the coating stick perfectly.
- I always use fresh flour and seasoning; old spices can make the coating taste flat.
- I found that letting the coated chicken rest briefly before frying makes the crunch next-level.
- I avoid overcrowding the pan; giving each tender space ensures even cooking.