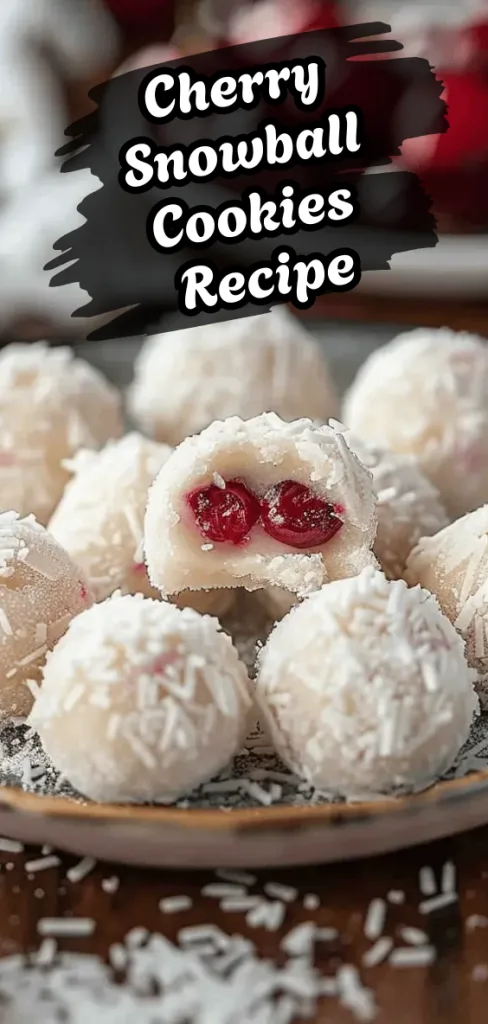
Cherry Snowball Cookies Recipe: A Melt-in-Your-Mouth Treat
I just pulled a batch of these Cherry Snowball Cookies from the oven, and my kitchen smells absolutely divine.
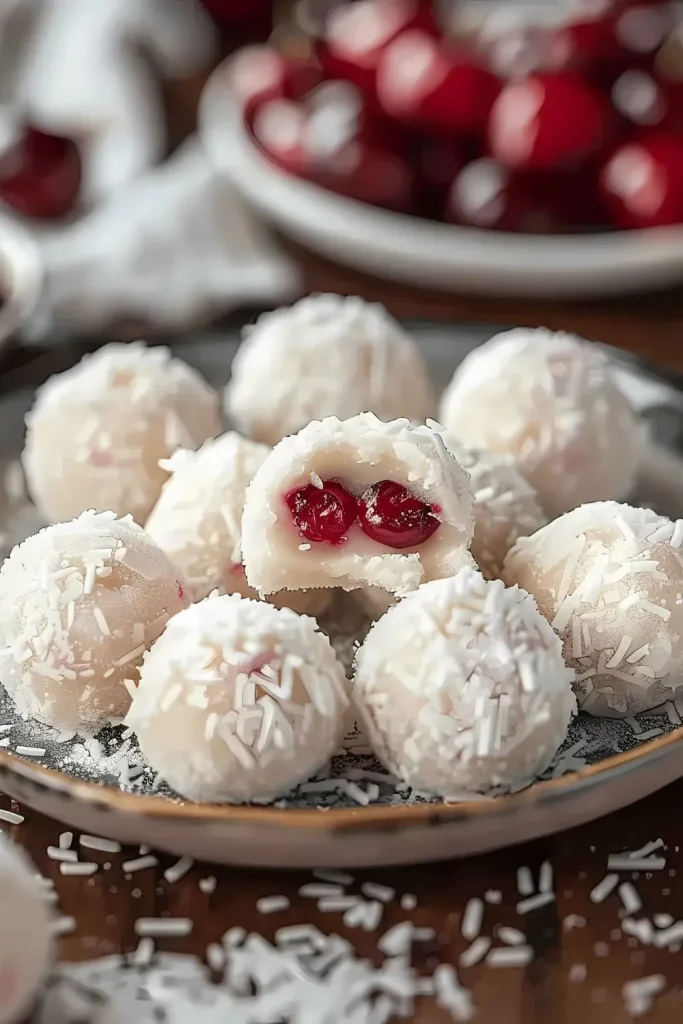
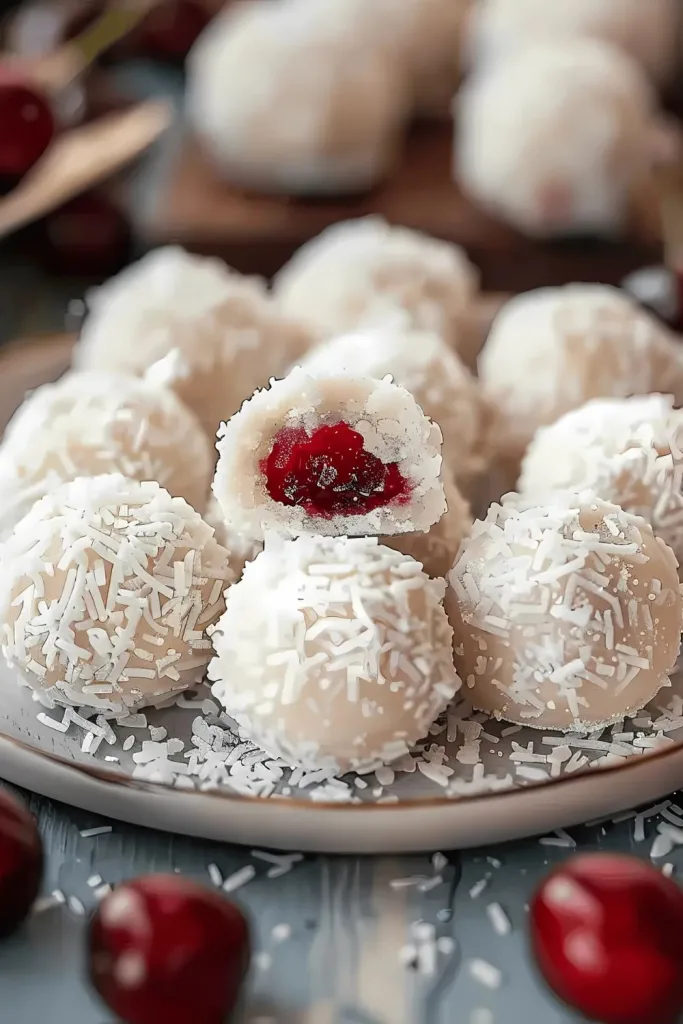
There’s something truly special about their delicate, buttery texture that just melts in your mouth, contrasted with the sweet-tart pop of cherry in every bite.
They are incredibly simple to make and have quickly become a family favorite, right alongside my go-to Caprese Bread Recipe. These little bites of joy are perfect for holidays, parties, or just a cozy afternoon with a cup of tea.
Additional Tips for Making this Recipe Better
After making these cookies a few times, I’ve picked up some tricks that take them to the next level.
- Chill the Dough: If your kitchen is warm or the dough feels too soft, I recommend chilling it for 30 minutes before rolling. This makes it easier to handle and helps prevent the cookies from spreading too much while baking.
- Double Roll in Sugar: For that perfect, thick snowball look, roll the cookies in powdered sugar while they are still warm, and then roll them again once they have cooled completely. The first coat melts slightly to create a base, and the second coat sticks for a beautiful finish.
- Dry Your Cherries Well: I can’t stress this enough. Excess moisture from the cherries will make your dough sticky and affect the final texture. Pat them thoroughly dry with a paper towel before chopping and adding them to the mix.
Fun Variations to Try
This recipe is a fantastic base for creativity. You can easily adapt it to suit your tastes or explore new flavor combinations for your collection of dinner recipes.
- Chocolate Cherry: Add 1/2 cup of mini chocolate chips to the dough for a classic chocolate-and-cherry flavor combination.
- Nut-Free Option: Simply omit the nuts. The cookies are just as delicious without them.
- Almond-Infused: Swap the vanilla extract for almond extract and use chopped almonds instead of walnuts or pecans for a distinct flavor profile.
- Lime Zest: For a zesty twist, add the zest of one lime to the dough. The citrus brightens the cherry flavor wonderfully.
Equipment You Need
You don’t need any fancy gadgets for this recipe, just some basic baking tools.
- Mixing Bowls: For combining your wet and dry ingredients separately.
- Electric Mixer: A hand or stand mixer makes creaming the butter and sugar effortless.
- Baking Sheets: A standard cookie sheet is all you need to bake these treats.
- Parchment Paper: Prevents the cookies from sticking and makes cleanup a breeze.
- Wire Rack: Essential for cooling the cookies properly so they don’t become soggy.
How to Serve Cherry Snowball Cookies
Presentation can make these simple cookies feel extra special.
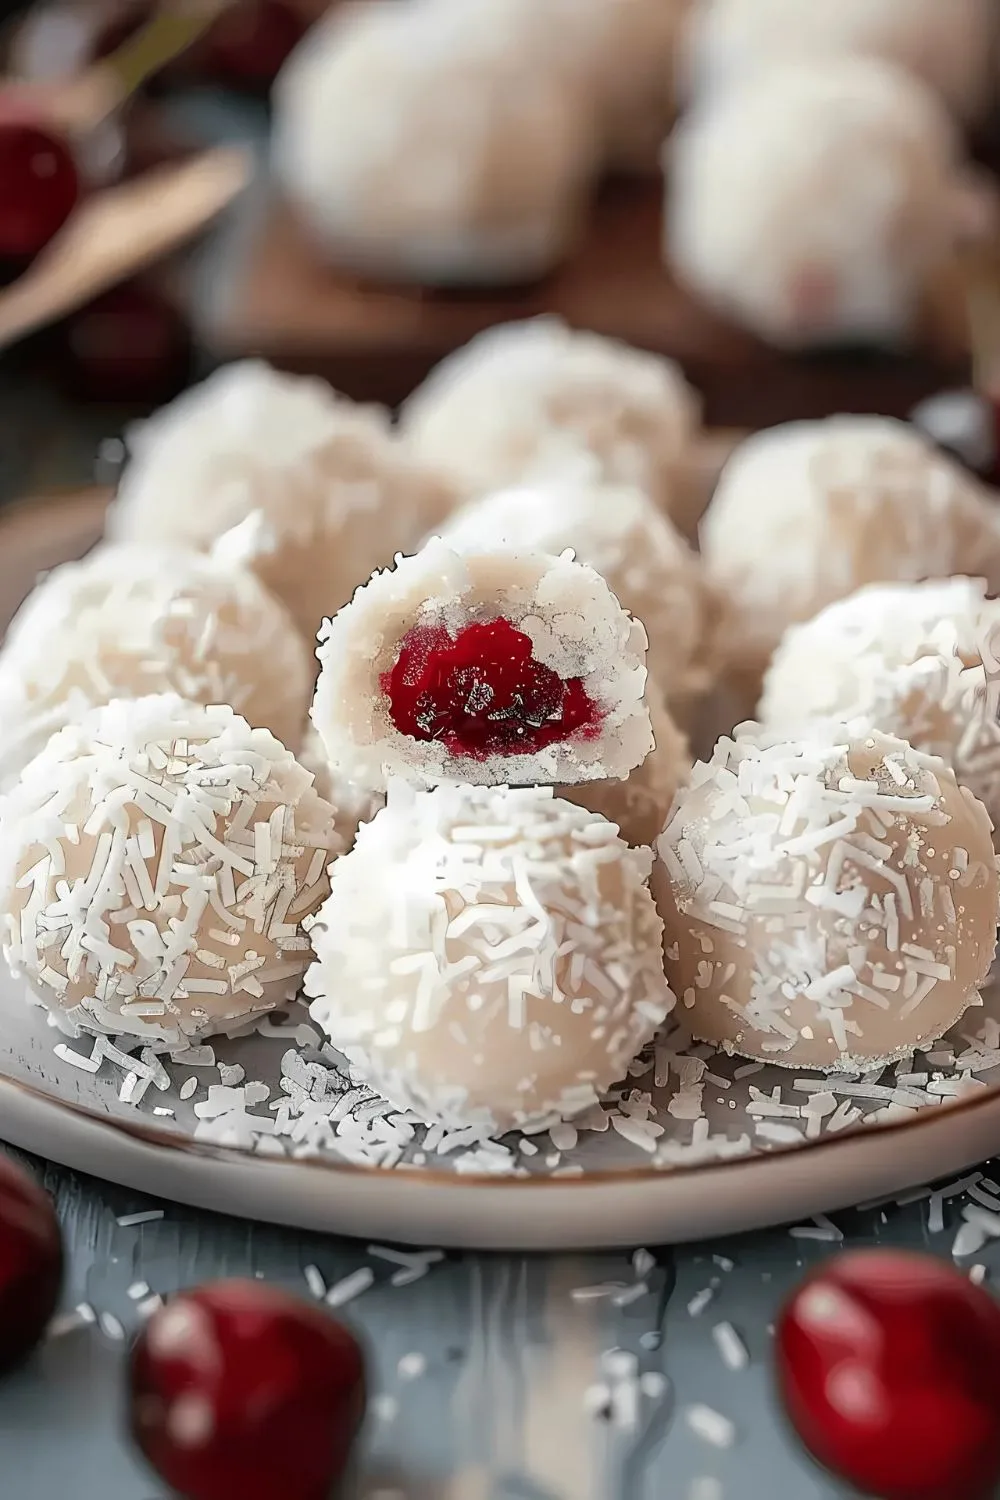
- Serve them on a festive platter, piled high to create an impressive-looking mound.
- Arrange them alongside other holiday treats, like a festive Caramel Apple Puppy Chow Recipe, for a beautiful dessert board.
- Package them in a clear cellophane bag tied with a ribbon for a lovely, homemade gift.
- Enjoy them with a hot cup of coffee, tea, or a cold glass of milk for the perfect afternoon snack.
Calories Count
Here is a general nutritional breakdown per cookie.
- Calories: 120
- Fat: 7g
- Carbohydrates: 12g
- Sugar: 8g
- Protein: 1g
- Sodium: 50mg
How to Store Cherry Snowball Cookies
Proper storage will keep your cookies fresh and delicious.
Room Temperature: Store the cookies in an airtight container at room temperature. They will stay fresh for up to one week.
Freezing: You can freeze the baked cookies for up to three months. Place them in a single layer in a freezer-safe container, separated by parchment paper.
Reheating: There’s no need to reheat these cookies. Simply thaw frozen cookies at room temperature for about an hour before serving.
Why You’ll Love This Recipe
Here are just a few reasons why these Cherry Snowball Cookies are sure to become a new favorite.
- Incredibly Easy: The recipe uses simple ingredients and straightforward steps, making it perfect for bakers of all skill levels.
- Perfectly Buttery: The melt-in-your-mouth texture is absolutely irresistible and a true crowd-pleaser.
- Great for Gifting: These cookies look beautiful packaged up and make a thoughtful homemade gift for holidays, birthdays, or thank-yous.
- Customizable: It’s easy to add your own twist with different nuts, extracts, or mix-ins like chocolate chips.
Cherry Snowball Cookies Recipe
Ingredients
Method
- In a large mixing bowl, start by creaming the softened butter and 3/4 cup of powdered sugar together. Using a hand or stand mixer, beat them until the mixture is light, fluffy, and pale in color. This step incorporates air into the dough, which is crucial for a tender cookie.
- Next, gradually add the all-purpose flour and salt to the creamed butter and sugar mixture. Mix on low speed until the flour is just combined. Be careful not to overmix, as this can lead to a tough cookie. The dough should be soft and crumbly at this stage.
- Now it’s time for the best parts! Stir in the vanilla extract, the finely chopped maraschino cherries, and the optional chopped nuts. Use a spatula to gently fold these ingredients into the dough until they are evenly distributed. This gentle folding motion keeps the dough tender.
- Preheat your oven to 350°F (175°C) and line a baking sheet with parchment paper. Scoop the dough and roll it into small, 1-inch balls between your palms. Place the dough balls on the prepared baking sheet, leaving a little space between them for even baking.
- Bake for 12-15 minutes, or until the bottoms are just lightly golden. The tops will still look pale. Let the cookies cool on the baking sheet for just a few minutes until you can handle them. While they are still warm, roll them generously in the additional powdered sugar until they are fully coated.
- Transfer the coated cookies to a wire rack to cool completely. The warmth of the cookie helps the first layer of powdered sugar melt slightly and stick. Once cool, you can roll them in powdered sugar a second time for a thick, snowy finish.