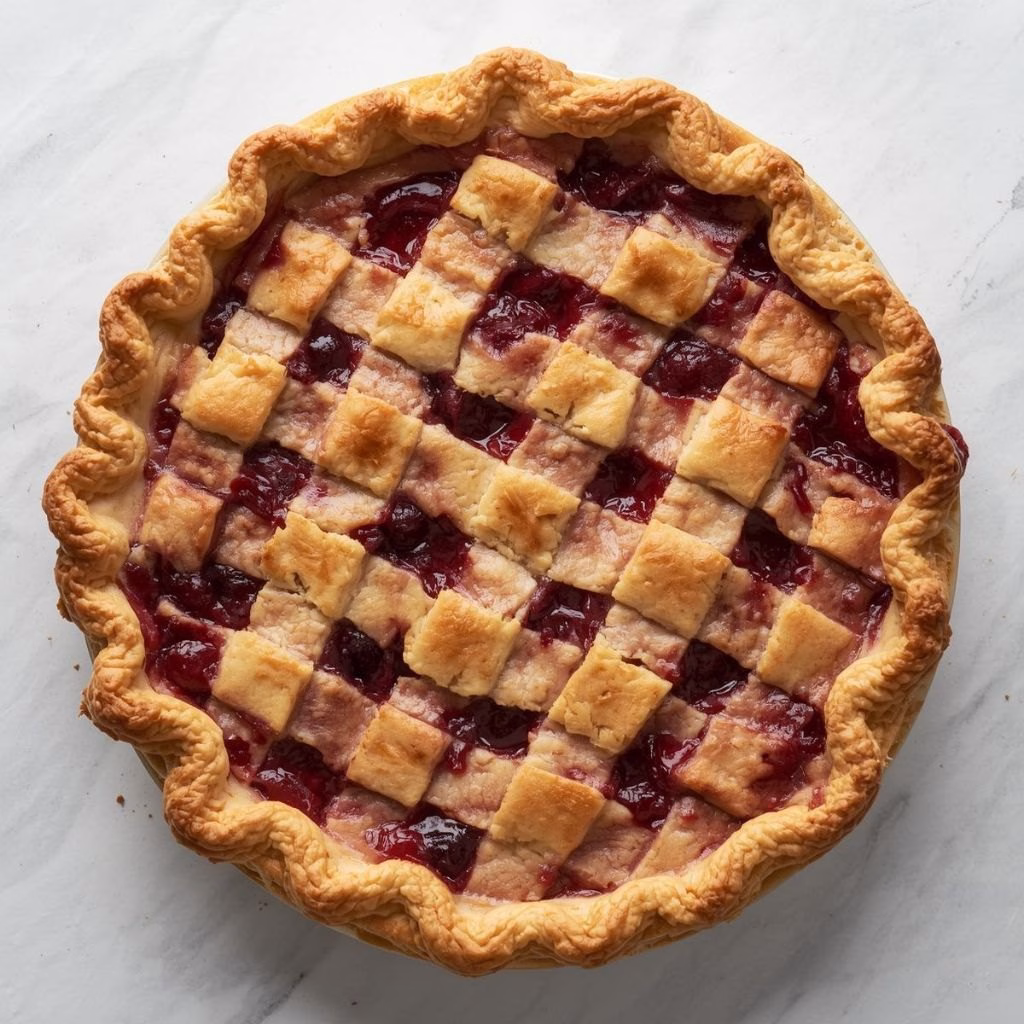
I still remember the first time I baked this Cherry Pie with Flaky Crust Recipe. I had just come back with a basket of ripe cherries, and my kitchen instantly filled with the most comforting aroma. Watching the buttery crust turn golden while the cherry filling bubbled underneath felt incredibly satisfying.
This recipe quickly became one of my most loved desserts because it’s simple, classic, and always impressive. Every slice tastes like a warm, homemade hug. You can also enjoy similar breakfast-style treats like the McGriddle Bites Recipe for a sweet start to your day.

Ingredients
Below are the ingredients that make this cherry pie truly special, along with helpful tips for best results:
- 5 cups fresh or frozen cherries, pitted – Fresh cherries provide the best texture and flavor, but frozen cherries work well if fully thawed and drained.
- 1 cup granulated sugar – Sweetens the cherries and creates a syrupy, glossy filling.
- 1/4 cup cornstarch – Thickens the filling so it sets nicely once baked.
- 1 tablespoon lemon juice – Brightens the cherry flavor and balances sweetness.
- 1/2 teaspoon almond extract – Enhances the cherry flavor with a subtle nutty aroma.
- 1/4 teaspoon salt – Balances sweetness and deepens overall flavor.
- 2 pie crusts (homemade or store-bought) – A flaky, buttery crust is key to a perfect pie.
- 1 egg, beaten – Brushed on top for a golden, glossy crust.
- 2 tablespoons coarse sugar – Adds sparkle and a slight crunch to the crust.
Note: This recipe makes approximately 8 servings.
Variations
If you like experimenting in the kitchen, try one of these variations:
- Dairy-free option: Use a dairy-free pie crust and plant-based butter alternatives.
- Sugar-free option: Replace sugar with a sugar substitute designed for baking.
- Extra flavor boost: Add a pinch of cinnamon or vanilla extract to the filling.
- Mixed fruit version: Combine cherries with blueberries or raspberries for a unique twist, similar to a Blueberry Buttermilk Pancake Casserole Recipe style breakfast dessert.
Cooking Time
Here’s how much time you’ll need from start to finish:
- Prep Time: 30 minutes
- Cooking Time: 50 minutes
- Total Time: 1 hour 20 minutes
Equipment You Need
These tools make the process smooth and stress-free:
- Rolling pin – For rolling out pie dough evenly.
- Mixing bowl – To combine the cherry filling ingredients.
- Saucepan – Optional, if you prefer slightly pre-cooking the filling.
- Pie dish – Holds and shapes the pie.
- Pastry brush – For applying the egg wash.
- Sharp knife or pastry cutter – Used for creating a lattice crust.
- Cooling rack – Helps the pie cool evenly without a soggy bottom.
How to Make Cherry Pie with Flaky Crust Recipe
This recipe comes together easily when broken into simple steps.
Prepare the Bottom Crust
I start by rolling out one pie crust and gently pressing it into the pie dish. I trim off any excess dough and make sure the crust sits evenly along the sides.
Make the Cherry Filling
In a large bowl, I mix cherries, sugar, cornstarch, lemon juice, almond extract, and salt. I stir until the cherries are fully coated and the mixture looks glossy.
Assemble the Pie
I pour the cherry filling into the prepared crust. Then I roll out the second crust, cut it into strips, and weave them over the filling to form a lattice top.
Add the Egg Wash
I brush the lattice crust with beaten egg and sprinkle coarse sugar over the top. This creates a golden, bakery-style finish once baked.
Bake the Pie
I bake the pie in a preheated oven at 400°F (200°C) for 45–50 minutes. The crust should be golden and the filling bubbling through the lattice.
Cool Before Serving
After baking, I let the pie cool on a rack for at least 2 hours. This allows the filling to set properly for clean slices.
Additional Tips for Making This Recipe Better
After making this pie many times, here are my personal tips:
- I always keep the dough cold to achieve the flakiest crust.
- If the crust browns too quickly, I loosely cover the edges with foil.
- I let the pie cool fully before slicing to prevent a runny filling.
- I like mixing sweet and tart cherries for a deeper flavor.
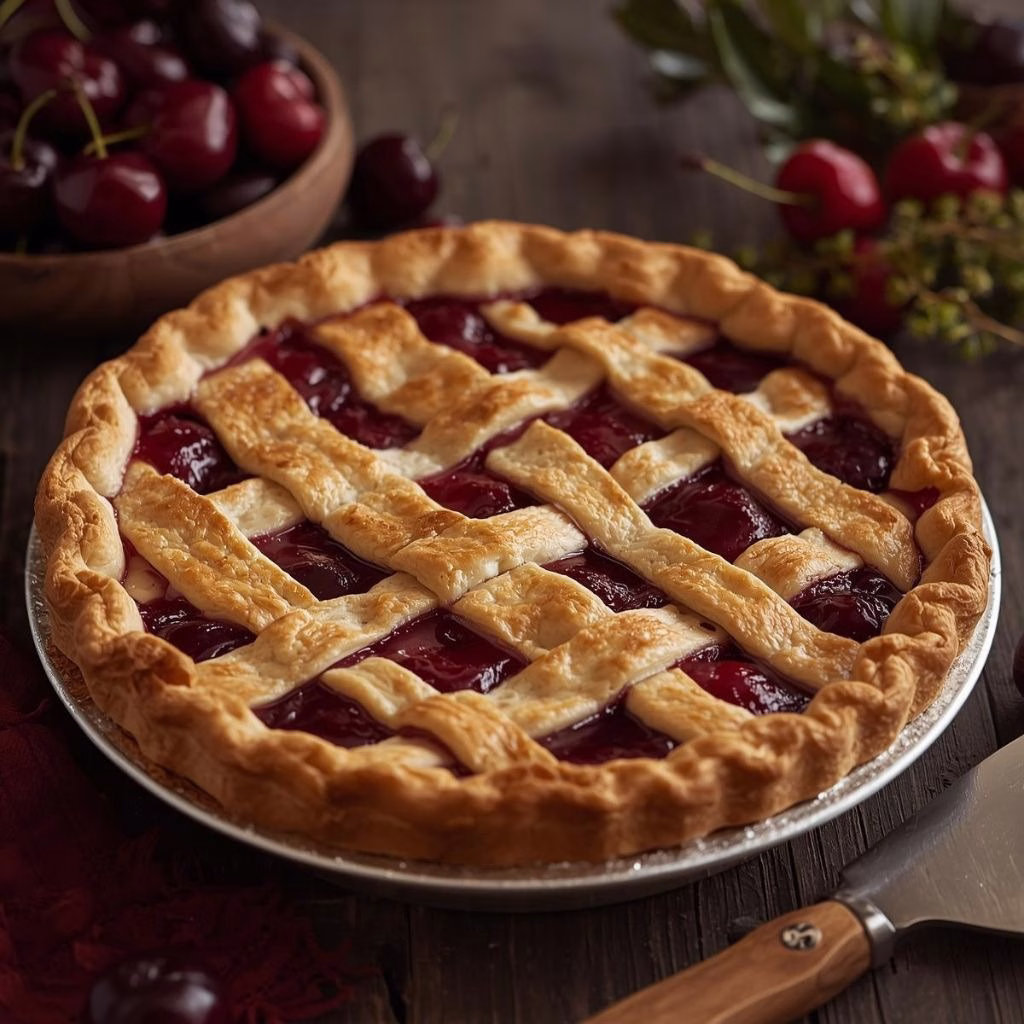
How to Serve Cherry Pie with Flaky Crust
This pie tastes wonderful warm or at room temperature. I love serving it with a scoop of vanilla ice cream or freshly whipped cream. For a pretty presentation, I sometimes garnish with mint leaves or lightly dust the plate with powdered sugar.
Nutritional Information
Here’s an approximate breakdown per slice:
- Calories: ~420
- Protein: ~5g
- Carbohydrates: ~62g
- Fat: ~18g
Make Ahead and Storage
Storing
Once completely cooled, cover the pie tightly and store it at room temperature for up to 1 day or in the refrigerator for up to 3 days.
Freezing
The baked pie can be wrapped tightly and frozen for up to 2 months. Thaw overnight in the refrigerator before serving.
Reheating
To reheat, warm slices in a 350°F (175°C) oven for 10–15 minutes until heated through.
Why You’ll Love This Recipe
This cherry pie is a favorite for many reasons:
- It has the perfect balance of sweet and tart flavors.
- The flaky crust is buttery, crisp, and beautiful.
- It works for holidays, gatherings, or simple family desserts.
- The recipe is flexible and easy to customize.
- The steps are beginner-friendly and reliable every time.
Cherry Pie with Flaky Crust Recipe
Ingredients
Method
- I start by rolling out one pie crust and gently pressing it into the pie dish. I trim off any excess dough and make sure the crust sits evenly along the sides.
- In a large bowl, I mix cherries, sugar, cornstarch, lemon juice, almond extract, and salt. I stir until the cherries are fully coated and the mixture looks glossy.
- I pour the cherry filling into the prepared crust. Then I roll out the second crust, cut it into strips, and weave them over the filling to form a lattice top.
- I brush the lattice crust with beaten egg and sprinkle coarse sugar over the top. This creates a golden, bakery-style finish once baked.
- I bake the pie in a preheated oven at 400°F (200°C) for 45–50 minutes. The crust should be golden and the filling bubbling through the lattice.
- After baking, I let the pie cool on a rack for at least 2 hours. This allows the filling to set properly for clean slices.
Notes
- I always keep the dough cold to achieve the flakiest crust.
- If the crust browns too quickly, I loosely cover the edges with foil.
- I let the pie cool fully before slicing to prevent a runny filling.
- I like mixing sweet and tart cherries for a deeper flavor.