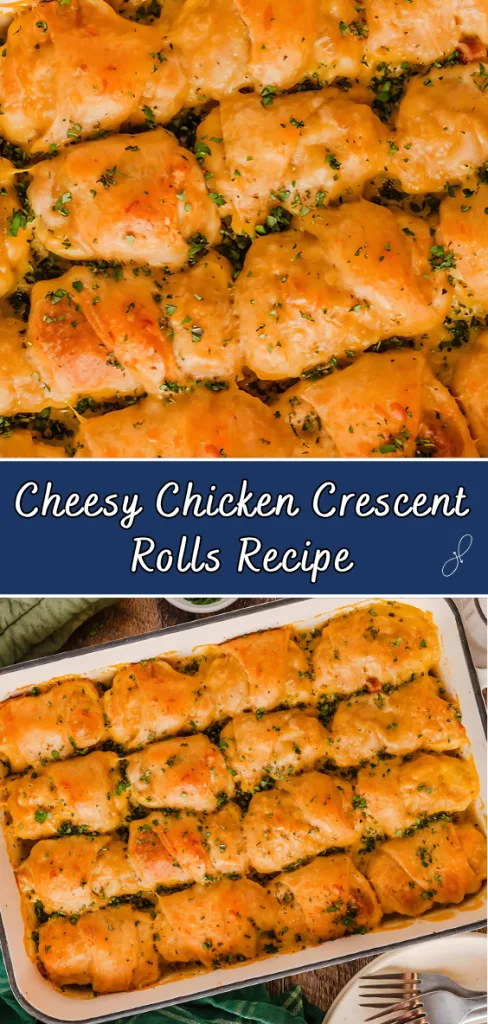
I just made these cheesy chicken crescent rolls recipe, and let me tell you—everyone at the table was asking for seconds! They’re warm, cheesy, and so comforting that it’s impossible not to fall in love after one bite.
The best part? They’re incredibly easy to make with simple ingredients and minimal effort. If you’re into cozy comfort meals like a stuffed peppers soup recipe, this one will fit right into your dinner rotation. Here’s everything you need to know to make it just right!
Additional Tips for Making This Recipe Better
After making this dish a few times, I picked up a few tips that make it even more delicious and foolproof. Let me share them with you:
- Use rotisserie chicken: It’s already seasoned and super juicy, so it adds even more flavor without extra work.
- Shred cheese fresh: Pre-shredded cheese often contains anti-caking agents, which stop it from melting as smoothly.
- Don’t overfill the rolls: A heaping ⅓ cup of chicken mixture is plenty—too much will cause them to burst while baking.
- Season the sauce too: A pinch of black pepper or paprika gives the cheese sauce a nice little kick.
- Bake uncovered: This helps the crescents get perfectly golden and crispy on the outside.
Fun and Tasty Variations to Try
Want to switch things up a bit? I’ve experimented with a few tweaks, and you can too! This recipe is flexible enough to fit your preferences or dietary needs. And if you’re exploring new dinner recipes, this one offers endless twists.
- Dairy-free: Use plant-based shredded cheese and a dairy-free cream soup alternative.
- Spicy kick: Add chopped jalapeños or a sprinkle of red pepper flakes inside the rolls.
- Veggie-packed: Mix in sautéed spinach or bell peppers with the chicken for added nutrients.
- BBQ flavor: Swap the cream of chicken soup with BBQ sauce and cheddar cheese for a smoky twist.
- Low-carb option: Try wrapping the filling in low-carb tortillas or lettuce leaves instead of crescent dough.
Equipment You’ll Need
All the tools I used for this recipe are simple, and you probably already have them in your kitchen:
- Mixing bowls – for combining the shredded chicken and cheese mixture
- Saucepan – to gently heat and melt the cheese sauce
- 9×13 baking pan – to lay out and bake your stuffed crescent rolls evenly
- Oven – preheated to 350°F to bake the rolls to golden perfection
- Spoon or scoop – for adding the right amount of filling into each crescent
How to Serve Cheesy Chicken Crescent Rolls Bake
This dish doesn’t just taste amazing—it can also be presented beautifully for guests or family dinners. Here’s how I like to serve it for the best experience.
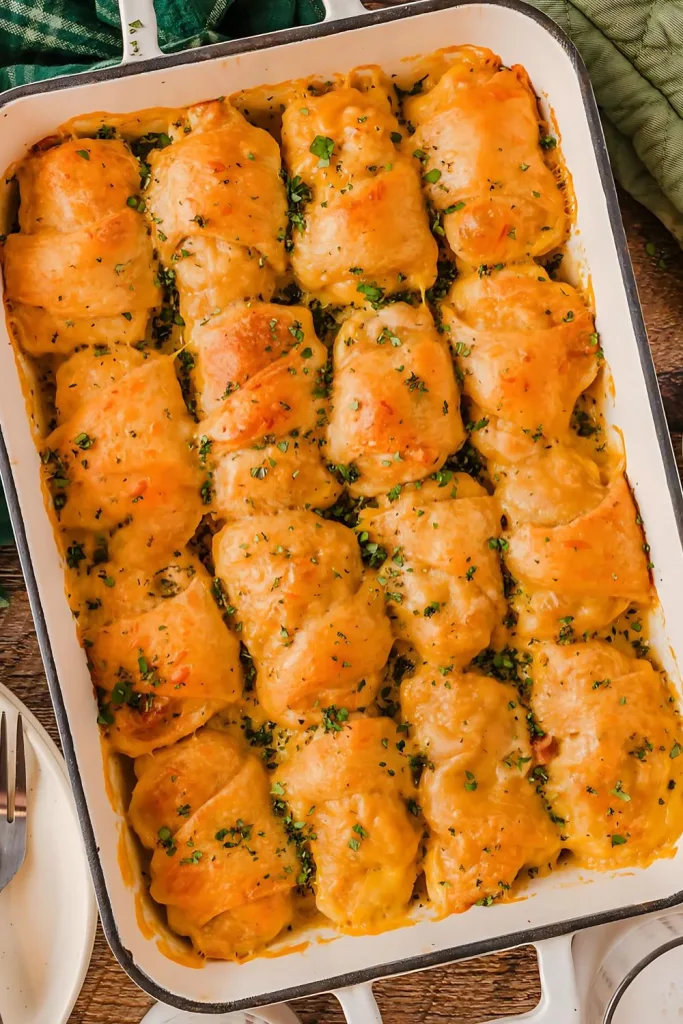
Serve the rolls warm, straight out of the oven with the cheesy sauce bubbling around the edges. For a colorful plate, garnish with chopped parsley or green onions. Add a side of roasted vegetables or a crisp garden salad to balance the richness. If you enjoy cozy meals like a Chicken Teriyaki Noodles Recipe, these rolls will give you the same satisfying, comforting vibe!
How to Store the Leftovers
- Restoring: If you’re storing leftovers in the fridge, let the rolls cool completely and store them in an airtight container. They’ll stay fresh for up to 3 days.
- Freezing: Wrap the baked rolls tightly in foil and store in a freezer-safe bag. You can freeze them for up to 2 months for a quick future meal.
- Reheating: To reheat, place in the oven at 350°F for about 10-12 minutes, or microwave for 1-2 minutes. The oven will help maintain their crispiness.
Why You’ll Love This Recipe
These cheesy chicken crescent rolls aren’t just a treat—they’re a kitchen win. Here’s why:
- So easy to make: You only need 10 minutes of prep time, then the oven takes care of the rest.
- Perfect for busy nights: It’s a full meal wrapped in one—ideal when you’re short on time or energy.
- Great for picky eaters: The creamy chicken filling and soft rolls are a hit with both kids and adults.
- Customizable: You can adjust the ingredients to match your dietary needs or favorite flavors.
- Impressively delicious: It looks fancy, tastes amazing, and always gets compliments.
More Helpful Details You’ll Want to Know
Here are a few final things that might help you make this recipe even better:
- Use canned soup for convenience, but if you have time, a homemade white sauce adds an extra homemade touch.
- Avoid overcrowding the pan. Give each roll some space so it bakes evenly and the sauce surrounds it.
- Let it rest before serving: Once out of the oven, give the bake 5 minutes to cool slightly. This helps the cheese sauce set up a bit more, so it’s not too runny.
- Make it ahead: You can prep the rolls a few hours ahead of time, cover them with foil, and bake when ready.
- Add fresh herbs on top like thyme or basil to add a bright finish and a touch of freshness.

Cheesy Chicken Crescent Rolls Recipe
Ingredients
Method
- Start by placing your cooked, shredded chicken into a large mixing bowl. Add in ½ cup of shredded mozzarella cheese. Sprinkle the garlic powder and oregano over the chicken mixture, then mix thoroughly to coat all the meat with flavor. This step infuses the filling with warm, savory notes that pop when baked.
- Open the crescent roll packages and separate each triangle. Take about ⅓ cup of the chicken mixture and place it near the wide end of each triangle. Carefully roll them up, making sure the filling stays tucked inside. Repeat the process until all your crescent rolls are filled and rolled.
- Arrange all the stuffed crescent rolls in a 9×13 baking dish. Try to keep them evenly spaced to allow the sauce to coat each one well. Once they’re all in, set the dish aside while you make the cheese sauce for topping.
- In a saucepan over medium heat, combine the remaining ½ cup of mozzarella cheese, cream of chicken soup, and milk. Stir the mixture gently until the cheese is melted and everything is warm and smooth. Pour this cheesy sauce over the crescent rolls in the baking dish, making sure each one is covered.
- Place the baking dish into a preheated oven at 350°F (175°C). Bake for 30–40 minutes until the crescents are golden brown and the sauce is bubbling around the edges. Once cooked, remove from the oven and let sit for a few minutes before serving.