
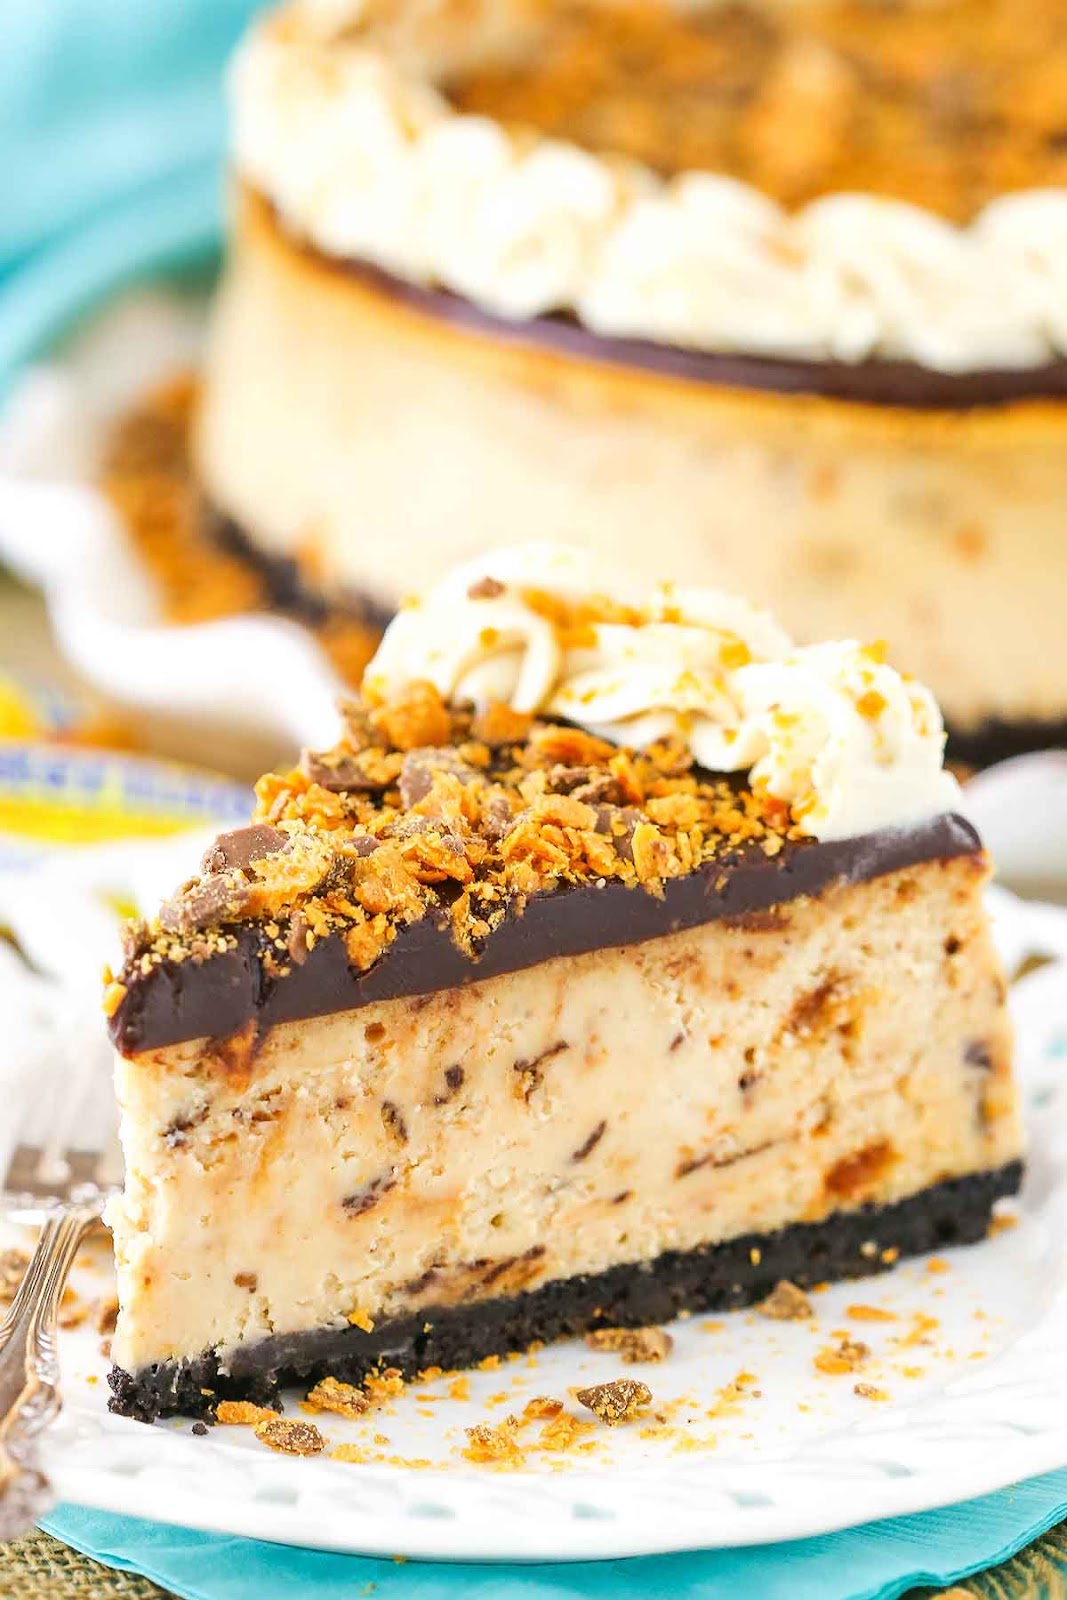
I can’t tell you how much fun I had making this butterfinger cheesecake! From the moment I mixed the creamy peanut butter filling to sprinkling those crunchy butterfinger pieces on top, every step was worth it.
When I finally cut my first slice, it was love at first bite. The rich peanut butter, paired with Oreo crust and chocolate ganache, had everyone in my family asking for more. I’m excited to share my version of this irresistible dessert so you can treat yourself to a slice of heaven too.
If you’re a fan of indulgent meals, you’ll love this copycat Chili’s Cajun chicken pasta recipe for a hearty dinner option.
Ingredients For Butterfinger Cheesecake Recipe
For this cheesecake, you need a mix of basic baking staples and indulgent add-ins. Each ingredient plays a crucial role in building layers of flavor and texture.
Crust
- Oreo crumbs (2 ¼ cups): These make the perfect base, adding a chocolate-laden crunch. Crush whole Oreos in a food processor for the best texture.
- Salted butter, melted (4 tablespoons): Helps bind the crust and gives it a rich finish.
Filling
- Cream cheese, room temperature (24 ounces): Guarantees a creamy texture. Make sure it’s soft for smoother mixing.
- Sugar (1 cup): Balances flavors and adds just the right amount of sweetness.
- All-purpose flour (3 tablespoons): Stabilizes the filling to prevent it from being too runny.
- Sour cream, room temperature (¾ cup): Adds a slight tang and keeps the mixture moist.
- Peanut butter (½ cup): The star ingredient for that unmistakable nutty flavor.
- Vanilla extract (1 teaspoon): Enhances the natural sweetness and brings a hint of warmth.
- Eggs, large (4): Work as a binder and deliver a silky consistency.
- Chopped butterfinger candy bars (1 ½ cups or 12 fun-sized bars): Mix them in for a crunchy surprise in every bite.
Toppings
- Semi-sweet chocolate chips (6 ounces): Melt these for a decadent ganache.
- Heavy whipping cream (½ cup): Combines with chocolate to create that velvety topping.
- Whipping cream (¾ cup): For the peanut butter whipped cream garnish.
- Powdered sugar (½ cup): Sweetens the whipped cream just right.
- Peanut butter (2 tablespoons): Adds extra flavor to the whipped topping.
- More chopped butterfingers for garnish.
Note: This recipe makes 12 rich, satisfying servings.
Best Variations to Try
Looking to customize your butterfinger cheesecake? Here are some fun options:
- Swap with almond butter for a nut-free version.
- Use gluten-free Oreos if you’re avoiding gluten.
- Replace butterfingers with Reese’s cups for a slightly different candy vibe.
- Go dairy-free by opting for coconut cream and vegan cream cheese alternatives.
Cooking Time
Planning your cheesecake? Here’s the time breakdown:
- Prep Time: 40 minutes
- Cooking Time: 1 hour 25 minutes
- Total Time: About 7 hours (including cooling time)
Equipment You Need
- Springform pan (9-inch): For easy removal and perfect cheesecake shape.
- Mixing bowls (various sizes): To combine crust, filling, and toppings.
- Electric mixer or stand mixer: Whips everything to smooth perfection.
- Aluminum foil: Essential for preparing a water bath and preventing leaks.
- Food processor: To crush Oreos for the crust effortlessly.
How to Make Butterfinger Cheesecake
Creating this show-stopping dessert isn’t complicated! Follow these steps and take your time at each stage for the best results.
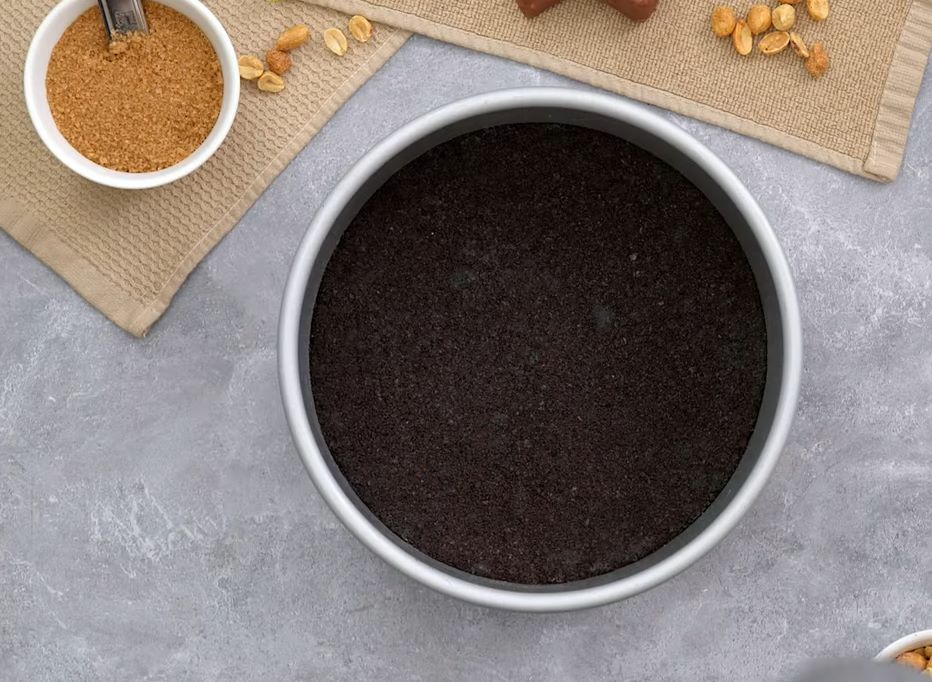
Step 1 – Prepare the Crust
The foundation of this cheesecake is a buttery Oreo crust. Start by lining your springform pan with parchment paper and greasing the sides. Mix crushed Oreos with melted butter, then press it evenly into the bottom of the pan. Bake for about 10 minutes to ensure a sturdy base.
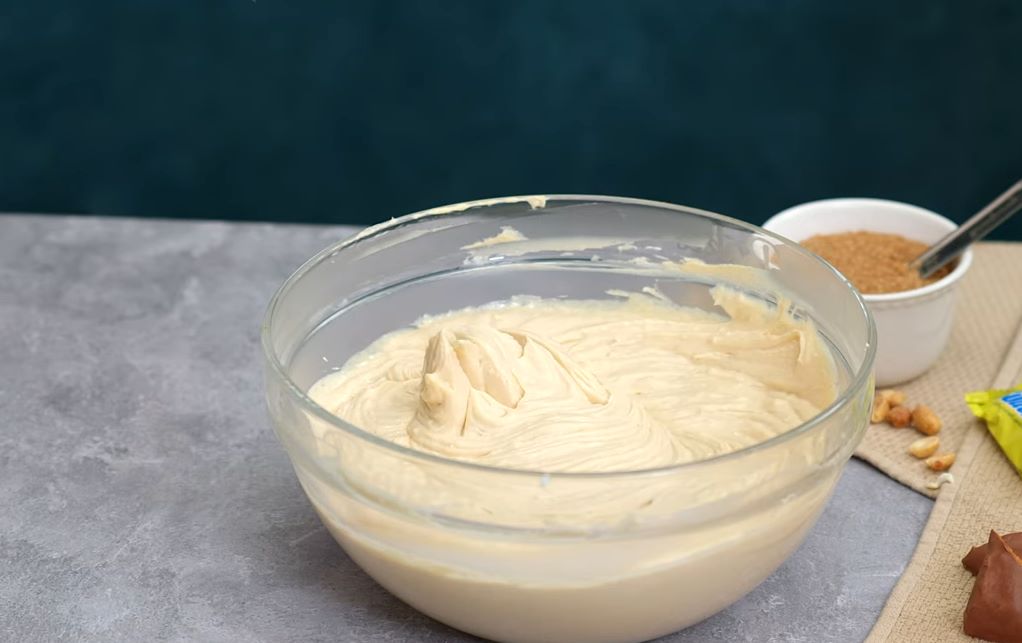
Step 2 – Make the Filling
Mix softened cream cheese, sugar, and flour on low speed until smooth. Low speed is key to avoiding cracks during baking. Add sour cream, peanut butter, and vanilla extract, blending until combined. Slowly incorporate eggs one at a time, scraping down the bowl as needed. Stir in the chopped butterfingers for that delightful crunch.
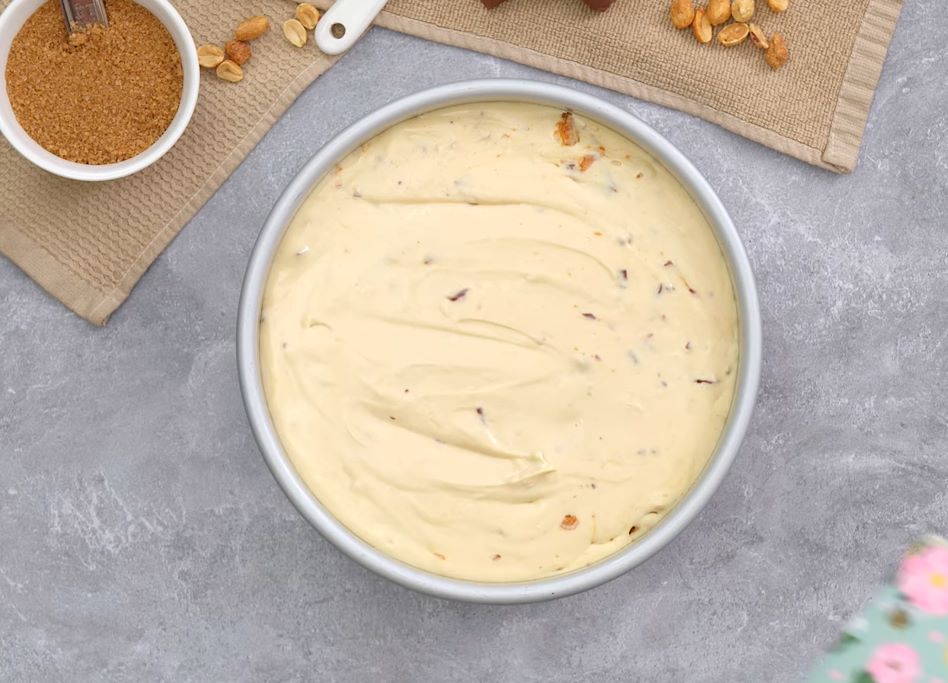
Step 3 – Assemble and Bake
Pour the filling over your baked crust, spreading it evenly in the pan. Place the assembled pan into a larger one, then create a water bath by pouring warm water halfway up the sides. The water bath prevents cracking and ensures a creamy texture.
Bake at 300°F for 1 hour 25 minutes, then rest it in the closed oven for 30 minutes. Finally, crack the door open for another 30 minutes to cool gradually.
Step 4 – Add Toppings
Once the cheesecake is fully chilled (at least 5-6 hours or overnight), pour a layer of glossy chocolate ganache across the top. Whip up the peanut butter whipped cream and pipe decorative swirls around the edges. For the grand finale, scatter more Butterfinger chunks over everything.

Additional Tips for Making This Recipe Better
Making cheesecake is always an adventure, and I’ve learned a few tricks to take this one to the next level:
- Use full-fat ingredients for the creamiest results. Low-fat substitutes just don’t offer the same richness.
- Always bring your cream cheese and sour cream to room temperature to avoid lumps in the batter.
- If you’re short on butterfingers, you can crush some peanut brittle and add it as a mix-in or topping.
- Be patient during the cooling process. A slow cool-down prevents cracks and ensures the perfect texture.
How to Serve Butterfinger Cheesecake
When it’s time to serve, make it special! Cut slices cleanly by dipping your knife in warm water between cuts, and serve with a dollop of whipped cream. Garnish each slice with mini Butterfinger bars or a chocolate drizzle for added flair. Pair with coffee or milk, and you’ve got yourself a dessert worthy of indulgence.
Nutritional Information
Each serving of this dessert offers a rich flavor profile while being incredibly satisfying. Here’s a quick overview:
- Calories: 583
- Protein: 12g
- Carbohydrates: 56g
- Fat: 36g
How to store leftovers?
Stay ahead of the game by preparing components early and storing your cheesecake properly:
- Make Ahead: Bake the cheesecake a day before and chill it overnight for easy assembly the next day.
- Storage: Refrigerate leftovers in an airtight container for up to 4 days.
- Freezing: You can freeze this cheesecake without toppings for up to 3 months. Wrap it securely in plastic wrap followed by foil.
- Reheating: Simply thaw the cheesecake overnight in the fridge, then add toppings once it’s defrosted.
You might also enjoy trying this roasted red pepper rigatoni for a savory twist on your menu.
Why You’ll Love This Recipe
Here’s why you’re bound to fall head over heels for this dessert:
- It’s packed with peanut butter and Butterfinger flavor in every bite.
- The Oreo crust perfectly complements the creamy filling.
- It’s totally customizable with different candy or nut toppings.
- Great for celebrations or casual cravings alike.
- Easy to make ahead with a professional bakery feel.
FAQs
What is the purpose of the water bath?
The water bath ensures even cooking and helps prevent cracks on the surface by maintaining humidity around the cheesecake.
Can I make this cheesecake without a springform pan?
While a springform pan is ideal, you can use a deep dish pan lined well with parchment paper for easier removal.
Can I freeze the whole cheesecake fully decorated?
For the best results, freeze it without decorations. Add ganache, whipped cream, and toppings after thawing.