Stuffed Mini Peppers with Cream Cheese Recipe: An Easy Appetizer
When I first made these stuffed mini peppers, I knew they would become a staple in my kitchen. The sweet crunch of the pepper combined with the warm, tangy cream cheese filling is just delightful. They are incredibly simple to prepare, making them perfect for last-minute guests or a quick snack.
They’re so versatile and always disappear from the platter in minutes. If you enjoy creative stuffed dishes, you should also explore our guide for a Pink Lemonade Pie.

What You’ll Need for This Recipe
Gathering your ingredients is the first step toward creating these delicious bites. Using fresh, quality components will make a noticeable difference in the final taste.
- 12 mini sweet peppers: These provide the colorful, sweet, and crunchy base for our appetizer.
- 4 oz cream cheese, softened: For the best results, use full-fat cream cheese. Let it sit at room temperature for about 30 minutes to make it easier to mix.
- 1/4 cup shredded cheddar cheese: Grating your own cheese from a block will give you a better melt and flavor compared to pre-shredded varieties.
- 1/4 teaspoon garlic powder: Adds a savory, aromatic depth to the cheese filling.
- 1/4 teaspoon onion powder: Complements the garlic powder for a well-rounded savory taste.
- Salt and pepper to taste: Seasoning is key. Adjust the amounts based on your preference.
- Chopped chives, for garnish: Fresh chives add a mild onion flavor and a pop of green color.
Note: This recipe makes approximately 24 stuffed pepper halves, serving about 6 people as an appetizer.
Cooking Time
This recipe comes together quickly, making it ideal for easy entertaining.
- Prep Time: 15 minutes
- Cook Time: 15 minutes
- Total Time: 30 minutes
Equipment You Need
You don’t need any fancy gadgets for this recipe, just a few kitchen basics.
- Baking sheet: To bake the peppers evenly in the oven.
- Parchment paper: For lining the baking sheet to prevent sticking and for easy cleanup.
- Mixing bowl: To combine all the delicious filling ingredients.
- Knife and cutting board: For slicing the peppers and chopping the chives.
- Spoon or piping bag: To easily fill the pepper halves with the cream cheese mixture.
How to Make Cream Cheese Stuffed Mini Peppers
Follow these simple steps to create the perfect stuffed peppers. This process is straightforward and ensures a delicious outcome every time.
Step 1: Prepare the Oven and Peppers
First, preheat your oven to 375°F (190°C) and line a baking sheet with parchment paper. This prevents the peppers from sticking and makes cleanup a breeze. While the oven heats up, wash the mini peppers, slice them in half lengthwise, and carefully remove the seeds and white membranes.

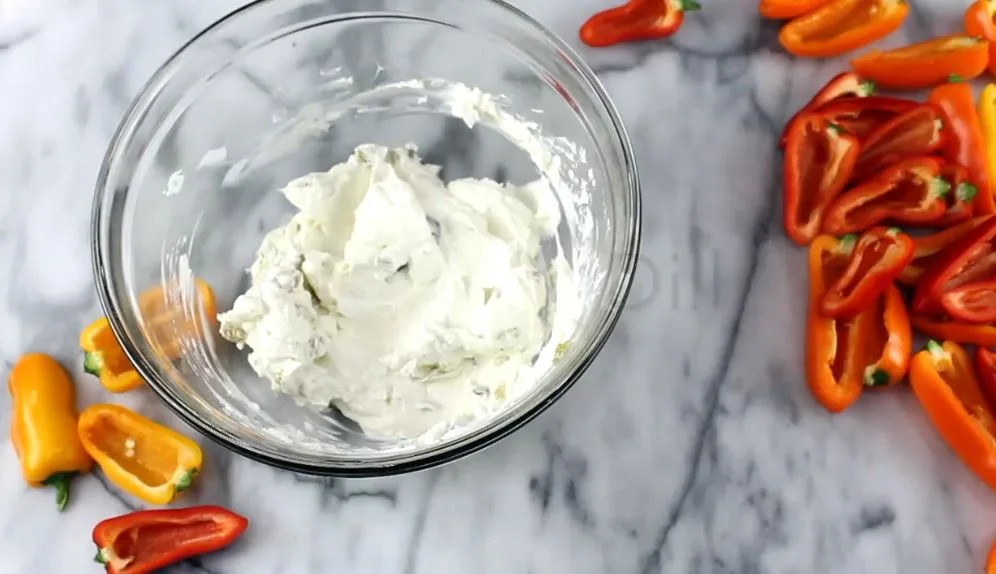
Step 2: Mix the Creamy Filling
In a medium-sized mixing bowl, combine the softened cream cheese, shredded cheddar cheese, garlic powder, onion powder, salt, and pepper. Use a spatula or fork to mix everything together until the filling is smooth and well-combined. Make sure there are no large lumps of cream cheese.
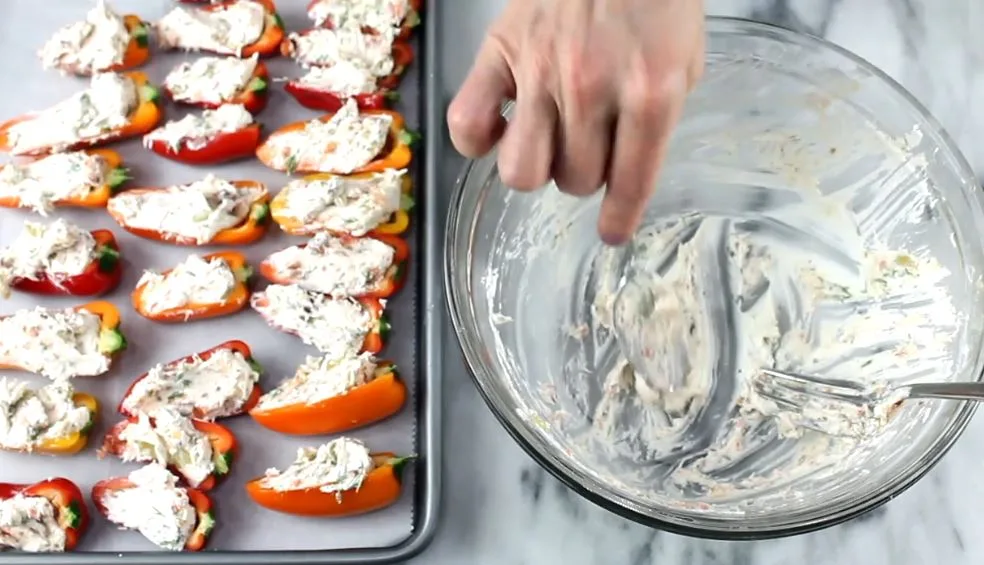
Step 3: Stuff the Peppers
Now it’s time to fill the pepper halves. You can use a small spoon to carefully scoop the cream cheese mixture into each pepper half. For a cleaner look, you can transfer the filling to a piping bag (or a zip-top bag with the corner snipped off) and pipe it neatly into the peppers.
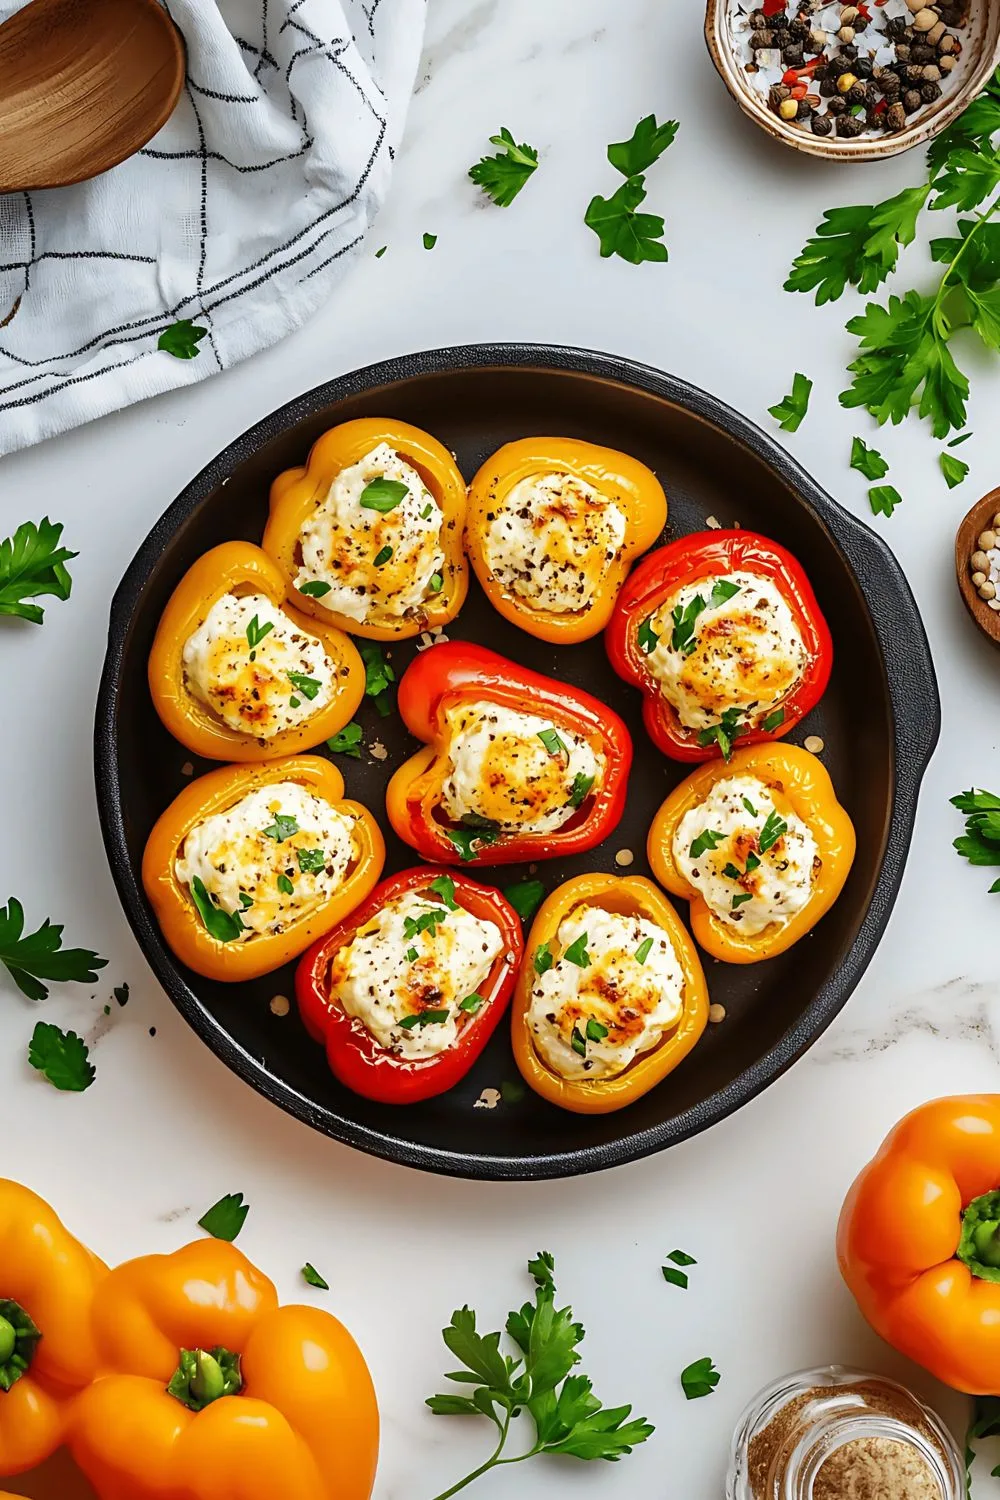
Step 4: Bake to Perfection
Arrange the stuffed peppers in a single layer on the prepared baking sheet. Place the sheet in the preheated oven and bake for 12-15 minutes. You’ll know they’re ready when the peppers are tender-crisp and the cheese filling is hot, bubbly, and slightly golden on top.
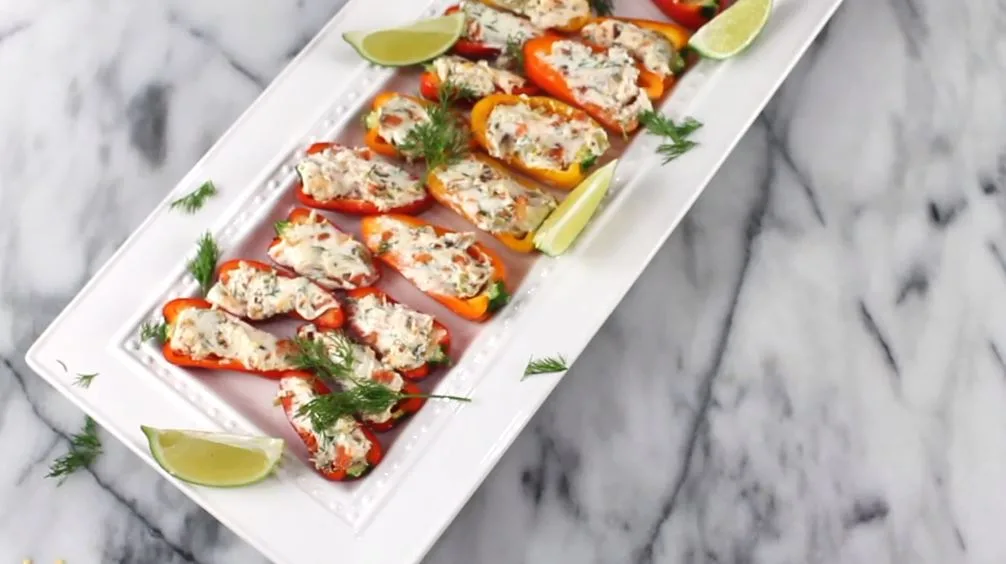
Step 5: Garnish and Serve
Once baked, carefully remove the peppers from the oven and let them cool for a few minutes, as the filling will be very hot. Just before serving, sprinkle the freshly chopped chives over the top for a touch of color and fresh flavor. Serve them warm and watch them disappear!
Additional Tips for Making this Recipe Better
Over the times I’ve made this, I’ve picked up a few tricks to make these stuffed peppers even more amazing.
- I find that using a block of cream cheese and letting it soften naturally yields a much creamier texture than using the whipped kind.
- Don’t overbake the peppers. You want them to be tender but still have a slight crunch, not mushy. Keep a close eye on them around the 12-minute mark.
- For an extra flavor boost, I sometimes add a tablespoon of everything bagel seasoning to the cream cheese mixture. It’s a game-changer!
- If you have time, prepare the filling ahead and store it in the fridge. This makes assembly even faster when you’re ready to bake.
Fun Variations to Try
One of the best things about this recipe is how easy it is to customize. Feel free to experiment with different ingredients to create your own unique versions.
- Make it Spicy: Add finely diced jalapeños or a pinch of red pepper flakes to the cream cheese mixture for a fiery kick.
- Add Some Protein: Mix in some cooked, crumbled bacon or spicy sausage for a heartier appetizer.
- Dairy-Free Option: Substitute the cream cheese and cheddar with your favorite dairy-free alternatives. Many nut-based cream cheeses and shreds work wonderfully.
- Herbaceous Twist: Mix in fresh herbs like dill, parsley, or cilantro for a fresh, vibrant flavor. This is one of many easy dinner recipes you can adapt.
How to Serve Cream Cheese Stuffed Mini Peppers
These peppers are fantastic on their own, but a great presentation makes them even more appealing.
- Arrange them on a platter with other colorful appetizers for a beautiful party spread.
- Serve them alongside a cool dipping sauce, like a ranch or a sweet chili sauce.
- Garnish with a sprinkle of smoked paprika for extra color and a smoky flavor.
- Pair them with a simple dessert. You could even follow them up with an Churro Saltine Toffee Recipe for a complete treat experience.

Calories Count
Here is an approximate nutritional breakdown per stuffed pepper half.
- Calories: 40 kcal
- Carbohydrates: 2g
- Protein: 1g
- Fat: 3g
- Sodium: 65mg
How to Store
If you have leftovers, storing them properly will keep them fresh for later.
- Refrigerating: Store leftover stuffed peppers in an airtight container in the refrigerator for up to 3 days.
- Freezing: You can freeze unbaked or baked peppers. Flash freeze them on a baking sheet before transferring them to a freezer-safe bag for up to 2 months.
- Reheating: Reheat refrigerated or frozen peppers in the oven at 350°F (175°C) until warmed through, about 10-15 minutes.
Why You’ll Love This Recipe
Here are a few reasons why these stuffed mini peppers are sure to become a new favorite.
- Quick and Easy: This recipe is simple to follow and takes only 30 minutes from start to finish.
- Perfect for Parties: They are the ultimate crowd-pleasing finger food for any gathering or event.
- Highly Customizable: You can easily adapt the filling to suit your taste preferences or dietary needs.
- Healthy and Delicious: They are a low-carb, keto-friendly snack that is packed with flavor.
Stuffed Mini Peppers with Cream Cheese Recipe
Ingredients
Method
- First, preheat your oven to 375°F (190°C) and line a baking sheet with parchment paper. This prevents the peppers from sticking and makes cleanup a breeze. While the oven heats up, wash the mini peppers, slice them in half lengthwise, and carefully remove the seeds and white membranes.
- In a medium-sized mixing bowl, combine the softened cream cheese, shredded cheddar cheese, garlic powder, onion powder, salt, and pepper. Use a spatula or fork to mix everything together until the filling is smooth and well-combined. Make sure there are no large lumps of cream cheese.
- Now it’s time to fill the pepper halves. You can use a small spoon to carefully scoop the cream cheese mixture into each pepper half. For a cleaner look, you can transfer the filling to a piping bag (or a zip-top bag with the corner snipped off) and pipe it neatly into the peppers.
- Arrange the stuffed peppers in a single layer on the prepared baking sheet. Place the sheet in the preheated oven and bake for 12-15 minutes. You’ll know they’re ready when the peppers are tender-crisp and the cheese filling is hot, bubbly, and slightly golden on top.
- Once baked, carefully remove the peppers from the oven and let them cool for a few minutes, as the filling will be very hot. Just before serving, sprinkle the freshly chopped chives over the top for a touch of color and fresh flavor. Serve them warm and watch them disappear!