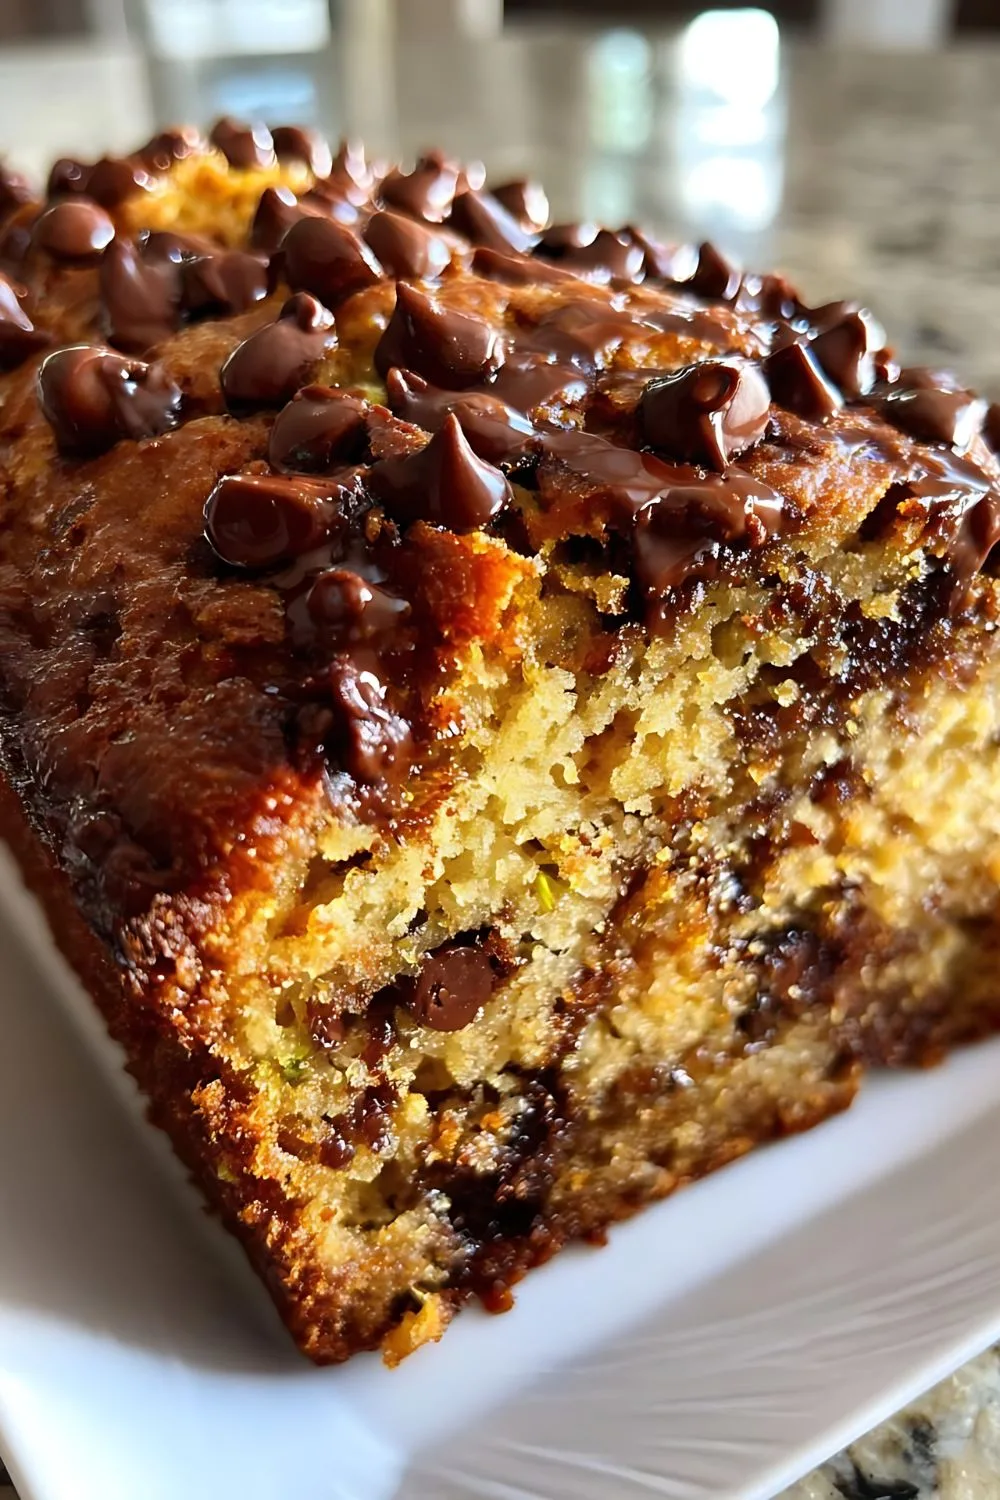
The Best Chocolate Chip Zucchini Bread Recipe
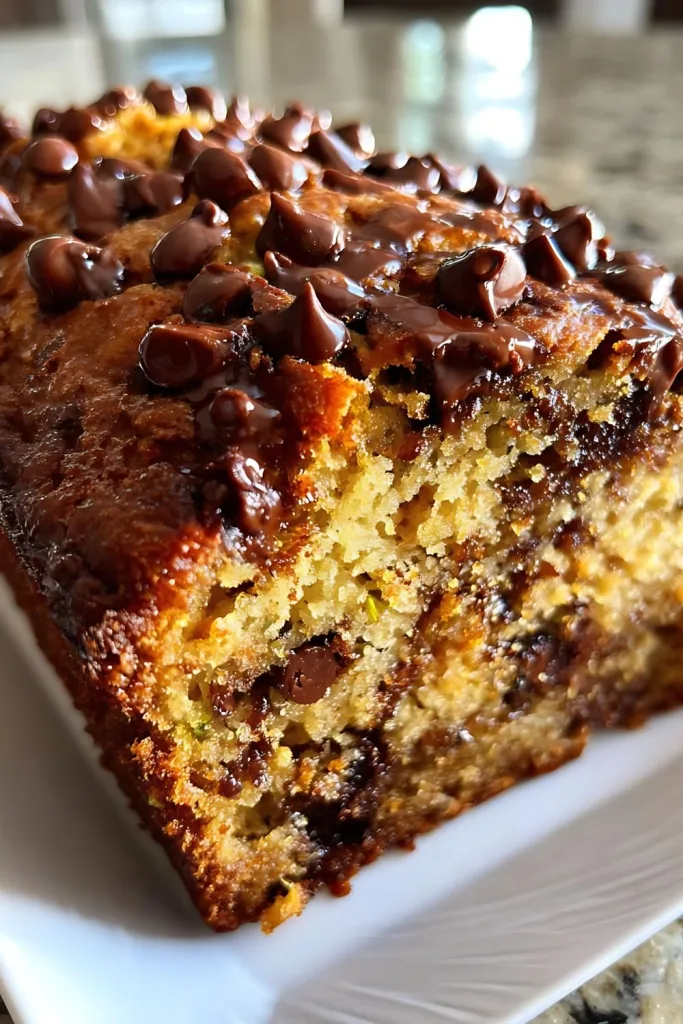
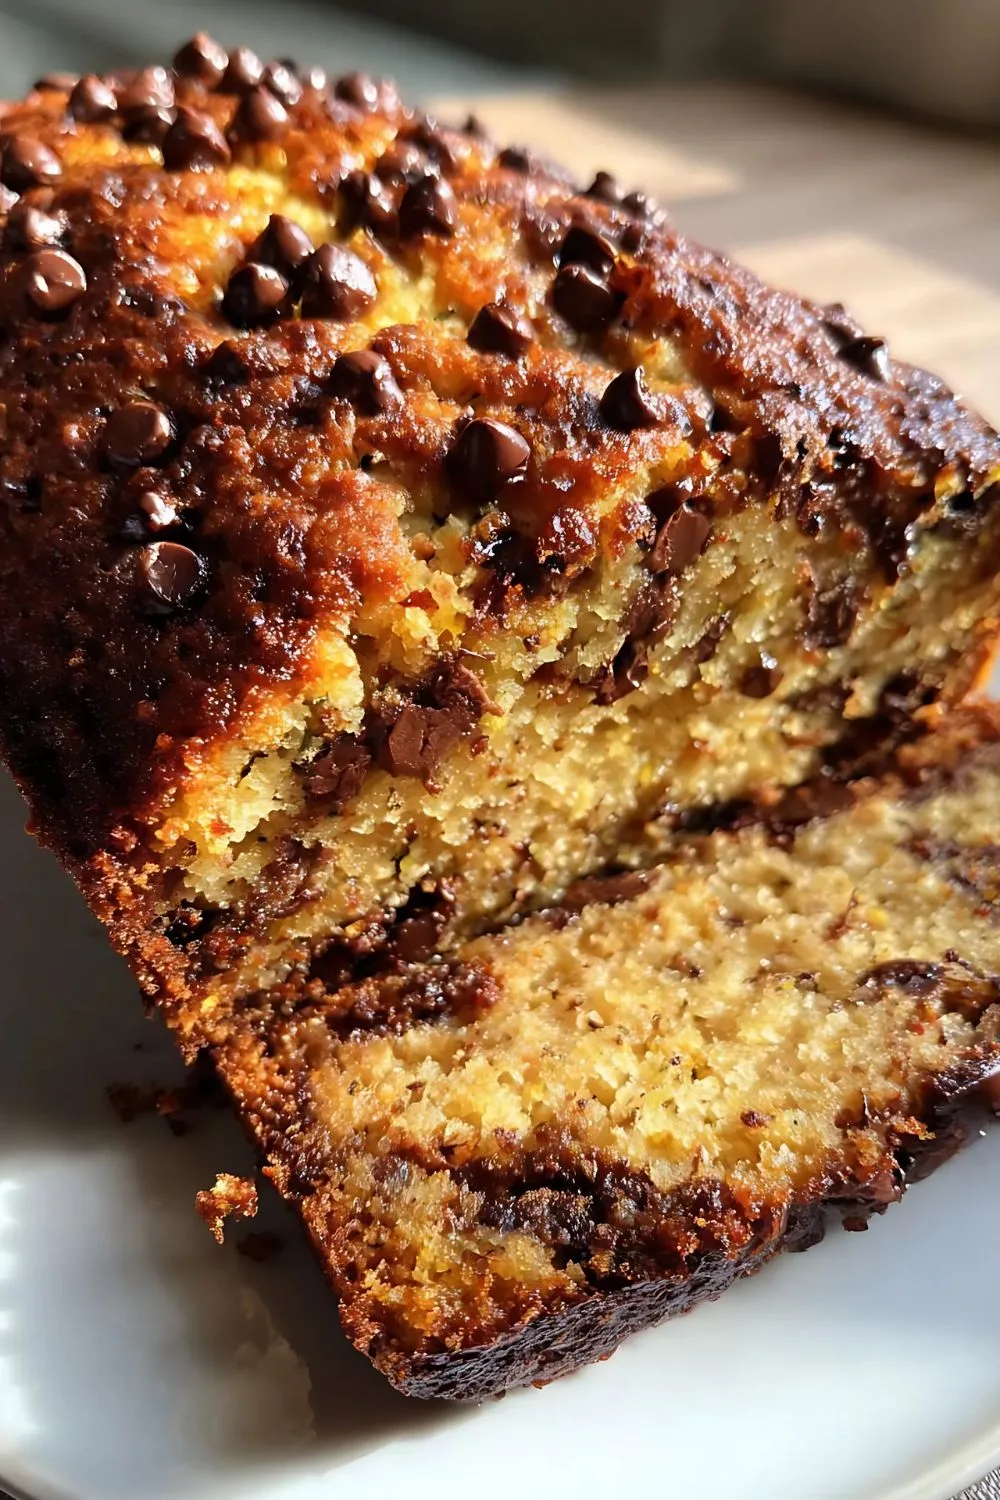
I just pulled two loaves of this amazing chocolate chip zucchini bread from my oven, and the house smells incredible! This recipe is my secret weapon for using up garden zucchini.
It creates an unbelievably moist and tender bread packed with gooey chocolate chips. It’s so simple to make, and everyone loves it. If you enjoy creative comfort food, you might also like to explore our guide for a Fried Pickle and Ranch Dip Recipe.

What You’ll Need for This Recipe
Gathering your ingredients first makes the baking process smooth and enjoyable. Here’s what you’ll need to create this delicious bread.
- 2 cups grated zucchini – This is the key to moisture! Squeeze out any excess water before adding it to the batter to prevent a gummy texture.
- 3 large eggs – These act as a binder, holding all the ingredients together for the perfect structure.
- 1 cup vegetable oil – Using oil instead of butter guarantees a consistently moist crumb that stays fresh for days.
- 1 3/4 cups granulated sugar – Provides the perfect amount of sweetness to balance the earthy zucchini.
- 2 teaspoons vanilla extract – A splash of vanilla enhances all the other flavors in the bread.
- 3 cups all-purpose flour – This provides the structure for your loaves. Make sure to measure it correctly.
- 1 teaspoon baking soda – This leavening agent helps the bread rise and become light and airy.
- 1/2 teaspoon baking powder – Works with the baking soda for an extra lift, ensuring a beautiful dome.
- 1 teaspoon ground cinnamon – This warm spice pairs perfectly with both zucchini and chocolate.
- 1/2 teaspoon salt – A little salt is essential to balance the sweetness and elevate the overall flavor.
- 1 cup chocolate chips – Use semi-sweet, milk, or dark chocolate, depending on your preference.
Note: This recipe makes two 9×5 inch loaves, which provides approximately 24 servings.
Cooking Time
Here is a quick look at how much time you’ll need to set aside.
- Prep Time: 20 minutes
- Cooking Time: 60 minutes
- Total Time: 1 hour 20 minutes
Equipment You Need
You don’t need any fancy gadgets for this recipe. Here is the basic equipment you’ll want to have on hand.
- Two 9×5 inch Loaf Pans: For baking the two loaves of bread.
- Large and Medium Mixing Bowls: One for wet ingredients and one for dry.
- Whisk: To evenly combine the dry ingredients.
- Measuring Cups and Spoons: For accurate measurement of all ingredients.
- Spatula: For folding in the chocolate chips and scraping the bowl.
- Wire Cooling Rack: To allow air to circulate and cool the bread evenly.
How to Make Chocolate Chip Zucchini Bread
This recipe is straightforward and perfect for bakers of all skill levels. Just follow these simple steps for two perfect loaves of bread.
Step 1: Prepare Your Oven and Pans
First, preheat your oven to 325°F (160°C). Then, prepare two 9×5 inch loaf pans by greasing them thoroughly with butter or baking spray. A light dusting of flour after greasing will ensure the loaves slide out easily after baking.
Step 2: Mix the Wet Ingredients
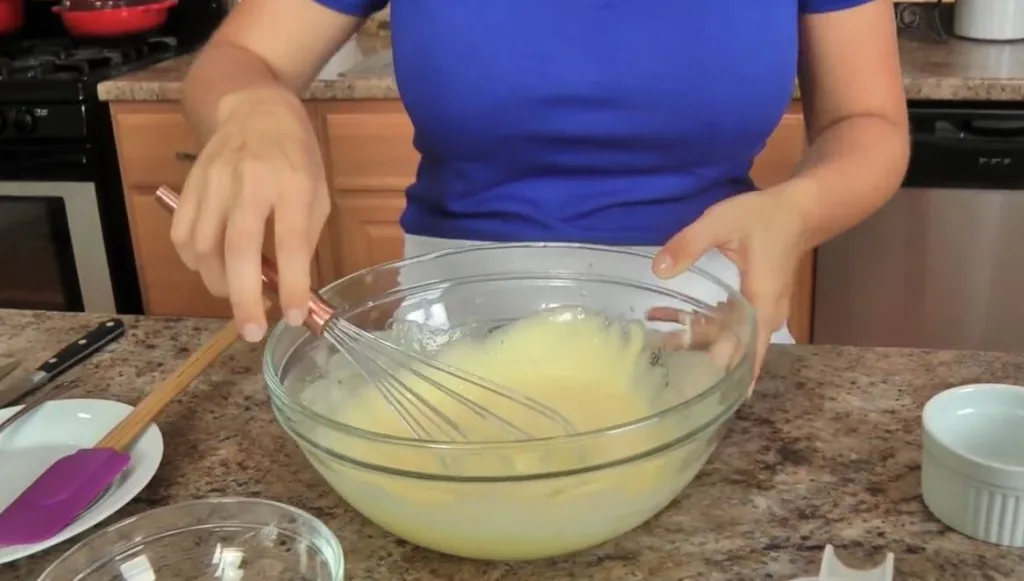
In a large mixing bowl, combine the grated zucchini, eggs, vegetable oil, granulated sugar, and vanilla extract. Use a whisk or a spoon to mix everything together until it is well combined and you have a smooth, consistent batter.
Step 3: Combine the Dry Ingredients
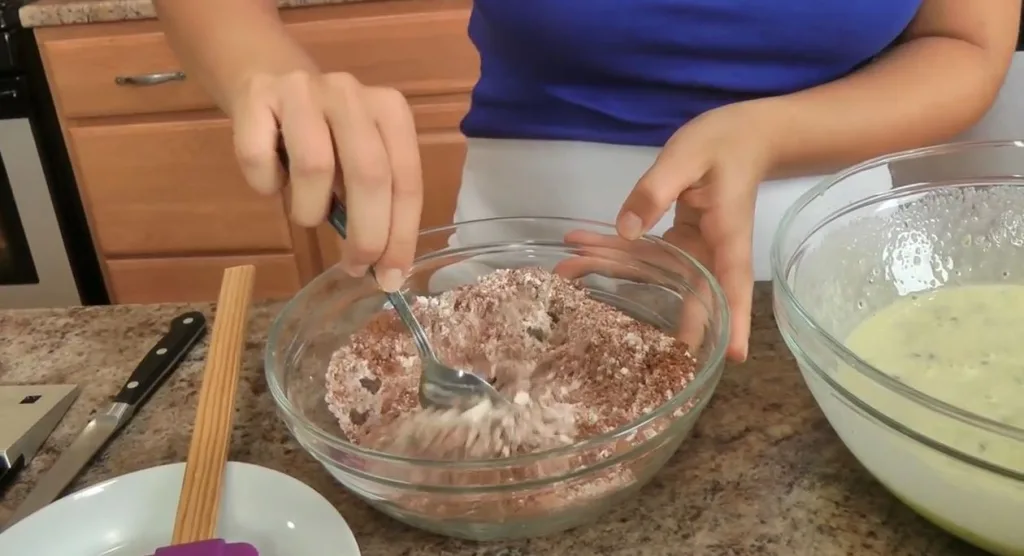
In a separate, medium-sized bowl, whisk together the all-purpose flour, baking soda, baking powder, ground cinnamon, and salt. Whisking helps to distribute the leavening agents evenly, which is key for a consistent rise and texture in your finished bread.
Step 4: Combine Wet and Dry Mixtures
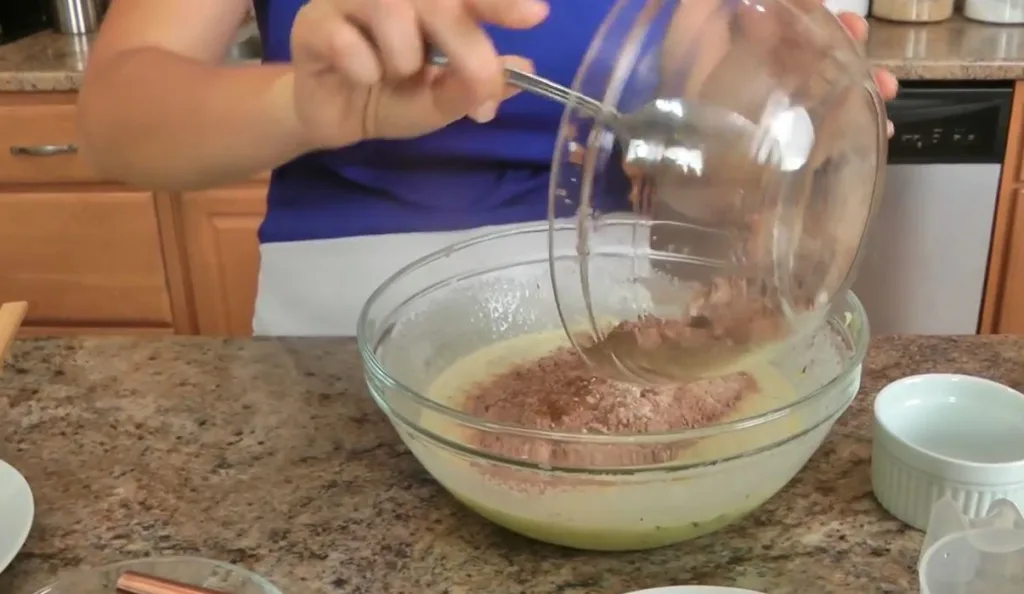
Gradually pour the dry ingredient mixture into the wet ingredients. Mix only until the flour is just combined. It’s okay if you still see a few streaks of flour; be careful not to overmix, as this can lead to tough, dense bread.
Step 5: Fold in the Chocolate Chips
Now for the best part! Gently fold your cup of chocolate chips into the batter using a spatula. Mix just enough to distribute them evenly throughout the batter. This ensures you get melted chocolate goodness in every single slice.
Step 6: Bake to Perfection
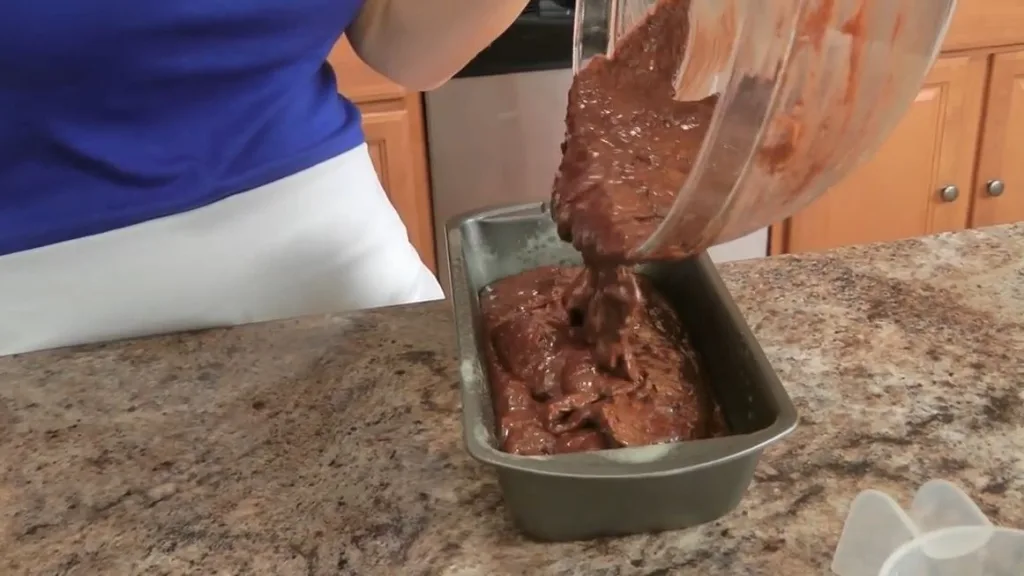
Divide the batter evenly between your two prepared loaf pans. Bake for 50-60 minutes. You can check for doneness by inserting a wooden skewer or toothpick into the center of a loaf. If it comes out clean, the bread is ready.
Step 7: Cool the Loaves
Let the bread cool in the pans on a countertop for about 10 minutes. Afterward, carefully turn the loaves out onto a wire rack to cool completely. Allowing the bread to cool fully is important for it to set properly before slicing.
Additional Tips for Making this Recipe Better
Over the years, I’ve learned a few tricks that take this recipe from great to absolutely perfect. I hope these personal tips help you too!
- Squeeze the Zucchini: I can’t stress this enough. After grating the zucchini, place it in a clean kitchen towel or paper towels and squeeze out as much water as you can. This prevents the bread from becoming overly dense or soggy.
- Don’t Overmix the Batter: When you combine the wet and dry ingredients, mix just until you no longer see large pockets of dry flour. Overmixing develops the gluten in the flour and can result in a tough, chewy bread instead of a tender one.
- Toss Chips in Flour: To prevent all your chocolate chips from sinking to the bottom, I toss them in a tablespoon of flour before folding them into the batter. This light coating helps them stay suspended in the bread as it bakes.
- Let It Rest: I know it’s tempting to slice into the loaf right out of the oven, but letting it cool completely is crucial. The structure sets as it cools, making it easier to slice without it crumbling apart.
Variations to Try
One of the best things about this recipe is its versatility. You can easily adapt it to your tastes or dietary needs.
- Add Nuts: For a delightful crunch, fold in a cup of chopped walnuts or pecans along with the chocolate chips.
- Spice It Up: Add a pinch of nutmeg or allspice to the dry ingredients for an extra layer of warm, cozy flavor.
- Dairy-Free Option: This recipe is naturally dairy-free if you use a dairy-free brand of chocolate chips.
- Go Healthier: You can substitute half of the vegetable oil with unsweetened applesauce for a lower-fat version.
You can also explore our other dinner recipes for more healthy and delicious meal ideas.
How to Serve Chocolate Chip Zucchini Bread
This bread is delicious on its own, but a few simple touches can make it even more special.
- Serve a warm slice with a generous spread of butter or cream cheese.
- Drizzle a slice with a bit of honey or maple syrup for extra sweetness.
- Enjoy it alongside a cup of coffee or a cold glass of milk for the perfect snack.
- For a dessert treat, serve it with a scoop of vanilla ice cream. This is also a fantastic way to serve our Smoked Gouda Mashed Potatoes Recipe.
Calories Count
This is an approximate nutritional breakdown per slice, assuming each loaf is cut into 12 slices.
- Calories: 350
- Protein: 4g
- Fat: 18g
- Saturated Fat: 5g
- Carbohydrates: 45g
- Fiber: 2g
- Sugar: 30g
- Sodium: 200mg
How to Store Chocolate Chip Zucchini Bread
This bread stores wonderfully, so you can enjoy it for days. Here are the best ways to keep it fresh.
- Once completely cooled, wrap the bread tightly in plastic wrap or aluminum foil.
- Room Temperature: It will stay fresh at room temperature for up to 3 days.
- Refrigerator: For longer storage, keep it in the fridge for up to a week.
- Freezer: You can freeze a whole loaf or individual slices for up to 3 months. Thaw at room temperature before serving.
Why You’ll Love This Recipe
There are so many reasons to fall in love with this chocolate chip zucchini bread. Here are just a few of them.
- Incredibly Moist: The zucchini and oil create a bread that stays soft and tender for days.
- Easy to Make: The instructions are simple and require no special techniques or equipment.
- A Veggie Hiding Place: It’s a fantastic and delicious way to get some extra vegetables into your family’s diet.
- Perfect for Any Occasion: This bread works as a breakfast, a snack, or a simple dessert.
More About This Recipe
The magic of zucchini bread is how a simple summer squash transforms into such a decadent treat.
The zucchini itself has a very mild flavor, so it doesn’t taste “green” at all. Instead, its high water content releases steam during baking, creating an exceptionally moist texture that is hard to achieve with other ingredients.
This recipe makes two loaves, which is perfect for sharing one with a neighbor or freezing one for later. Don’t be afraid to make it your own by trying different spices or add-ins
Chocolate Chip Zucchini Bread Recipe
Ingredients
Method
- First, preheat your oven to 325°F (160°C). Then, prepare two 9×5 inch loaf pans by greasing them thoroughly with butter or baking spray. A light dusting of flour after greasing will ensure the loaves slide out easily after baking.
- In a large mixing bowl, combine the grated zucchini, eggs, vegetable oil, granulated sugar, and vanilla extract. Use a whisk or a spoon to mix everything together until it is well combined and you have a smooth, consistent batter.
- In a separate, medium-sized bowl, whisk together the all-purpose flour, baking soda, baking powder, ground cinnamon, and salt. Whisking helps to distribute the leavening agents evenly, which is key for a consistent rise and texture in your finished bread.
- Gradually pour the dry ingredient mixture into the wet ingredients. Mix only until the flour is just combined. It’s okay if you still see a few streaks of flour; be careful not to overmix, as this can lead to tough, dense bread.
- Now for the best part! Gently fold your cup of chocolate chips into the batter using a spatula. Mix just enough to distribute them evenly throughout the batter. This ensures you get melted chocolate goodness in every single slice.
- Divide the batter evenly between your two prepared loaf pans. Bake for 50-60 minutes. You can check for doneness by inserting a wooden skewer or toothpick into the center of a loaf. If it comes out clean, the bread is ready.
- Let the bread cool in the pans on a countertop for about 10 minutes. Afterward, carefully turn the loaves out onto a wire rack to cool completely. Allowing the bread to cool fully is important for it to set properly before slicing.
