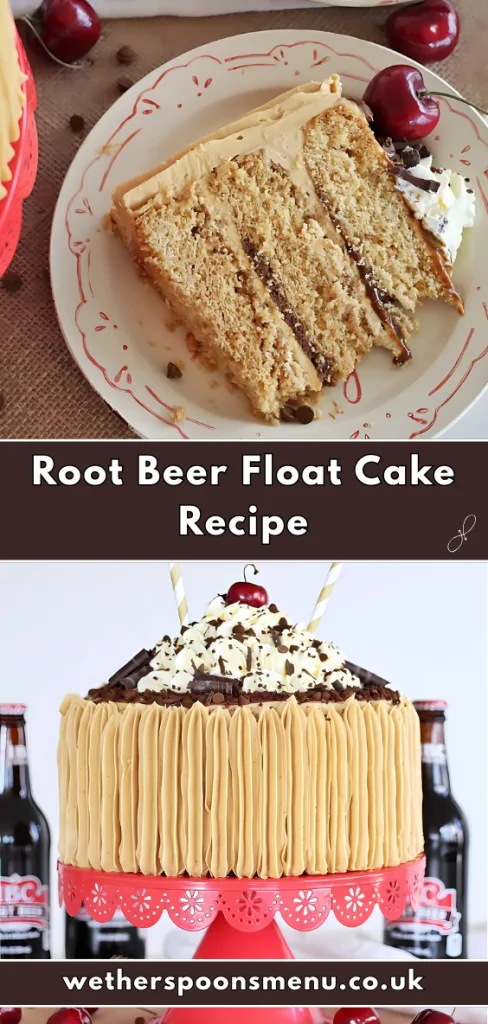
Root Beer Float Cake: A Fun Soda Shop Dessert in Cake Form
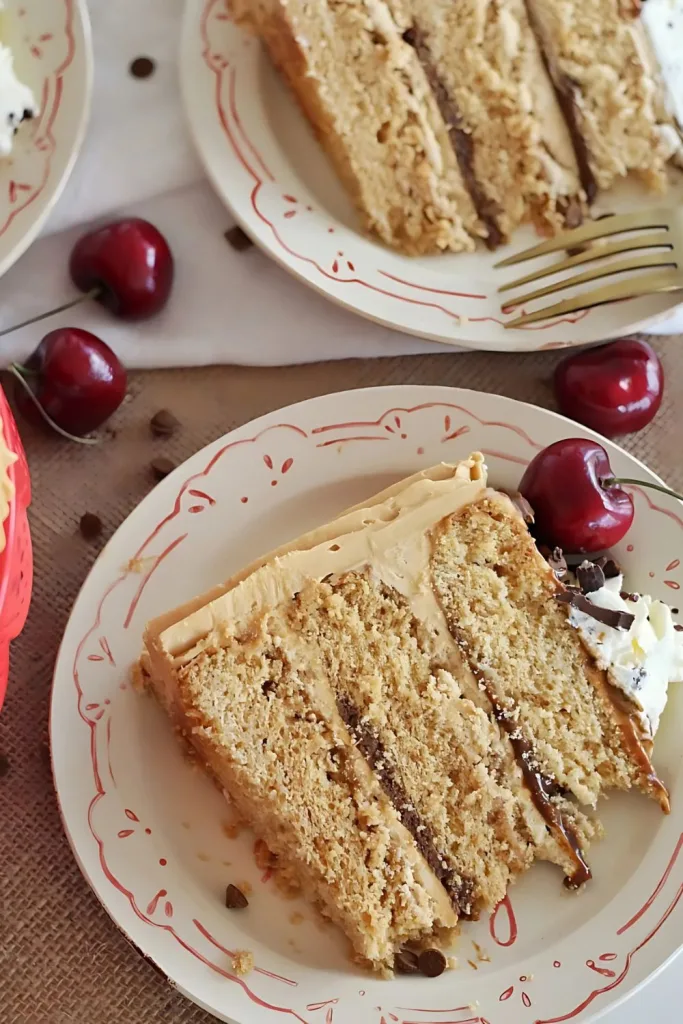
When I first made this Root Beer Float Cake, I was so excited to taste how it would turn out. It’s not every day you bake a cake that tastes just like a soda shop treat. The layers came out light and fluffy, the buttercream was silky smooth, and the whipped cream with a cherry on top made it picture-perfect.
I had fun assembling it, and honestly, it was easier than I expected. Just like when I tried the Mango Float, this cake felt like a new favorite right from the first bite.
Additional Tips for Making This Recipe Better
A recipe always improves when you add a personal touch. After baking this cake myself, I learned a few tricks to make it even better.
- Use room temperature ingredients – It helps the cake mix smoothly and bake evenly.
- Don’t overbake – Check with a toothpick at 25 minutes; mine was perfect right then.
- Chill before frosting – A cold cake holds the buttercream better and makes decorating easier.
- Add a pinch of espresso powder – It deepens the root beer flavor without making it taste like coffee.
- Pipe whipped cream last minute – I made the mistake of piping too early, and it softened before serving.
These small tweaks made my cake not only taste great but also look bakery-worthy.
Fun Variations to Try
You don’t always have to follow the recipe exactly. You can get creative with ingredients and flavors. Here are some ideas I’ve tried or plan to try:
- Dairy-free – Replace butter with vegan butter and heavy cream with coconut cream.
- Sugar-free – Use monk fruit or erythritol instead of sugar to make it lighter.
- Chocolate twist – Add mini chocolate chips into the cake batter for extra texture.
- Citrus boost – A splash of orange zest brings a fun soda-inspired twist.
- Kid-friendly fun – Mix in colorful sprinkles for a birthday party vibe.
If you love playing around with dinner recipes, this cake is also a great base for flavor experiments.
Equipment You Need
Good equipment makes the process smoother and less stressful. Here’s what I used when baking mine:
- Mixing bowls – For combining wet and dry ingredients.
- Stand mixer – Whips the buttercream and cake batter perfectly.
- Cake pans (8-inch) – Essential for even baking layers.
- Parchment paper – Keeps the cakes from sticking.
- Wire rack – Helps the cakes cool evenly.
- Serrated knife – For trimming and leveling layers.
- Offset spatula – Makes frosting smooth and neat.
- Piping bag – Perfect for adding whipped cream swirls.
How to Serve Root Beer Float Cake?
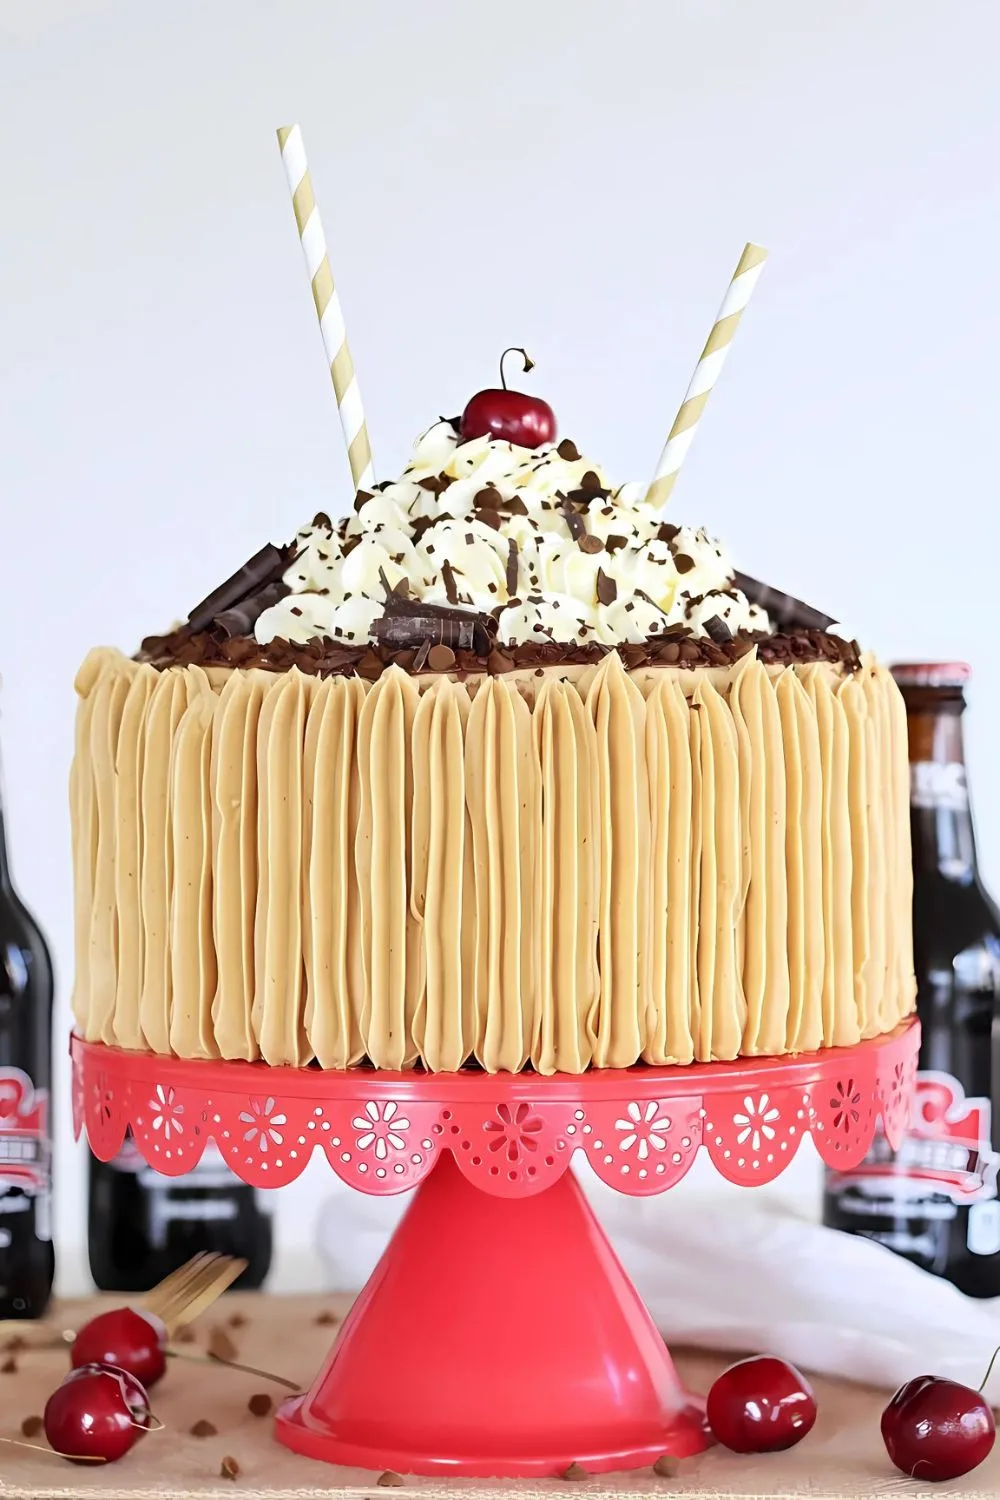
Presentation is everything when it comes to a cake like this. Here are my favorite ways to serve it:
- Top with extra whipped cream swirls for a soda float look.
- Add root beer marshmallows and sprinkles for color and texture.
- Serve with cold vanilla ice cream for the ultimate float-inspired dessert.
- Pair slices with coffee or even a real root beer float for fun.
And just like I enjoyed the Root Beer Float Pie, I found that this cake tastes even better with creative plating and garnishes.
Calories Count
Here’s a quick breakdown of the nutrition per slice (based on 12 servings):
- Calories: ~620
- Total fat: 29g
- Saturated fat: 18g
- Carbohydrates: 85g
- Sugar: 68g
- Protein: 4g
- Fiber: 1g
This cake is indulgent, but it’s worth every bite.
How to Store Root Beer Float Cake
Keeping the cake fresh makes a big difference. Here’s how I store mine:
- Refrigerating: Wrap the cake in plastic wrap or keep it in an airtight container. It stays fresh for up to 4 days.
- Freezing: Wrap unfrosted cake layers individually and freeze for up to 2 months. Thaw overnight before frosting.
- Reheating: I don’t recommend reheating this cake since it’s best enjoyed chilled or at room temperature. Just let it sit out for 30 minutes before serving.
Why You’ll Love This Recipe?
This cake is more than just a dessert—it’s a fun experience. Here’s why I loved it and why you will too:
- Easy to follow: The steps are simple, even for beginner bakers.
- Unique flavor: Root beer flavor makes it stand out from traditional cakes.
- Customizable: You can swap ingredients for dietary needs or fun add-ins.
- Party-ready: The look and taste make it perfect for birthdays or gatherings.
- Nostalgic: It reminds me of enjoying root beer floats as a kid, but in cake form.
With these reasons, you’ll see why this cake has quickly become one of my favorites.
Root Beer Float Cake
Ingredients
Method
- Preheat your oven to 325°F. Grease and line three 8-inch pans with parchment paper. In a bowl, whisk together egg, egg whites, vanilla, and root beer flavor. In another bowl, mix flour, sugar, baking powder, and salt. Add butter and root beer, mixing until smooth. Slowly add the egg mixture. Divide batter into pans and bake for 25–30 minutes, then cool completely.
- Beat butter in a stand mixer until fluffy. Add powdered sugar gradually, then pour in vanilla, root beer flavor, and cream. Whip until light and creamy. Before using, stir with a wooden spoon to remove air bubbles. This step makes frosting spread smoother on the cake.
- For the root beer chip version, heat cream, pour over chips, and stir until smooth. For the white chocolate version, do the same, then mix in root beer flavor. Let it cool slightly before using so it drips slowly over the cake’s edge instead of running too quickly.
- Whisk cold cream, sugar, and vanilla until stiff peaks form. This will be used as a topping right before serving. Keep chilled until needed, so it stays fluffy and stable on the cake.
- Level cake layers. Place one layer on a cake board and spread frosting, followed by a drizzle of drip. Repeat with the second layer. Add the last layer upside down. Frost the entire cake with a thin crumb coat and chill for 10 minutes. Cover with the rest of the buttercream, pour drip along the edges, and let it set. Add whipped cream, marshmallows, sprinkles, and a cherry to finish.