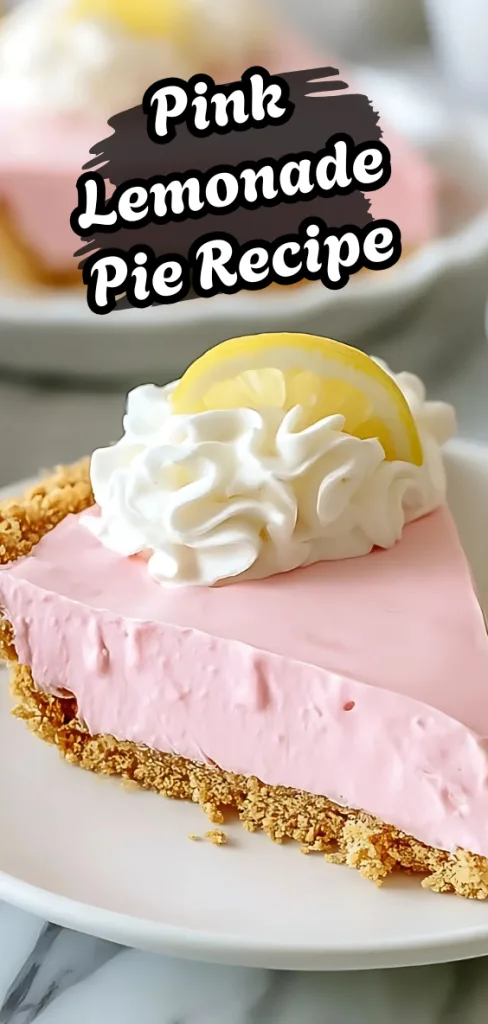
Refreshing Pink Lemonade Pie: A No-Bake Summer Delight
When I first made this Pink Lemonade Pie, I didn’t expect it to be such a hit. The smooth texture, the zesty lemon kick, and the sweet graham cracker crust all came together like magic.
It felt so effortless, yet the end result looked like something you’d find in a bakery. The best part? I didn’t even have to turn on the oven. I love making recipes that look impressive but are secretly simple, and this one checks all the boxes.
It reminds me of the same excitement I felt when trying my first Jello Cookies Recipe—easy steps, big flavors, and plenty of smiles around the table. This pie is now one of my favorite summer desserts, and I can’t wait to share exactly how to make it with you.
Additional Tips for Making This Recipe Better
Over time, I’ve learned a few tricks to make this pie even more delicious and foolproof. Here are my personal tips from experience:
- Use freshly thawed whipped topping. I noticed that if it’s still frozen, the filling doesn’t blend smoothly.
- Chill the crust before adding the filling. It keeps the pie firm and prevents sogginess.
- Add a few drops of pink food coloring if you want the pie to look brighter and more festive.
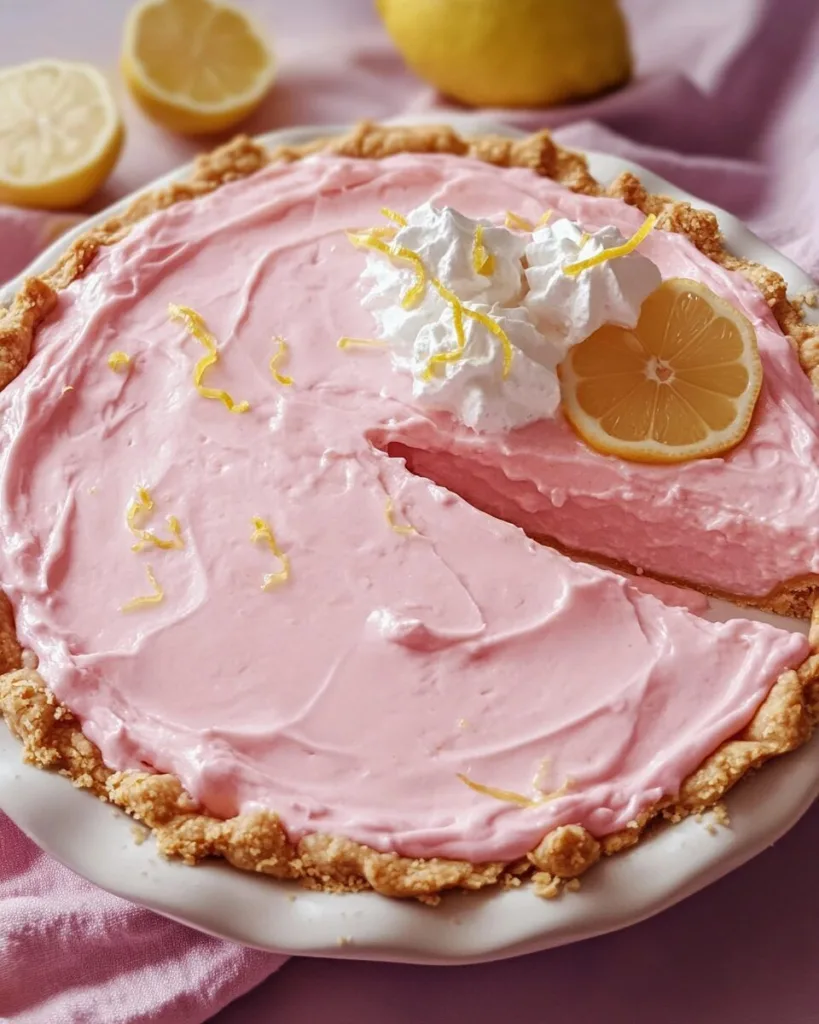
- Garnish with thin lemon slices or fresh berries before serving to make it look bakery-style.
- I sometimes freeze the pie for 30 minutes before serving—it makes slicing much cleaner.
These little tweaks really make a difference, and every time I serve this pie, people ask for the recipe.
Variations
The beauty of this pie is how flexible it is. You can easily make it fit your diet or taste preferences. Here are some variations you can try:
- Dairy-Free: Swap the whipped topping with a coconut-based alternative and use a dairy-free condensed milk.
- Sugar-Free: Use sugar-free sweetened condensed milk and a light whipped topping to cut down on sugar.
- Crust Options: Try an Oreo cookie crust or a vanilla wafer crust for a fun twist.
- Flavor Add-Ins: Add raspberries, strawberries, or even a splash of lime juice to boost the citrus flavor.
I love experimenting with simple dessert recipes like this, just as much as I do with dinner recipes that can be customized for the whole family.
Equipment You Need
To keep things smooth and easy, here’s the equipment I used and why:
- Mixing bowl – to combine the lemonade concentrate and condensed milk.
- Whisk or electric mixer – ensures a smooth, lump-free mixture.
- Spatula – perfect for folding in the whipped topping gently.
- Pie dish with crust – to hold the filling and give shape to the pie.
- Refrigerator – essential for chilling and setting the pie properly.
How to Serve Pink Lemonade Pie?
This pie tastes amazing on its own, but a little extra effort can make it unforgettable. Here are some fun ways I love to serve it:
- Garnish with fresh mint leaves and lemon wedges for a bright, elegant touch.
- Add a dollop of extra whipped topping on each slice for creaminess.
- Sprinkle crushed graham crackers on top for a rustic look.
- Serve with a handful of fresh berries on the side to balance the sweetness.
- For parties, cut the pie into mini squares and serve on cupcake liners for a bite-size treat.
These ideas make your dessert stand out—just like how I felt when I made Blackberry Lemonade, where presentation made all the difference.
Calories Count
Here’s the breakdown of the nutritional values per slice:
- Calories: 253
- Total Fat: 11g
- Saturated Fat: 6g
- Cholesterol: 8mg
- Sodium: 157mg
- Total Carbohydrate: 37g
- Dietary Fiber: 0g
- Sugars: 30g
- Protein: 3g
How to Store the Pink Lemonade Pie
- Refrigerating: Store the pie covered in the refrigerator. It stays fresh for about 3–4 days.
- Freezing: You can freeze this pie for up to 2 months. Wrap it tightly in plastic wrap and aluminum foil.
- Restoring: To enjoy again, thaw it in the fridge overnight. It tastes just as fresh as the day you made it.
Why You’ll Love This Recipe?
Here’s why this recipe has become one of my top go-to desserts:
- Super Easy to Make: With no baking required, this is one of the simplest pies you’ll ever prepare.
- Great for Any Occasion: Whether it’s a picnic, potluck, or dinner party, this pie fits right in.
- Flexible Variations: From sugar-free to fruity add-ins, you can make it your own.
- Light and Refreshing: Unlike heavy desserts, this one feels fresh and perfect for warm weather.
- Kid-Friendly: The sweet, tangy flavor makes it a hit with kids, and they can even help mix the filling.
It’s one of those recipes you’ll come back to again and again, especially when you want something sweet without spending hours in the kitchen.
Pink Lemonade Pie
Ingredients
Method
- In a large mixing bowl, pour the sweetened condensed milk and thawed pink lemonade concentrate. Whisk or beat until they are fully combined. The mixture should look smooth and creamy, with no streaks of concentrate left. This base creates the sweet-tart flavor that makes the pie refreshing.
- Take the thawed whipped topping and gently fold it into the lemonade mixture using a spatula. Do this slowly to keep the filling airy and fluffy. Folding instead of stirring prevents the mixture from becoming too heavy and gives the pie its soft, mousse-like texture.
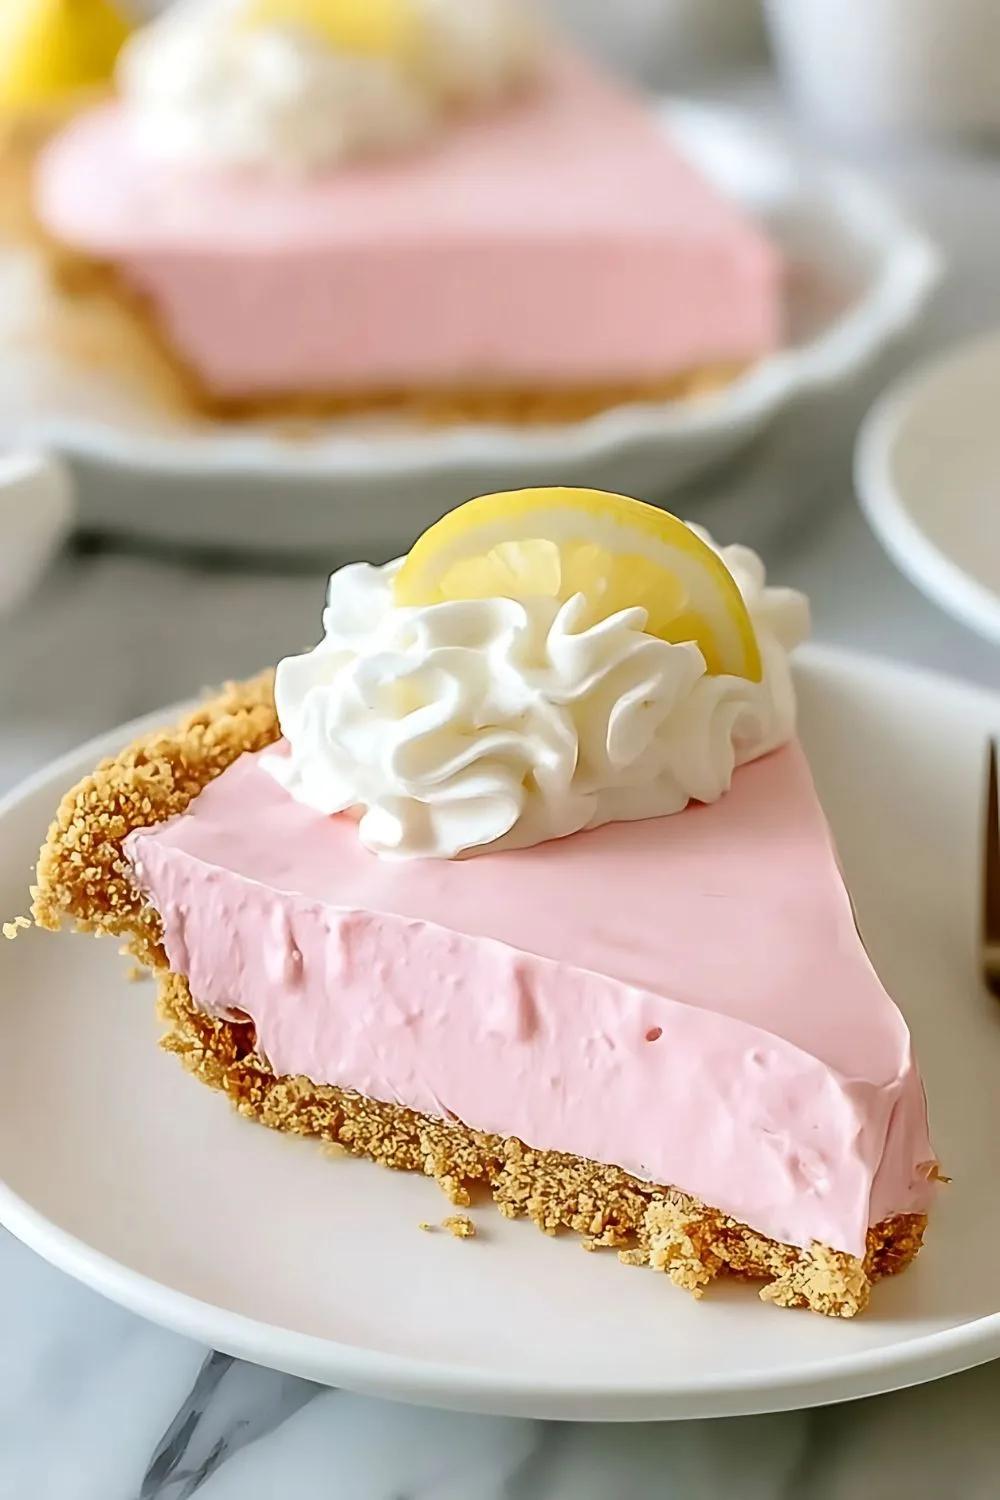
- Pour the prepared filling into the 9-inch graham cracker crust. Spread it evenly with a spatula so that the surface is smooth. The crust holds the creamy filling and gives the pie a nice bite in every slice.
- Place the pie in the refrigerator for at least 2 hours. This step allows the filling to set properly. If you want it firmer, leave it overnight. Chilling is key to achieving the right consistency for slicing and serving.
- Once the pie is set, slice it into even pieces. Serve chilled for the best taste. You can garnish with lemon slices, fresh berries, or a little extra whipped topping if you like. It’s a refreshing dessert perfect for hot days.