Sweet, Simple & Irresistible: My Strawberry Oreo Cheesecake Cup Story
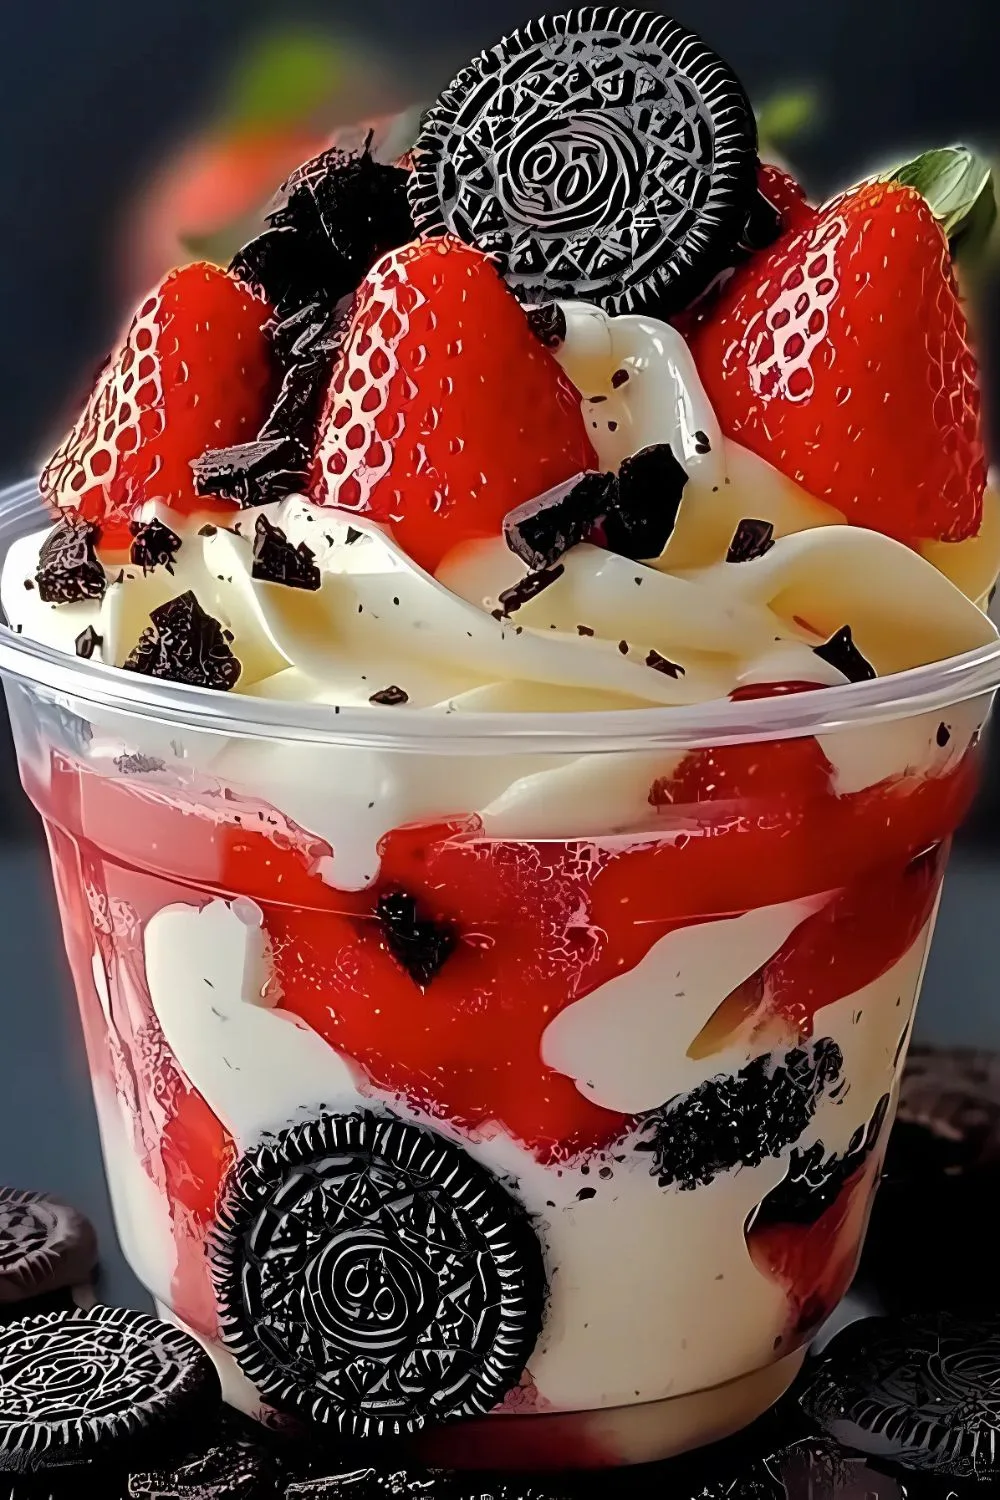
When I first whipped up these Strawberry Oreo Cheesecake Cups, I honestly didn’t expect them to vanish so fast from the fridge. But they did—like magic. With a creamy cheesecake filling, a buttery Oreo base, and juicy strawberries on top, these little cups are heaven in every bite.
The best part? They’re super easy to make and need no baking! While trying out this recipe, I was also thinking of turning it into a Fruity Pebbles Cheesecake Tacos Recipe, but this dessert won the spotlight.
Ingredients That Make the Magic Happen
Each ingredient here plays an important role in making your cheesecake cups creamy, rich, and totally crave-worthy. Try not to swap or skip—there’s a reason they’re chosen!
- 1 cup strawberries, chopped – Fresh ones are best for flavor and natural sweetness. Avoid frozen, as they can get soggy.
- 10 Oreo cookies, crushed – Use classic Oreos. They add that signature crunch and chocolatey depth.
- 2 tbsp butter, melted – Helps hold the Oreo crust together. Use unsalted butter for better balance.
- 8 oz cream cheese, softened – Always use full-fat cream cheese for the creamiest texture. Let it soften at room temperature.
- 1/4 cup powdered sugar – This sweetens the filling perfectly without making it grainy.
- 1/2 tsp vanilla extract – Adds an aromatic, sweet flavor that elevates the filling.
- 1/2 cup whipped cream – Makes the cheesecake filling fluffy and light. Gently fold it in to avoid deflating.
Note: This quantity serves about 4–5 individual cheesecake cups.
Tasty Twists: Creative Variations to Try
Want to make this treat fit your lifestyle or add a personal touch? Here are some ways to change it up—whether for health or flavor. I often try twists like this while exploring new dinner recipes, and the results are always fun!
- Dairy-Free Option: Use dairy-free cream cheese and coconut whipped topping.
- Sugar-Free Version: Try sugar-free Oreos and use erythritol or monk fruit sweetener instead of powdered sugar.
- Flavor Boost: Add a tablespoon of strawberry jam in the middle layer for extra punch.
- Different Fruit: Swap strawberries for raspberries, blueberries, or mango.
- Crunchy Toppings: Sprinkle chopped nuts, white chocolate chips, or shredded coconut on top.
Cooking Time Breakdown
No baking? Yes, please! Here’s how much time you’ll need:
- Prep Time: 15 minutes
- Chill Time: 2 hours
- Total Time: 2 hours 15 minutes
Kitchen Essentials: Tools You’ll Need
Having the right equipment makes everything easier and cleaner.
- Mixing bowls – For combining cheesecake filling and Oreo base.
- Electric mixer or hand whisk – To blend cream cheese until smooth.
- Measuring cups & spoons – Accuracy is key to flavor balance.
- Serving cups or jars – For individual presentation.
- Spoon or spatula – To layer and smooth the filling.
How to Make Strawberry Oreo Cheesecake Cup?
Making these cheesecake cups is fun and satisfying. Follow each step carefully, and you’ll have a beautiful, delicious treat to share (or keep all to yourself—no judgment!).
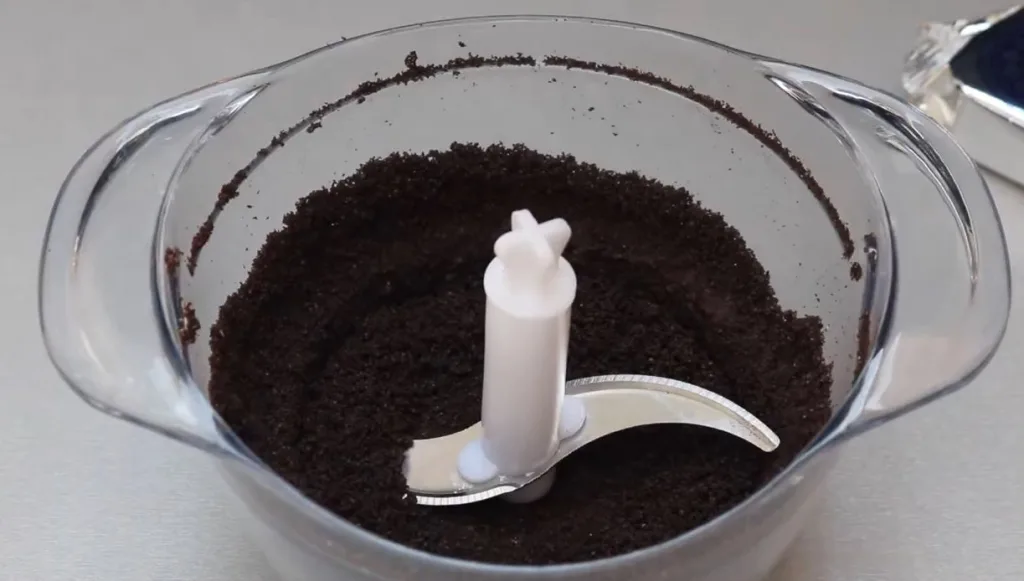
Crush the Oreo Cookies
First, take your Oreo cookies and crush them into small crumbs. You can use a food processor or just put them in a ziplock bag and bash them with a rolling pin—great stress relief! Mix the crumbs with melted butter until they’re well coated. This will be your crust. Press the mixture firmly into the base of each cup using a spoon.
Prepare the Cheesecake Filling
In a mixing bowl, beat the softened cream cheese using an electric mixer until smooth. Add powdered sugar and vanilla extract, then continue beating until the mixture becomes creamy and silky. Make sure there are no lumps left.
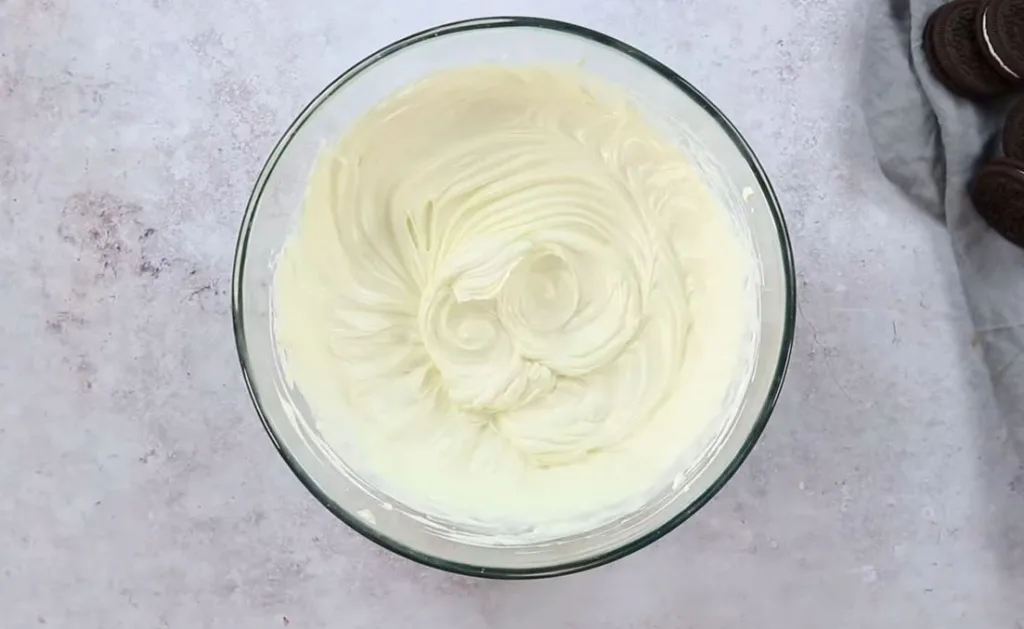
Add the Whipped Cream
Now, gently fold the whipped cream into the cream cheese mixture. This is where the magic happens! Folding helps keep the mixture light and fluffy, so take your time and don’t overmix. You want a cloud-like consistency.
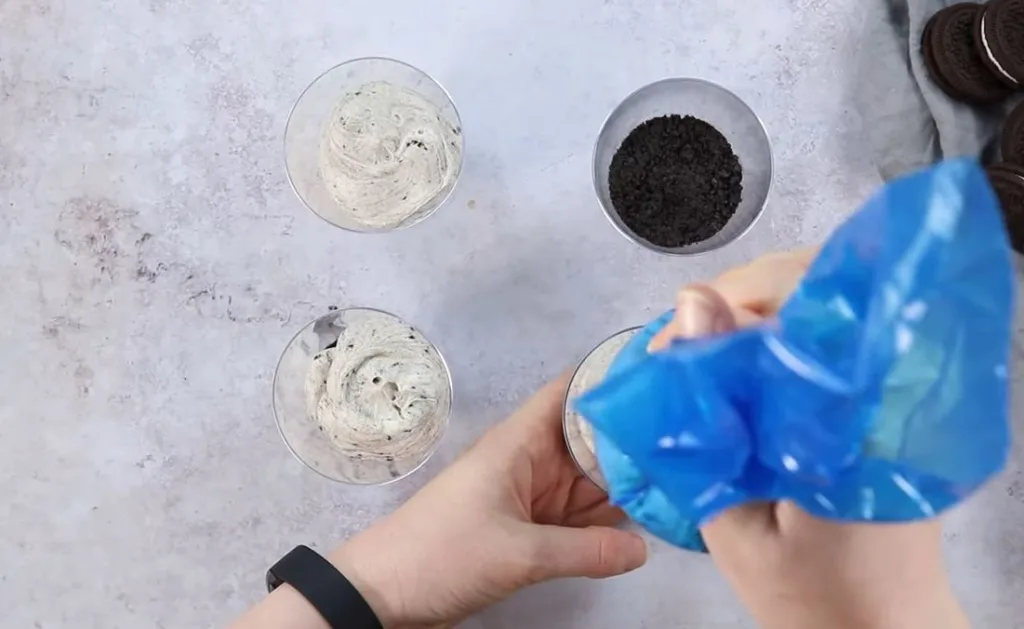
Layer It All Together
Start spooning your cheesecake filling over the Oreo crust in the cups. Smooth the top lightly with the back of a spoon. Then, sprinkle chopped strawberries generously over each cup. The more colorful, the better! You can even add an extra Oreo crumb sprinkle if you like.
Chill Before Serving
Place the cups in the refrigerator and chill for at least 2 hours. This helps the filling firm up and allows the flavors to blend beautifully. Trust me, the wait is totally worth it!

Additional Tips for Making this Recipe Better
After making this recipe several times, I’ve picked up some tricks to make it even better. Here are my go-to tips:
- Use full-fat cream cheese for the richest flavor and texture.
- Make sure your cream cheese is really soft before mixing.
- Gently fold in the whipped cream—don’t stir vigorously.
- Chill for at least 2 hours, but overnight is even better.
- Use fresh strawberries for the best taste and color.
How to Serve Strawberry Oreo Cheesecake Cup?
Serving these cheesecake cups is as fun as making them! Here’s how I like to present them.
Use small glass jars or clear dessert cups so you can show off the beautiful layers. Add a swirl of whipped cream on top with a halved strawberry as garnish.
A sprinkle of extra Oreo crumbs also looks (and tastes) amazing! Pair this dessert with a warm, cozy bowl of Bobby Flay’s Salisbury Steak Recipe for a sweet-and-savory dinner combo that’s hard to beat.
Nutritional Information (Per Serving)
Here’s a quick snapshot of what you’re eating:
- Calories: 280–320
- Protein: 3–4g
- Carbohydrates: 25–30g
- Fat: 18–20g
How to Store Strawberry Oreo Cheesecake Cup
These no-bake cheesecake cups store surprisingly well. Here’s how to keep them fresh:
- Refrigerating: Store them covered in the fridge for up to 3–4 days. Use plastic wrap or airtight lids to avoid drying out.
- Freezing: You can freeze them! Just cover each cup tightly with plastic wrap and store in a container. They stay good for up to 2 weeks.
- Reheating: No reheating needed! Just thaw frozen ones in the fridge for 3–4 hours before serving.
Why You’ll Love This Recipe?
This dessert has everything going for it. Here are the top reasons I keep making it again and again:
- Easy to Make: No baking required. Just mix, layer, and chill.
- Perfect for Any Occasion: Great for parties, potlucks, or just a sweet night at home.
- Customizable: You can swap ingredients or add extras to make it your own.
- Kid-Friendly: The flavors and colors make it a hit with children.
- Make-Ahead Option: Prepare a day ahead and let it chill overnight.
Common Mistakes to Avoid for Better Results
Avoiding these mistakes will make your cheesecake cups even better.
- Using cold cream cheese: This leads to a lumpy filling. Always soften it first.
- Overmixing the whipped cream: Folding keeps it fluffy—don’t stir too hard.
- Skipping the chill time: The filling needs time to firm up. Don’t rush it!
- Using frozen strawberries: These can get mushy and leak water into your cheesecake.
- Not crushing Oreos finely: Large chunks make the crust crumbly instead of firm.
More Info for a Better Experience
If you’re feeling adventurous, try turning this into a layered dessert in a larger trifle bowl for gatherings. Or serve it in mini jars as edible party favors. The recipe also works great with blueberry, raspberry, or even peach toppings if strawberries aren’t in season.
And if you’re hosting a themed dessert table, decorate with matching pink and red elements to match the strawberry vibe. Trust me, these cups aren’t just delicious—they’re a visual treat too!
Strawberry Oreo Cheesecake Cup
Ingredients
Method
- First, take your Oreo cookies and crush them into small crumbs. You can use a food processor or just put them in a ziplock bag and bash them with a rolling pin—great stress relief! Mix the crumbs with melted butter until they’re well coated. This will be your crust. Press the mixture firmly into the base of each cup using a spoon.
- In a mixing bowl, beat the softened cream cheese using an electric mixer until smooth. Add powdered sugar and vanilla extract, then continue beating until the mixture becomes creamy and silky. Make sure there are no lumps left.
- Now, gently fold the whipped cream into the cream cheese mixture. This is where the magic happens! Folding helps keep the mixture light and fluffy, so take your time and don’t overmix. You want a cloud-like consistency.
- Start spooning your cheesecake filling over the Oreo crust in the cups. Smooth the top lightly with the back of a spoon. Then, sprinkle chopped strawberries generously over each cup. The more colorful, the better! You can even add an extra Oreo crumb sprinkle if you like.
- Place the cups in the refrigerator and chill for at least 2 hours. This helps the filling firm up and allows the flavors to blend beautifully. Trust me, the wait is totally worth it!