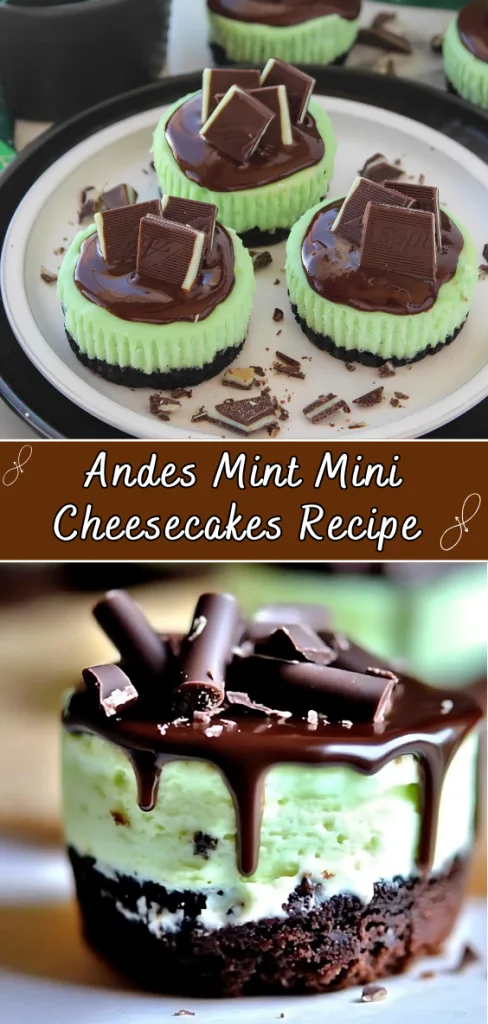
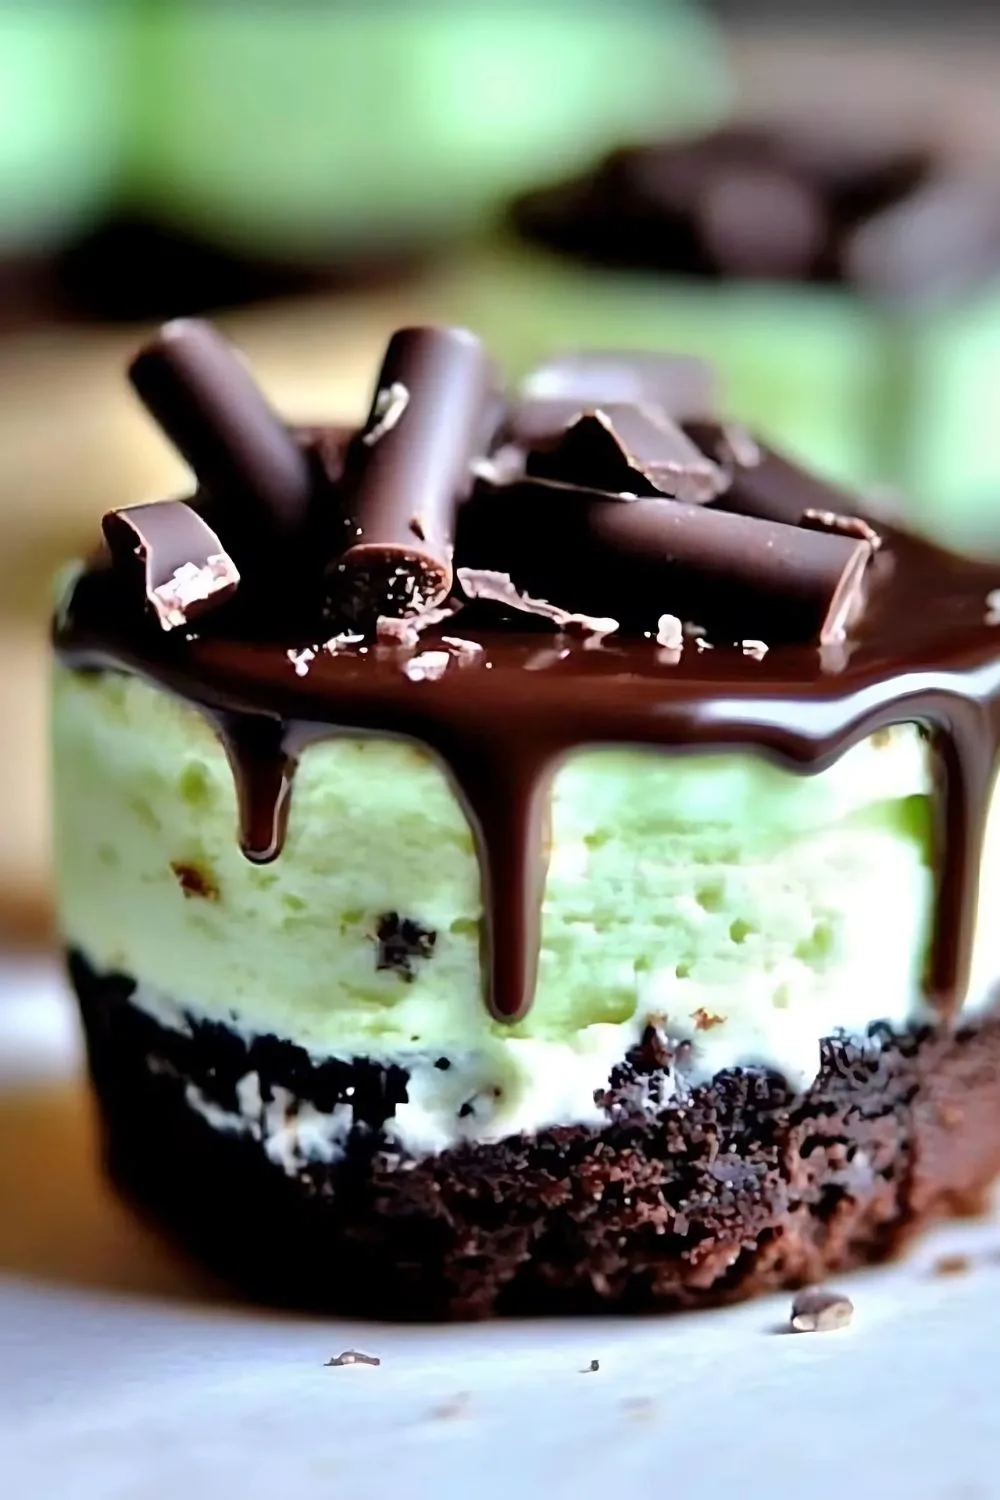
These Andes Mint Mini Cheesecakes are cool, creamy, and chocolatey—perfect for a sweet bite after dinner or at parties. I tried this Andes Mint Mini Cheesecakes Recipe for a small get-together, and everyone went wild for them. They’re rich but refreshing, with the perfect balance of chocolate and mint in every bite.
If you’re looking for a crowd-pleasing treat that’s easy to make and serve, these are it. When I first found this idea while browsing recipes (I was originally hunting for a Sloppy Joe Casserole Recipe), I knew I had to try it with a minty twist.
What came out of the oven was pure dessert bliss. Let me walk you through how I made these mini cheesecakes and how you can take yours to the next level, too.
Additional Tips for Making This Recipe Even Better
Once I made this recipe, I discovered a few little tricks that really helped bring out the best flavor and texture. These small details made a big difference:
- Use room-temperature cream cheese – It mixes smoother and prevents lumps.
- Don’t skip chilling overnight – This helps the cheesecake set fully and makes the flavors richer.
- Add chopped Andes Mints inside the batter – For a surprise minty crunch inside each bite.
- Use a silicone mini cheesecake pan – It makes removal super easy and keeps the shape perfect.
- Go light on the mint extract – A little goes a long way. Too much can overpower the cheesecake.
Fun and Tasty Variations to Try
Want to put your own spin on these cheesecakes? Here are some ideas I’ve tried (and loved). These variations are also great if you want to adjust the recipe for dietary needs or just switch things up for future dinner recipes.
- Dairy-free version: Use plant-based cream cheese and dairy-free chocolate chips.
- Sugar-free option: Swap the sugar with a granulated sugar substitute like erythritol or monk fruit.
- Extra chocolate layer: Add a drizzle of white chocolate or dark chocolate on top for contrast.
- Mint-chocolate swirl: Add half the batter without coloring and swirl it with the mint-green batter.
- Crust swap: Try crushed Oreos or thin mints instead of graham cracker crumbs.
Must-Have Tools to Make These Mini Cheesecakes
Making this recipe is easy, especially if you have the right tools on hand. Here’s what I used and why:
- Mini cheesecake pan – Makes perfectly shaped individual portions.
- Mixing bowls – Needed for combining the crust and filling ingredients.
- Hand or stand mixer – Helps make the cream cheese filling smooth and lump-free.
- Measuring cups and spoons – For accurate ingredient amounts.
- Spatula or spoon – Great for evenly spreading the cheesecake mixture.
- Microwave-safe bowl – Used for melting the chocolate topping.
How to Serve Andes Mint Mini Cheesecakes?
Presentation is key, especially if you’re making these for guests. Here are some ways I like to serve and garnish them to make them even more tempting.
- Top each one with a small mint leaf or extra chopped Andes mint.
- Place the cheesecakes in mini cupcake liners for a cute and easy grab-and-go dessert.
- Serve chilled on a decorative platter with a drizzle of chocolate sauce on the plate.
- Add a small swirl of whipped cream on top for extra flair.
- Pair it with a warm drink or even a Crock Pot Cream Cheese Chicken Chili Recipe night for a perfect sweet ending.

How to Store These Minty Treats?
Keeping your mini cheesecakes fresh is important so you can enjoy them anytime. Here’s how to do it:
- Restoring (Fridge): Keep them in an airtight container in the fridge for up to 4–5 days. They taste even better chilled.
- Freezing: Place them in a single layer in a freezer-safe container and freeze for up to 2 months. Thaw overnight in the fridge before serving.
- Reheating: Not needed! These are best enjoyed cold, straight from the fridge.
Why You’ll Love This Recipe?
There are so many reasons to fall in love with these Andes Mint Mini Cheesecakes. Here’s why they might just become your new favorite dessert:
- Quick and Easy: No complicated steps—just mix, bake, and chill.
- Make-Ahead Friendly: Perfect for prepping in advance for events or parties.
- Bite-Sized and Mess-Free: No need to slice or serve with utensils.
- Customizable Flavors: Swap flavors, crusts, or toppings to make it your own.
- Great for All Ages: Kids and adults alike enjoy the mint-chocolate combo.
More Details You Should Know Before Making It
These cheesecakes are simple, but here are some extra things I wish I had known before baking them the first time:
- Don’t overmix the batter – It can add too much air and cause cracks when baking.
- Let them cool gradually – After baking, turn off the oven and crack the door. Sudden changes in temperature can lead to sinking tops.
- Use quality chocolate chips – Since the topping is a big flavor element, better chocolate makes a difference.
- Cut Andes mints just before using – They melt slightly on warm chocolate, adding a gooey minty layer.
- You don’t need water baths – These minis bake evenly without it, making the process much simpler.
Andes Mint Mini Cheesecakes Recipe
Ingredients
Method
- Start by preheating your oven to 325°F (163°C). This temperature is ideal for baking cheesecakes slowly without cracking. Spray a mini cheesecake pan with nonstick spray to help release each cheesecake cleanly once chilled.
- In a small bowl, combine chocolate graham cracker crumbs, sugar, and melted butter. Stir until everything is evenly mixed and resembles wet sand. Spoon this mixture evenly into each cavity of the pan, pressing it down with the back of a spoon or your fingers to form a firm base. This crust gives each bite a nice crunch and balances the creamy top.
- Using a hand or stand mixer, beat the softened cream cheese and sugar together until smooth and fluffy. It’s important there are no lumps. Add the egg, mint extract, and food coloring. Mix gently on low speed until everything is just combined. You don’t want to overmix, as that can add air and cause cracks while baking. Spoon the filling evenly on top of each crust layer.
- Place the pan in the preheated oven and bake for 20 minutes. The centers should be just set and not jiggly. Once baked, turn off the oven and leave the door slightly open using a wooden spoon. Let the cheesecakes rest in the oven for 5–10 minutes to slowly cool. Then, transfer them to the fridge to chill for several hours or overnight. This helps the texture set perfectly.
- Once the cheesecakes are fully chilled, melt the chocolate chips in a microwave-safe bowl, stirring every 30 seconds until smooth. Spoon a generous tablespoon of melted chocolate over each cheesecake, spreading it gently. Before the chocolate hardens, sprinkle the tops with chopped Andes mints for a minty crunch and extra flavor.