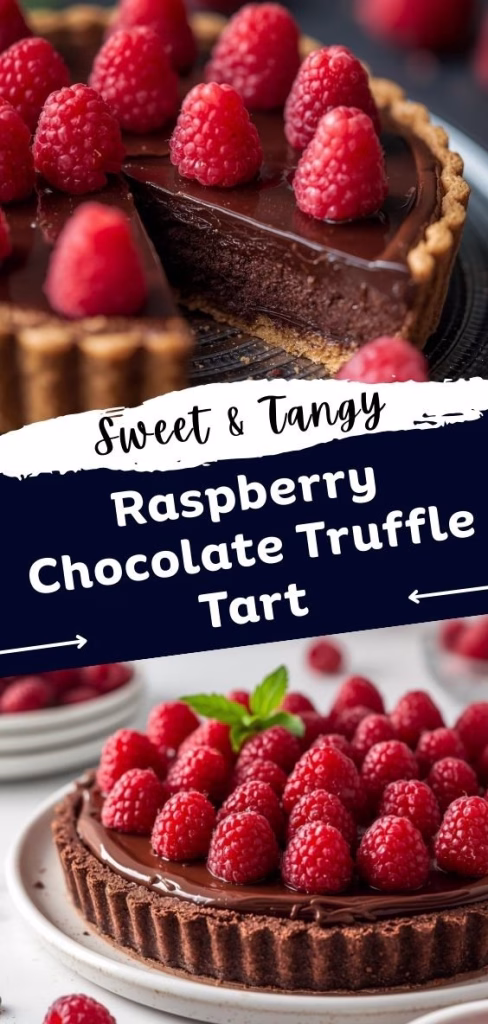
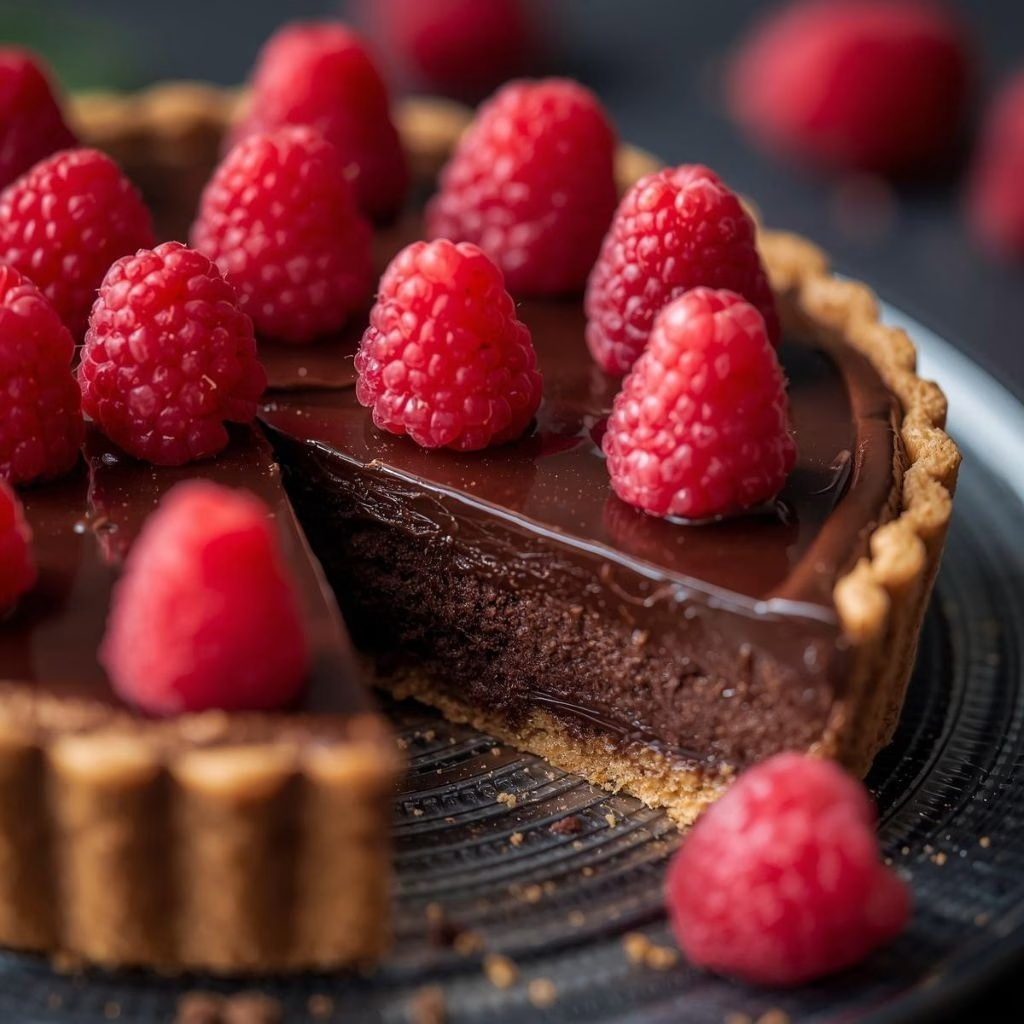
I still remember the moment I sliced into this Raspberry Chocolate Truffle Tart Recipe for the first time—the glossy chocolate filling, the buttery crust, and that pop of fresh raspberry flavor completely won me over. I made it for a small get-together, and honestly, I wasn’t expecting it to steal the show. The balance between rich chocolate and tangy fruit felt bakery-level, yet it was made right in my own kitchen.
Every bite felt indulgent but not overwhelming. After making it once, I knew this tart was going straight into my “special occasion” recipe list. You can also enjoy other indulgent desserts like the Butterfinger Cheesecake Recipe for a sweet treat.
Ingredients
Here’s a quick look at everything you’ll need and why each ingredient matters.
This recipe relies on quality ingredients, especially the chocolate, so choose wisely.
- Digestive biscuits or plain sweet biscuits – 250 g
These form the base of the tart. I like digestive biscuits because they’re lightly sweet and sturdy, which helps the crust hold its shape. You could also try a crisp alternative with the Apple Slab Pie Recipe. - Unsalted butter, melted – 125 g
Butter binds the crushed biscuits together and adds richness. Unsalted butter gives better control over the final flavor. - Dark chocolate (high quality, finely chopped) – 300 g
This is the star of the recipe. A smooth, premium dark chocolate melts evenly and gives the truffle filling its luxurious texture. - Double cream – 300 ml
Cream creates that silky, truffle-like consistency. Full-fat cream works best for a smooth and glossy filling. - Fresh raspberries – 200 g
Fresh raspberries bring brightness and a slight tartness that cuts through the richness of the chocolate beautifully. - Icing sugar – 1 tablespoon
This lightly sweetens the raspberries without overpowering their natural flavor. - Cocoa powder or grated chocolate – for dusting
A light dusting on top makes the tart look elegant and adds a subtle cocoa aroma.
Note: This ingredient quantity makes approximately 8 generous servings.
Variations
If you love experimenting, this tart is easy to customize without losing its charm.
- Dairy-free option: Swap the double cream for full-fat coconut cream and use dairy-free dark chocolate. The filling will still be rich and smooth.
- Lower sugar version: Use a dark chocolate with a higher cocoa percentage and skip the icing sugar on the raspberries.
- Flavor boost: Add a teaspoon of raspberry liqueur or vanilla extract to the chocolate filling for extra depth.
- Nutty twist: Mix finely ground hazelnuts or almonds into the biscuit base for added texture.
Cooking Time
This dessert doesn’t need baking, which makes it even more appealing.
- Prep Time: 25 minutes
- Cooking Time: 10 minutes
- Total Time (including chilling): About 3 hours
Equipment You Need
Having the right tools makes the process smoother and stress-free.
- Food processor – to crush the biscuits evenly and quickly
- Mixing bowl – for combining biscuit crumbs and butter
- Tart tin (with removable base) – helps release the tart cleanly
- Small saucepan – for gently heating the cream
- Heatproof bowl – for melting the chocolate safely
- Spatula – to spread the filling smoothly into the crust
How to Make Raspberry Chocolate Truffle Tart Recipe?
This tart comes together in a few simple stages, each one easy to follow.
Take your time, and the result will be worth it.
Prepare the Biscuit Base
Crush the biscuits into fine crumbs using a food processor or rolling pin.
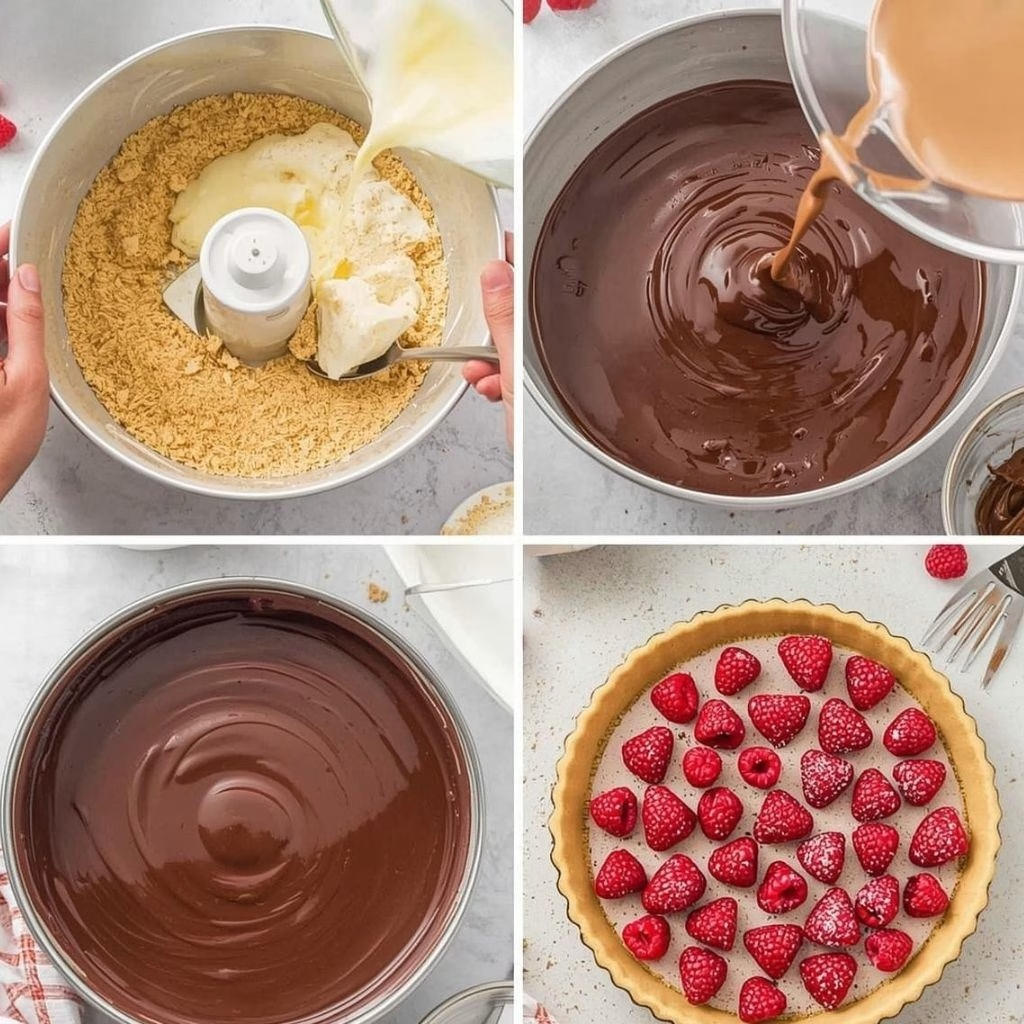
I mixed them with melted butter until they looked like damp sand.
Press the mixture firmly into the tart tin, making sure the base is even, then chill it to set.
Make the Chocolate Truffle Filling
I gently heated the cream until it was just about to simmer, not boiling.
Pouring the hot cream over the chopped chocolate allows it to melt slowly and evenly.
After a minute, I stirred until the mixture turned smooth, glossy, and irresistibly rich.
Assemble the Tart
Once the biscuit base was firm, I poured the chocolate filling right on top.
A gentle tap of the tin helped remove air bubbles and level the surface.
The tart then went back into the fridge to chill until fully set.
Prepare the Raspberries
I lightly tossed the fresh raspberries with icing sugar to enhance their natural sweetness.
This step also brings out their juices, making them extra vibrant.
The raspberries should be prepared just before serving for the freshest taste.
Finish and Chill
After a couple of hours, the chocolate filling became perfectly firm but creamy.
I topped the tart with raspberries and a light dusting of cocoa powder.
One final chill helped everything come together beautifully.
Additional Tips for Making This Recipe Better
After making this tart a few times, I picked up some small tricks that really help.
- I always line the tart tin base with parchment paper for easier removal.
- Let the cream heat gently; boiling can ruin the chocolate texture.
- I use room-temperature raspberries because cold ones dull the flavor.
- Chilling the tart overnight gives the cleanest slices and best texture.
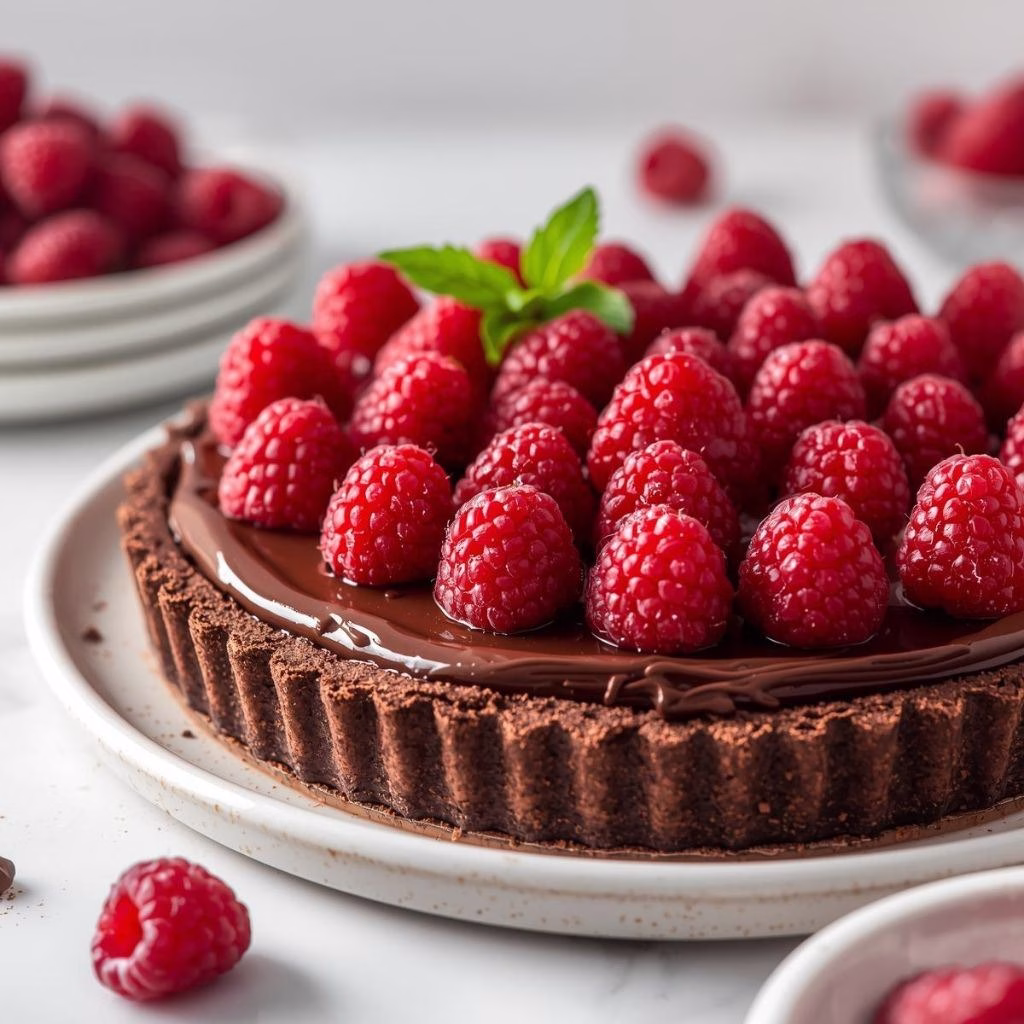
How to Serve Raspberry Chocolate Truffle Tart Recipe?
This tart looks stunning on its own, but a little presentation goes a long way.
I love serving it slightly chilled so the filling stays firm yet creamy.
You can garnish each slice with extra fresh raspberries or a drizzle of raspberry sauce.
A dollop of softly whipped cream on the side adds lightness.
For special occasions, I sprinkle grated chocolate curls on top for a bakery-style finish.
Nutritional Information
Here’s a quick nutritional snapshot per serving.
These values are approximate and can vary by ingredients used.
- Calories: Rich and indulgent, perfect for a treat
- Protein: Comes mainly from cream and chocolate
- Carbohydrates: Mostly from the biscuit base and raspberries
- Fat: Higher due to chocolate and cream, giving the tart its luxurious feel
Make Ahead and Storage
Make Ahead
This tart is ideal for making ahead of time.
I often prepare it the night before serving, as the flavor improves with chilling.
Just add the raspberries right before serving for the best look.
Storage
Store the tart covered in the refrigerator.
It stays fresh for up to 3 days without losing texture or flavor.
Make sure it’s well covered to prevent it from absorbing fridge odors.
Freezing
You can freeze the tart without the raspberry topping.
Wrap it tightly and freeze for up to one month.
Thaw it slowly in the fridge before decorating and serving.
Why You’ll Love This Recipe?
This tart has so many qualities that make it a favorite.
Here’s why it keeps winning hearts every time I serve it.
- It looks impressive but is surprisingly easy to make, even for beginners.
- The combination of dark chocolate and raspberries feels perfectly balanced.
- It’s versatile and adapts well to different dietary needs.
- You can prepare it ahead, making it stress-free for gatherings.
- Every slice feels indulgent without being overly sweet.
This Raspberry Chocolate Truffle Tart Recipe is one of those desserts that feels special from the first bite to the last crumb. It’s rich, elegant, and comforting all at once—exactly the kind of recipe I love sharing and making again.
Raspberry Chocolate Truffle Tart Recipe
Ingredients
Method
- Crush the biscuits into fine crumbs using a food processor or rolling pin. I mixed them with melted butter until they looked like damp sand. Press the mixture firmly into the tart tin, making sure the base is even, then chill it to set.
- I gently heated the cream until it was just about to simmer, not boiling. Pouring the hot cream over the chopped chocolate allows it to melt slowly and evenly. After a minute, I stirred until the mixture turned smooth, glossy, and irresistibly rich.
- Once the biscuit base was firm, I poured the chocolate filling right on top. A gentle tap of the tin helped remove air bubbles and level the surface. The tart then went back into the fridge to chill until fully set.
- I lightly tossed the fresh raspberries with icing sugar to enhance their natural sweetness.This step also brings out their juices, making them extra vibrant. The raspberries should be prepared just before serving for the freshest taste.
- After a couple of hours, the chocolate filling became perfectly firm but creamy. I topped the tart with raspberries and a light dusting of cocoa powder. One final chill helped everything come together beautifully.
Notes
- I always line the tart tin base with parchment paper for easier removal.
- Let the cream heat gently; boiling can ruin the chocolate texture.
- I use room-temperature raspberries because cold ones dull the flavor.
- Chilling the tart overnight gives the cleanest slices and best texture.