I have to tell you — the first time I made this Jello Pudding Pops Recipe, I was hooked! They’re creamy, refreshing, and so nostalgic that every bite takes me right back to childhood summer days. Once you try this recipe at home, you’ll see how simple it is to make a dessert that tastes just like the beloved classic.
I was amazed at how few ingredients make such an incredibly cool and dreamy frozen treat. Let me walk you through it step by step so you can make them too! Sometimes, I like to pair these creamy pops with other delicate desserts like Lychee Jelly Cream Puffs Recipe for a fun contrast in texture.
Ingredients – What You’ll Need (Serves Several Pops)
Note: This recipe makes several pudding pops — perfect for summer treats or sharing with friends and family!
- White chocolate instant pudding mix – 3.3 oz box (or substitute vanilla if unavailable)
- Chocolate instant pudding mix – 3.3 oz box
- Whole milk – 3.5 cups (divided for both pudding mixes)
- Popsicle sticks
- Optional: Food coloring (if making layered colors or themed pops)
Note: These quantities are perfect for making around a dozen creamy pudding pops without being overly icy.
Variations – Creative Twists and Dietary Options
Want to mix things up? Here are some delicious spin‑offs and swaps:
- Dairy‑Free Version: Use coconut or oat milk in place of whole milk. These plant-based milks freeze nicely and add lovely flavor depth.
- Sugar‑Free: Choose sugar‑free instant pudding mixes and unsweetened milk alternatives for a lighter treat.
- Flavor Enhancers:
- Add a splash of vanilla or almond extract for extra aroma.
- Stir in crushed cookies or mini chocolate chips for texture.
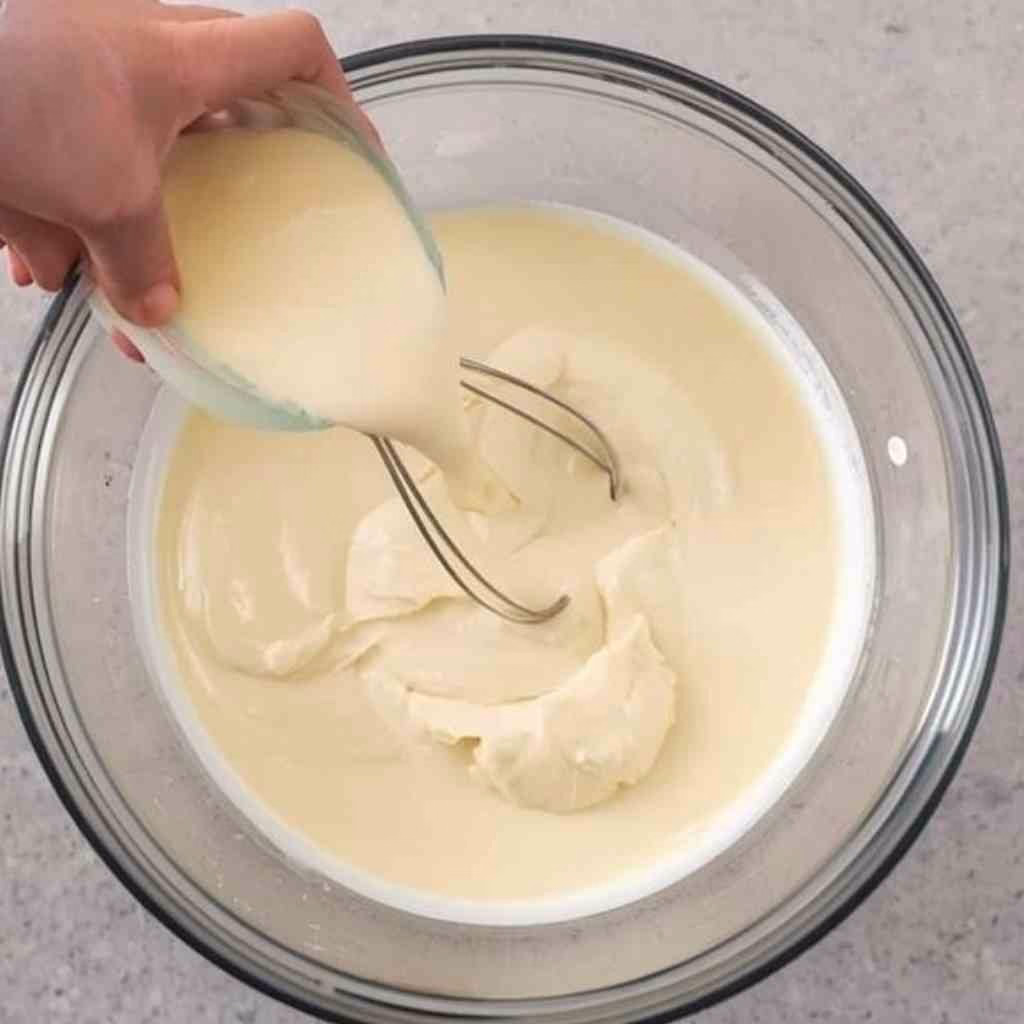
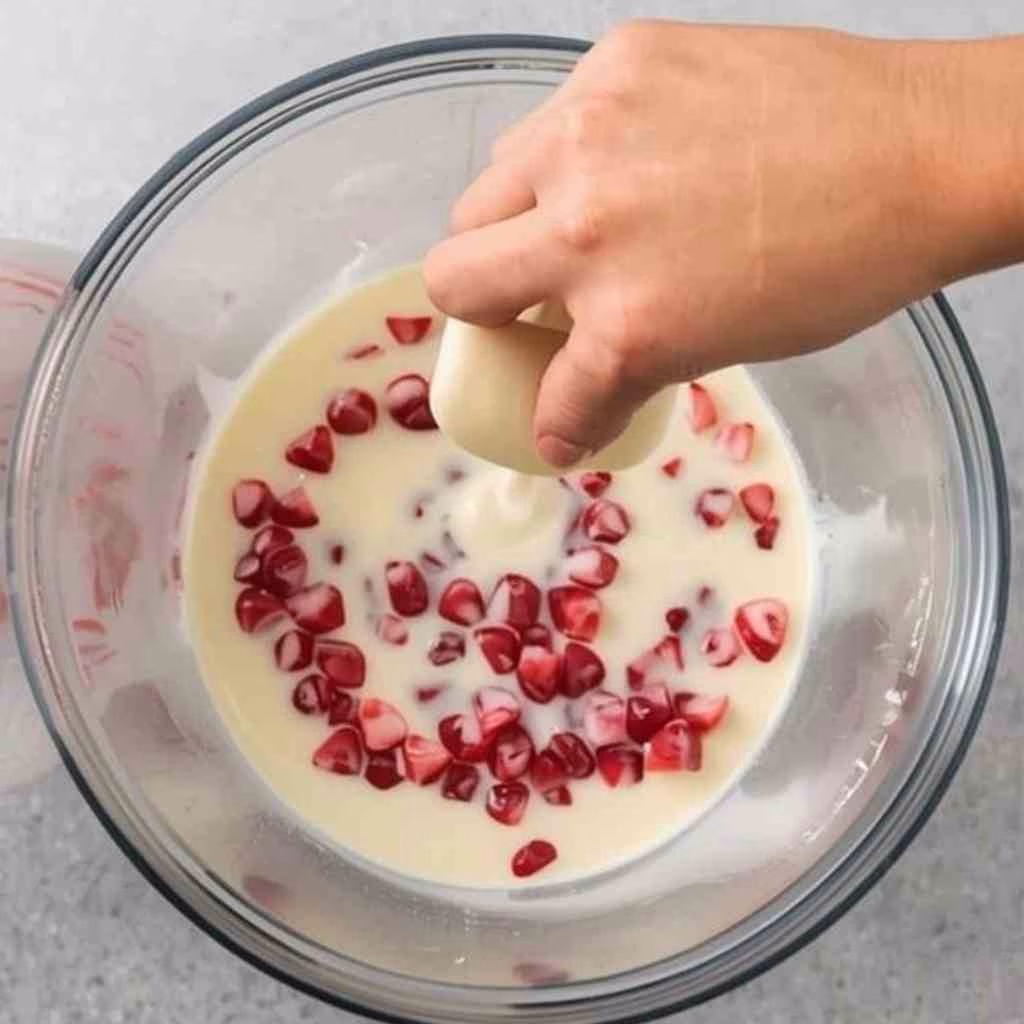
- Create fruity swirl layers by mixing in berry purée into one pudding batch.
These variations are simple but bring big flavor upgrades — and if you’re feeling adventurous, you could even enjoy them alongside something rich and indulgent like Ube Tres Leches Cake Recipe for a unique dessert spread.
Cooking Time
- Prep Time: 15 minutes
- Freezing Time: 3–6 hours (or overnight for best results)
- Total Time: Around 3 hours 15 minutes minimum
Equipment You Need
- Popsicle mold – Use to shape and freeze the pudding pops.
- Mixing bowls – Helps you whisk and prepare each pudding flavor.
- Whisk – For smooth, lump-free pudding mixture.
- Zip-top plastic bag (optional) – Great for piping swirls into molds.
These tools make the process smooth and give your pops that professional swirl look.
How to Make Jello Pudding Pops Recipe?
Here’s my step-by-step breakdown — easy and fun!
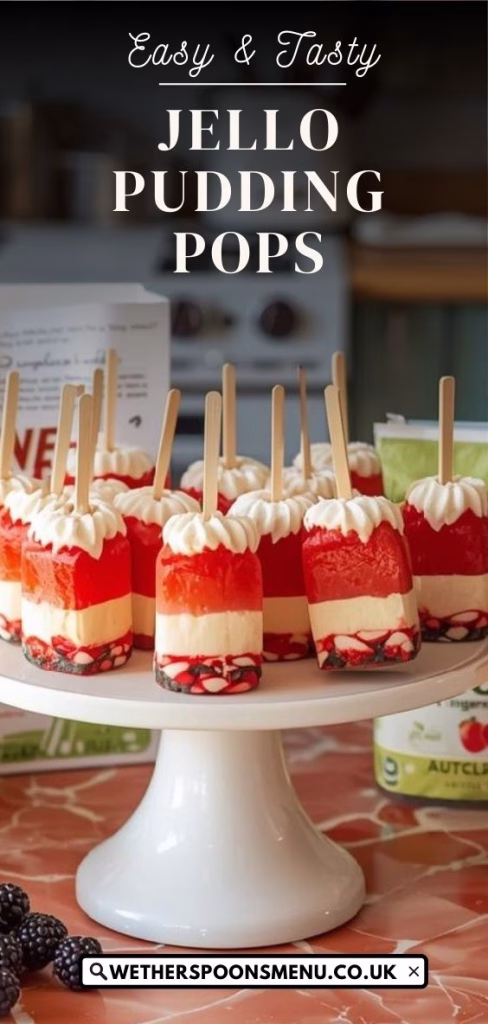
Prepare Each Pudding Mix
Start by whisking the pudding mix with part of your milk in a bowl until smooth and thick. Make one batch of white chocolate (or vanilla) and one batch of chocolate pudding. Let them sit until slightly thickened but not fully set — this makes filling much easier.
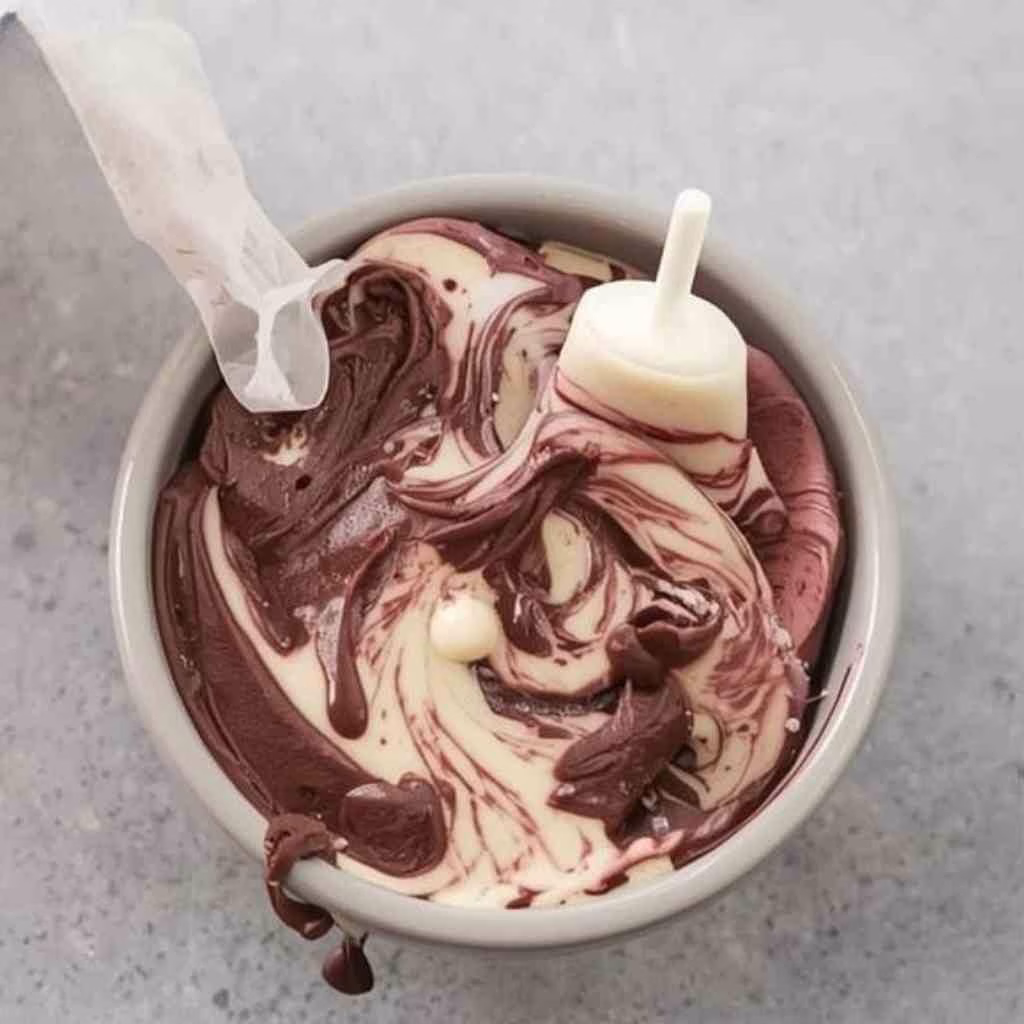
Swirl and Fill the Mold
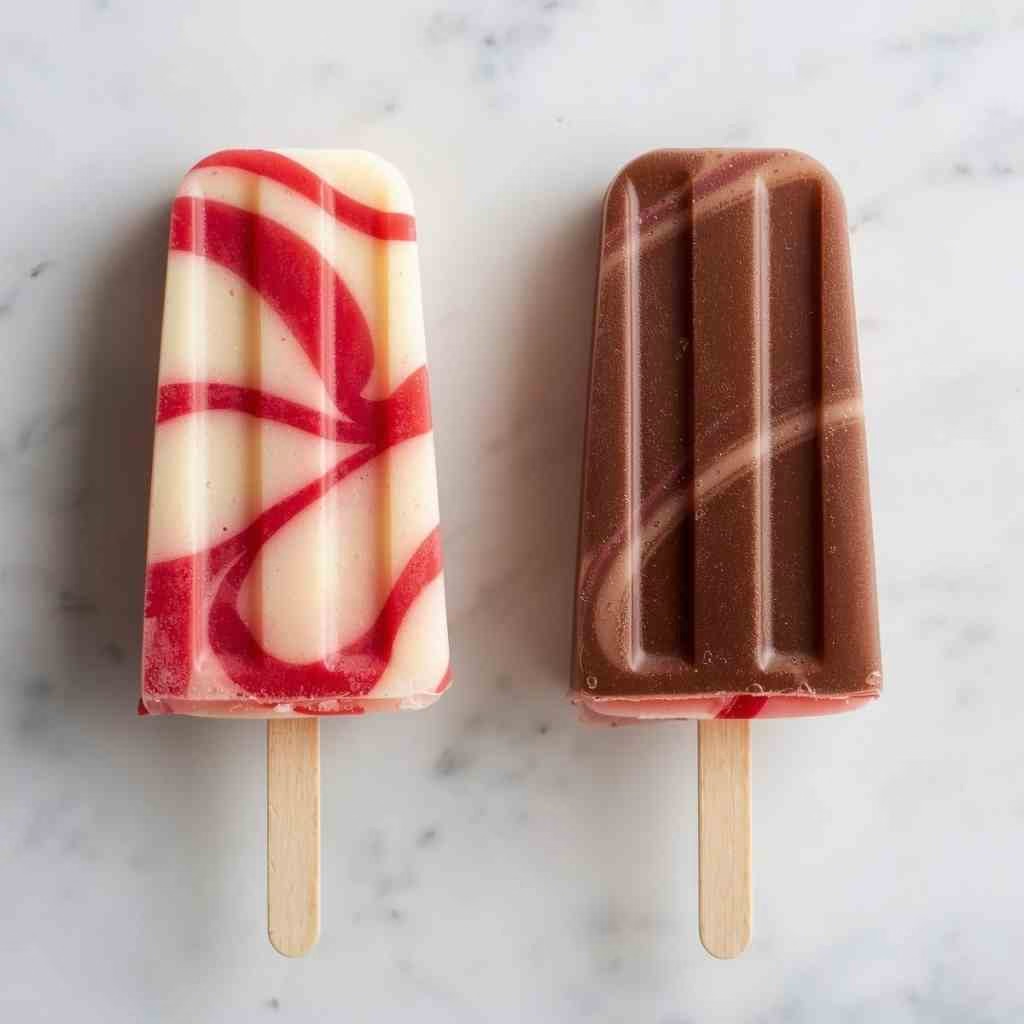
Spoon alternating amounts of each pudding into a zip-top bag or directly into your popsicle molds. If using a bag, snip a small corner to pipe for neat swirls. This gives your pops that nostalgic multicolor look we all love.
Freeze and Serve
Tap the filled molds gently to remove bubbles, insert sticks, and place in the freezer. Freeze at least 3 hours — or overnight if you can wait that long! When ready, dip the bottom of molds briefly in warm water to help release the pops.
Additional Tips for Making This Recipe Better
After making these pudding pops more times than I can count, here’s what I’ve learned:
- If the pudding feels too thick to spoon, let it rest a bit — it will thicken naturally.
- I like using silicone molds; they make popping out finished treats so much easier.
- Tap the mold on the counter before freezing — this helps air bubbles escape for smoother pops.
- If making layered colors, freeze each layer slightly before adding the next to keep swirls distinct.
These small adjustments make a big difference in presentation and texture!
How to Serve Jello Pudding Pops Recipe?
I like placing them upright in a pretty dish or on a chilled tray. If you want to get fancy, sprinkle grated chocolate or colorful sprinkles on top just before serving. For parties, group them on a decorative board with small labels like “Chocolate Swirl” or “Vanilla Dream.” This simple touch makes them a crowd-pleaser every time.
Nutritional Information
Here’s a basic snapshot per pop (approximate):
- Calories: ~100 kcal per serving
- Protein: ~3 g
- Carbohydrates: ~17 g
- Fat: ~2 g
These stats give you a fun frozen treat without too much guilt — especially if you choose lower-fat or sugar-free alternatives!
Make Ahead and Storage
Freezing
Once your pudding pops are fully frozen, keep them in the molds or remove and wrap individually in freezer paper or plastic wrap. This helps them stay fresh and prevents freezer burn.
Storing
If kept airtight in the freezer, these can stay delicious for 2–3 weeks. Just grab one anytime you want a creamy frozen snack!
Reheating or Thawing
These are best enjoyed frozen — let them sit at room temperature for a minute before eating if they’re very hard. They soften quickly and taste best when cool and creamy.
Why You’ll Love This Recipe
Here’s why this recipe is now a timeless favorite of mine:
- Easy to Make: Only a few ingredients and minimal prep time — amazing results!
- Totally Customizable: Add flavors, mix colors, or use dietary swaps easily.
- Nostalgic and Fun: Perfect dessert for kids, parties, or summer afternoons.
- Refreshing on Hot Days: Creamy without needing ice cream makers or complicated tools.
Jello Pudding Pops Recipe
Ingredients
Method
- Start by whisking the pudding mix with part of your milk in a bowl until smooth and thick. Make one batch of white chocolate (or vanilla) and one batch of chocolate pudding. Let them sit until slightly thickened but not fully set — this makes filling much easier.
- Spoon alternating amounts of each pudding into a zip-top bag or directly into your popsicle molds. If using a bag, snip a small corner to pipe for neat swirls. This gives your pops that nostalgic multicolor look we all love.
- Tap the filled molds gently to remove bubbles, insert sticks, and place in the freezer. Freeze at least 3 hours — or overnight if you can wait that long! When ready, dip the bottom of molds briefly in warm water to help release the pops
Notes
- If the pudding feels too thick to spoon, let it rest a bit — it will thicken naturally.
- I like using silicone molds; they make popping out finished treats so much easier.
- Tap the mold on the counter before freezing — this helps air bubbles escape for smoother pops.
- If making layered colors, freeze each layer slightly before adding the next to keep swirls distinct.