I first made this Coffee Mousse Recipe on a calm afternoon when I was craving something creamy but not too heavy. I love how the bold coffee flavor blends into a smooth, airy texture that feels almost luxurious. After tasting the first spoon, I knew this recipe was a keeper. It looks fancy, but honestly, it’s so easy to prepare.
This is one of those desserts that makes people think you worked much harder than you actually did. You can also enjoy similar Chicken Pesto Sandwich Recipe for a savory treat alongside your dessert.
Ingredients
These ingredients work together to create a light yet rich mousse. Using the right form of each ingredient really makes a difference in texture and flavor.
- 1 tablespoon instant coffee granules – gives strong coffee flavor; use good-quality granules for best taste
- ¼ cup water – helps dissolve the coffee and gelatine smoothly
- ¾ cup caster sugar or white granulated sugar – caster sugar dissolves faster and keeps the mousse silky
- ½ teaspoon powdered gelatine – sets the mousse without eggs; don’t overuse or it will turn firm
- 1 teaspoon vanilla extract – enhances the coffee flavor and adds warmth
- 1 ½ cups cold whipping cream – must be cold to whip properly and create airy texture
- Cocoa powder or chocolate shavings – optional garnish for finishing touch
Note: This recipe makes several servings (approximately 6 portions).
Variations
This coffee mousse is very flexible, and you can easily customize it to suit different tastes or dietary needs.
For a dairy-free version, use thick coconut cream instead of whipping cream. To make it sugar-free, replace sugar with a granulated sweetener that dissolves well. If you love intense coffee flavor, add a small shot of espresso instead of water.
For a chocolate-coffee twist, fold in melted dark chocolate or top with chocolate sauce. You can also pair this dessert with Garlic Butter Chicken Bites Recipe for a fun meal experience.
Cooking Time
Here’s how long the recipe takes from start to finish:
- Prep Time: 10 minutes
- Cooking Time: 5 minutes
- Chilling Time: 2 hours 15 minutes
- Total Time: 2 hours 30 minutes
Equipment You Need
Having the right tools makes the process smooth and stress-free.
- Medium saucepan – used to dissolve gelatine, sugar, and coffee evenly
- Rubber spatula – helps stir gently without overheating the mixture
- Electric mixer or hand whisk – for whipping the cream to soft peaks
- Mixing bowls – one for cream and one for coffee mixture
- Dessert glasses or bowls – for serving and presentation
How to Make Coffee Mousse Recipe?
This recipe comes together easily when you follow each step patiently. Take your time and enjoy the process.
Prepare the Coffee Gelatine Mixture
Start by sprinkling gelatine over the water in a saucepan. Warm it gently on low heat while stirring until fully dissolved. Avoid boiling, as high heat can weaken the gelatine.
Add Coffee and Sugar
Stir instant coffee and sugar into the warm gelatine mixture. Keep stirring until everything is completely dissolved and smooth. Place the mixture in the fridge until it cools but remains pourable.
Whip the Cream
Pour cold whipping cream into a clean bowl and whip until soft peaks form. The cream should be fluffy but not stiff or grainy.
Combine the Mixtures
Add vanilla extract to the cooled coffee mixture. Mix in a small portion of whipped cream first to loosen it, then gently fold in the remaining cream in batches.
Chill and Set
Spoon the mousse into serving glasses. Refrigerate for at least two hours until set. Garnish just before serving for the best look.
Additional Tips for Making this Recipe Better
After making this mousse a few times, I learned a few tricks that really improve the final result.
- I always use very cold cream because it whips faster and holds air better
- I let the coffee mixture cool properly so it doesn’t melt the cream
- I fold gently instead of stirring to keep the mousse light
- I garnish just before serving to keep toppings fresh and attractive
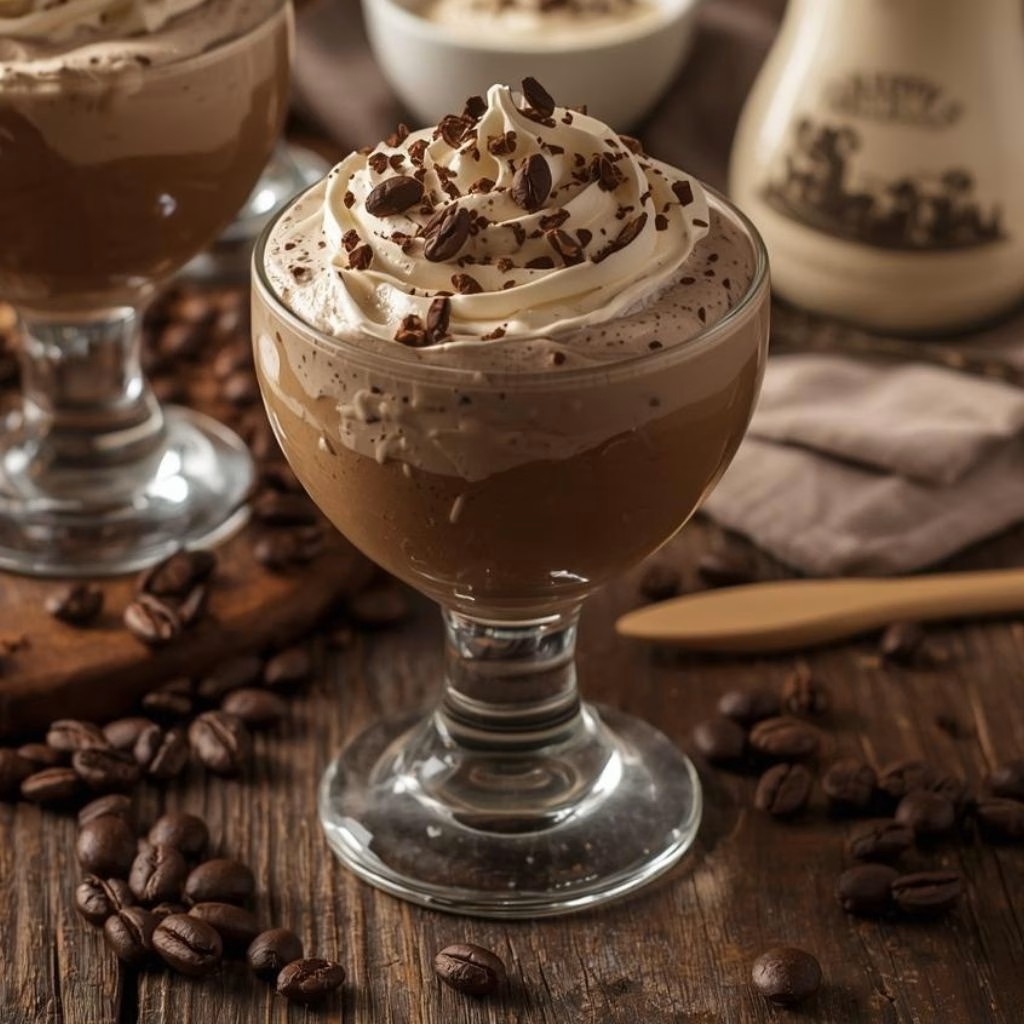
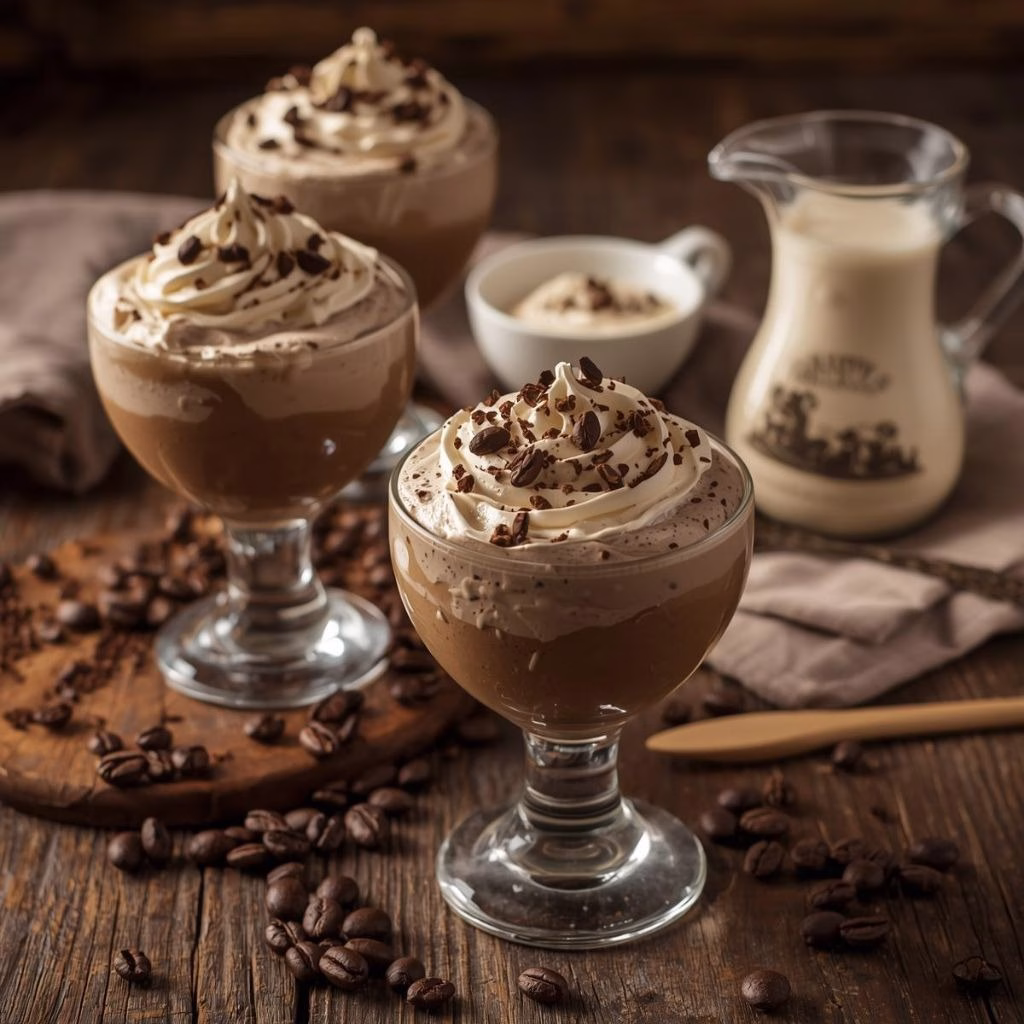
How to Serve Coffee Mousse Recipe?
Serve this coffee mousse chilled in clear glasses to show off its smooth texture. I love topping it with cocoa powder, chocolate curls, or crushed coffee beans. You can also serve it with shortbread cookies or biscotti on the side. For special occasions, add a dollop of whipped cream and a light dusting of espresso powder for a café-style look.
Nutritional Information
Here’s a quick look at the nutritional values per serving:
- Calories: approximately 305 kcal
- Protein: about 2 g
- Carbohydrates: around 27 g
- Fat: roughly 22 g
Make Ahead and Storage
Refrigeration
This coffee mousse can be made ahead and stored in the refrigerator. Cover tightly and keep fresh for up to 2–3 days without losing texture.
Freezing
Freezing is not recommended, as it can affect the creamy consistency and cause separation once thawed.
Reheating
This dessert does not require reheating. It is best enjoyed cold straight from the fridge.
Why You’ll Love This Recipe?
There are so many reasons this coffee mousse deserves a place in your dessert rotation.
You’ll love this recipe because:
- It’s quick and easy with simple ingredients
- Perfect for coffee lovers who enjoy rich flavor
- Ideal for make-ahead desserts and gatherings
- Light, creamy texture that feels elegant
- Easy to customize with different flavors
Coffee Mousse Recipe
Ingredients
Method
- Start by sprinkling gelatine over the water in a saucepan. Warm it gently on low heat while stirring until fully dissolved. Avoid boiling, as high heat can weaken the gelatine.
- Stir instant coffee and sugar into the warm gelatine mixture. Keep stirring until everything is completely dissolved and smooth. Place the mixture in the fridge until it cools but remains pourable.
- Pour cold whipping cream into a clean bowl and whip until soft peaks form. The cream should be fluffy but not stiff or grainy.
- Add vanilla extract to the cooled coffee mixture. Mix in a small portion of whipped cream first to loosen it, then gently fold in the remaining cream in batches.
- Spoon the mousse into serving glasses. Refrigerate for at least two hours until set. Garnish just before serving for the best look.
Notes
- I always use very cold cream because it whips faster and holds air better
- I let the coffee mixture cool properly so it doesn’t melt the cream
- I fold gently instead of stirring to keep the mousse light
- I garnish just before serving to keep toppings fresh and attractive