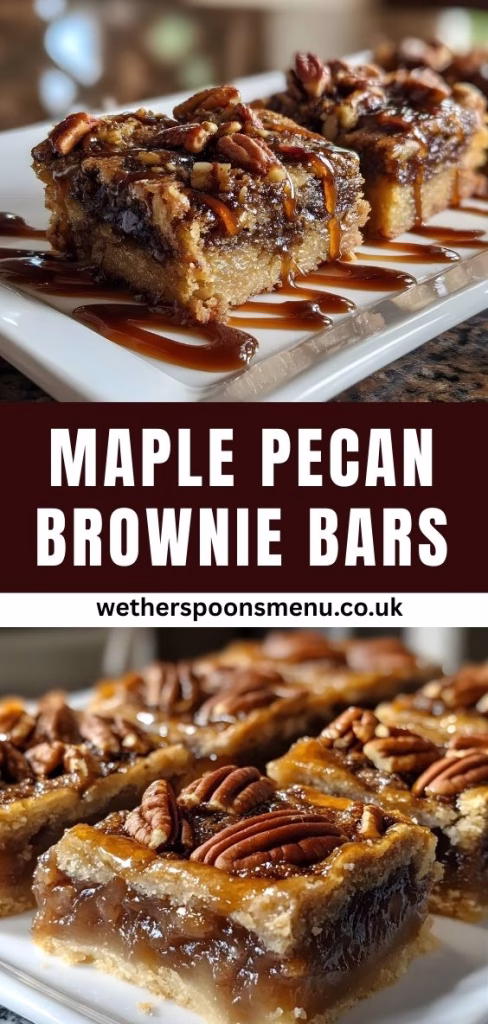
Maple Pecan Brownie Bars Recipe | Chewy, Buttery & Delicious
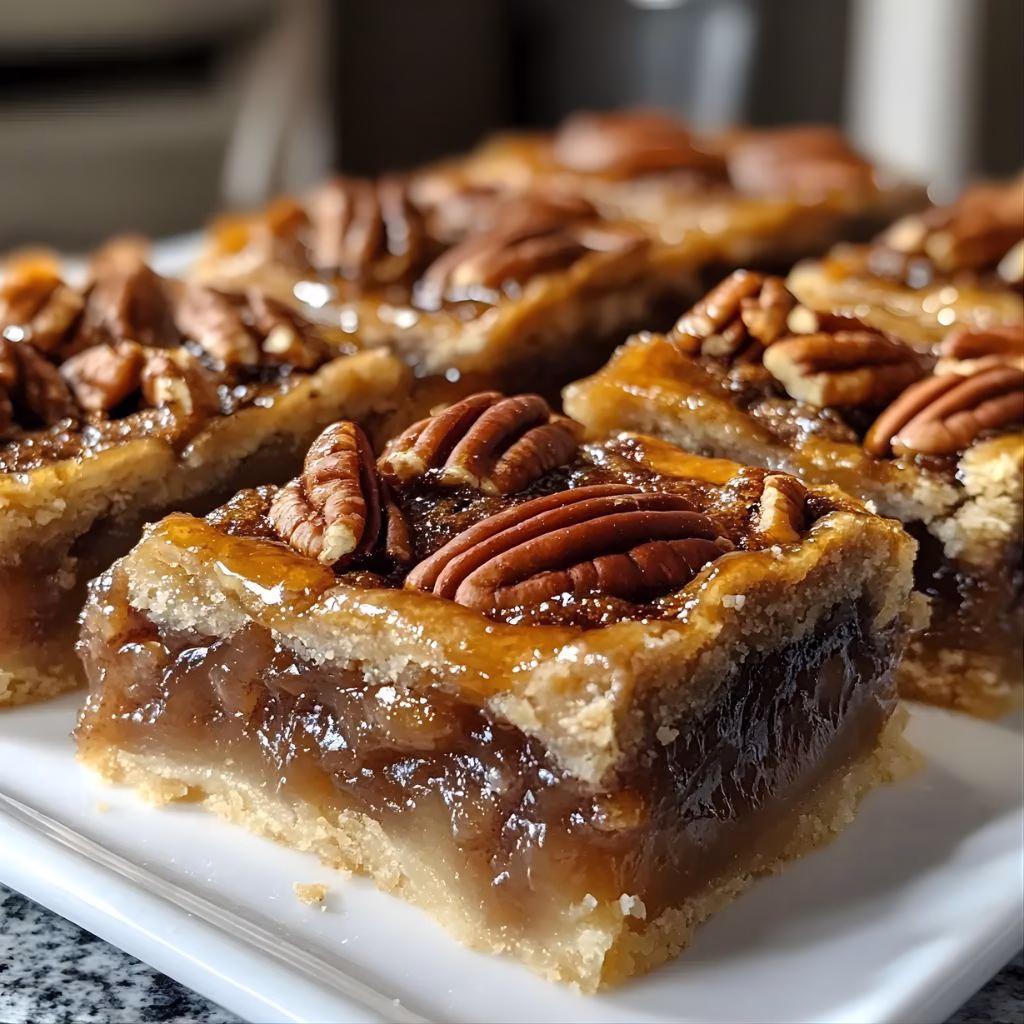
I baked these bars on a cozy afternoon and couldn’t resist grabbing a warm piece straight from the pan. When I took that first bite, the buttery-maple aroma wrapped around me like a comfy blanket. I love how the chopped toasted pecans give a satisfying crunch, perfectly balancing the chewy, butterscotchy base.
These Maple Pecan Brownie Bars Recipe (actually blondie-style) have quickly become one of my favorite seasonal treats, and you can also enjoy similar comforting flavours like best bourbon chicken recipe. I’m excited to share the recipe, tips, and ways you can make it your own.
Ingredients
Note: yields about nine bars
- ¾ cup (6 oz / 170 g) butter, melted — Use good quality high-fat butter because you’ll taste it in the final result.
- 1¼ cups (7½ oz / 213 g) dark brown sugar — The dark brown sugar adds moisture and a richer butterscotch flavour.
- ½ cup (5 oz / 142 g) dark maple syrup — I opted for dark maple syrup because its deeper flavour stands up to all the other ingredients.
- 1 large egg, at room temperature — Helps give structure and chewiness to the bars.
- 2 teaspoons vanilla extract — Vanilla enhances the sweet, warm notes of maple and butter.
- 1 teaspoon salt — A little salt brings out the butterscotch, vanilla and maple flavour perfectly.
- 2 cups (10 oz / 284 g) all-purpose flour — The flour is what gives these bars their structure.
- ¼ teaspoon baking soda — Just enough to help the bars rise slightly without becoming cakey.
- 1¼ cups (6¼ oz / 177 g) pecans, toasted and chopped — Toasting the pecans brings out their flavour and crunch; don’t skip it!
Variations
There are lots of ways you can customise this recipe, or even try something different like the hot honey chicken slider sandwich recipe if you enjoy bold flavours:
- Dairy-free: Swap out the butter for a plant-based spread or vegan butter alternative; ensure it’s good quality so flavour isn’t lost.
- Sugar-alternate: You could experiment with coconut sugar or a blend, though the flavour will shift slightly away from classic butterscotch-maple.
- Add-ins: I’ve tried stirring in 1 cup chopped bittersweet or white chocolate, or even butterscotch chips, in place of or alongside pecans.
- Nut-free: If pecans aren’t your thing (or someone’s allergic), you could try chopped walnuts or sunflower seeds for crunch instead.
- Extra flavour: Consider a pinch of cinnamon or cardamom for a warm spice note that plays nicely with maple.
Cooking Time
- Prep Time: 15 minutes
- Cooking Time: 30 minutes
- Total Time: 45 minutes
Equipment you need
- Measuring cups and spoons — To ensure accurate amounts especially for sugar and flour.
- Mixing bowls — One for wet ingredients, another for dry, then combine.
- 8×8-inch (20×20 cm) baking pan, lined with parchment — This size gives good thickness to the bars.
- Wire rack — For cooling the bars once they’re out of the oven.
How to Make Maple Pecan Brownie Bars Recipe Name?
Preheat and prepare the pan
First, I preheated my oven to 350 °F (180 °C) and buttered the 8×8-inch pan. I then lined it with parchment paper, letting the paper come up on two sides so I could easily lift the bars out later.
Combine wet ingredients
In a large mixing bowl I whisked together the melted butter, dark brown sugar, dark maple syrup, the egg, vanilla extract, and salt until smooth and shiny. This wet base is what gives the bars their rich, chewy texture.
Mix in dry ingredients and pecans
In a separate small bowl I whisked the flour with the baking soda, then folded this dry mixture into the wet until just combined. After that, I folded in the toasted chopped pecans to distribute them evenly.
Bake
I poured the batter into the prepared pan and baked it for about 30-35 minutes, until the edges were set and the centre still had a little jiggle. The gentler bake ensures chewiness rather than dryness.
Cool and slice
After baking, I let the pan sit for ten minutes before transferring the bars to a wire rack to cool completely. This resting time helps the texture set properly.
Additional Tips for Making this Recipe Better
From my own experience:
- I always toast the pecans before mixing—around 10-12 minutes at 350 °F until they smell nutty. It makes a big flavour difference.
- I find using real dark maple syrup (not pancake syrup) keeps the maple taste genuine and deep.
- When folding the flour in, I stop mixing as soon as I see no streaks of flour—no over-mixing so the bars stay chewy, not cakey.
- I let the bars cool fully before slicing—they cut cleaner and hold shape better.
- If you like a shinier top, I let the batter sit 5 minutes before baking so the sugar starts to dissolve for that glossy finish.
How to Serve Maple Pecan Brownie Bars Recipe Name?
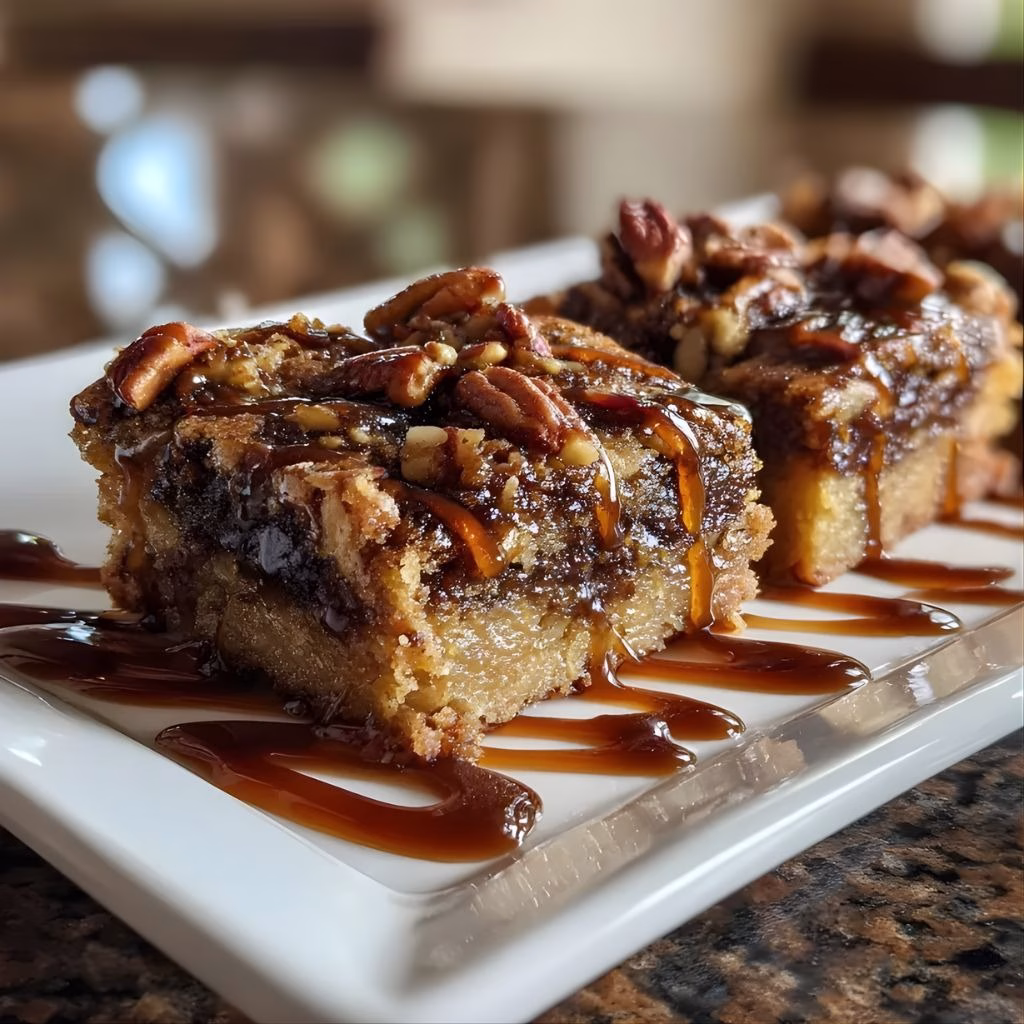
I like to serve these bars warm or at room temperature. A warm piece with a scoop of vanilla ice cream and a drizzle of butterscotch sauce makes a simple yet indulgent dessert. You can garnish with a few extra chopped pecans or a light sprinkle of sea salt for contrast and presentation. For a fall-themed dessert table, I’ll cut them into smaller bite-sized squares and arrange on a wooden board with autumn leaves as decor.
Nutritional Information
Here are approximate nutritional facts per bar (assuming nine servings):
- Calories: ~ 350–400 kcal — these are rich and decadent, so a smaller portion may be satisfying.
- Protein: ~ 4 g — from the egg, flour and nuts.
- Carbohydrates: ~ 48 g — mostly from sugar, maple syrup and flour.
- Fat: ~ 18 g — thanks to butter and pecans providing flavour and richness.
Make Ahead and Storage
You can store these bars at room temperature in an airtight container for up to three days. Once cooled and cut, I keep them on the counter covered with parchment or in a tin and they stay moist and chewy.
For freezing, you can wrap individual bars in plastic wrap and then foil, freeze for up to two months. To enjoy, defrost at room temperature about an hour before serving so texture returns to chewy.
When reheating, I find microwaving a bar for ~10-15 seconds brings back that just-out-of-the-oven warmth and gooeyness—watch it carefully so it doesn’t overheat and dry out.
Why You’ll Love This Recipe?
Here are some of the reasons I’m so fond of these bars:
- They’re easy to prepare: just melt, whisk, fold and bake—no elaborate steps.
- The flavour is wonderfully seasonal and comforting: warm maple syrup, buttery brown sugar, toasted pecans—perfect for cozy moments.
- They offer texture contrast: chewy blondie base with crunchy, toasted pecans.
- Versatile and customisable: you can swap in add-ins or adjust nuts/chocolate to personalise.
- Great for sharing or as a special treat: they look beautiful, taste indulgent, yet come together simply.
Maple Pecan Brownie Bars Recipe
Ingredients
Method
- First, I preheated my oven to 350 °F (180 °C) and buttered the 8×8-inch pan. I then lined it with parchment paper, letting the paper come up on two sides so I could easily lift the bars out later.
- In a large mixing bowl I whisked together the melted butter, dark brown sugar, dark maple syrup, the egg, vanilla extract, and salt until smooth and shiny. This wet base is what gives the bars their rich, chewy texture.
- In a separate small bowl I whisked the flour with the baking soda, then folded this dry mixture into the wet until just combined. After that, I folded in the toasted chopped pecans to distribute them evenly.
- I poured the batter into the prepared pan and baked it for about 30-35 minutes, until the edges were set and the centre still had a little jiggle. The gentler bake ensures chewiness rather than dryness.
- After baking, I let the pan sit for ten minutes before transferring the bars to a wire rack to cool completely. This resting time helps the texture set properly.
Notes
- I always toast the pecans before mixing—around 10-12 minutes at 350 °F until they smell nutty. It makes a big flavour difference.
- I find using real dark maple syrup (not pancake syrup) keeps the maple taste genuine and deep.
- When folding the flour in, I stop mixing as soon as I see no streaks of flour—no over-mixing so the bars stay chewy, not cakey.
- I let the bars cool fully before slicing—they cut cleaner and hold shape better.
- If you like a shinier top, I let the batter sit 5 minutes before baking so the sugar starts to dissolve for that glossy finish.